Tag: hard drives

  • Ubuntu: Viewing all available block devices or hard drives, their mount point and their filesystems


    To list the available hard drives (to be specific, available block devices) we use the following command:


    lsblk


    This will provide output in the following format:

    NAME    MAJ:MIN RM   SIZE RO TYPE MOUNTPOINT
    xvda    202:0    0     8G  0 disk
    ├─xvda1 202:1    0     7G  0 part /
    ├─xvda2 202:2    0     1K  0 part
    └─xvda5 202:5    0  1022M  0 part [SWAP]


    If you want to see the filesystems available on these block devices, we use the f flag:


    sudo lsblk -f


    If we don’t run this as root it won’t display the filesystems. The output looks like:


    NAME    FSTYPE LABEL MOUNTPOINT
    xvda
    ├─xvda1 ext4         /
    ├─xvda2
    └─xvda5 swap         [SWAP]


    There’s quite a bit of information in the above two outputs – we can see the block devices, their partitions, the mount points, the filesystems, their size and whether the partition is marked as readonly or not.
     

  • Fractal Design Define R4: Removing all of the front drive trays


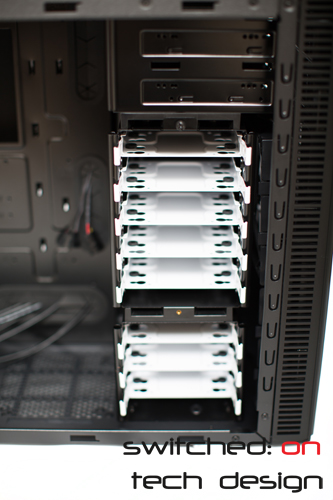
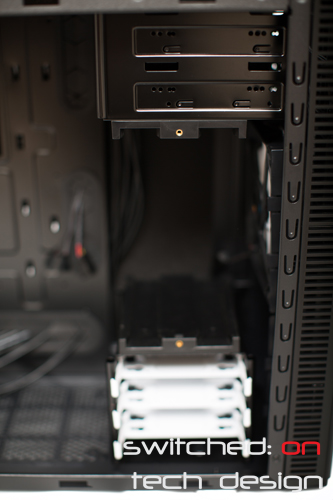
    Someone asked how we removed the hard drive bays in the Fractal Design R4 builds we’re doing at the moment, so we wrote up a quick post for those who are wondering. If you want to install a radiator to the front of the R4 or are simply using a handful of SSDs and have no need for the 3.5″ drive bays you may wish to remove them; unlike the R3, where they’re riveted in place, the R4 features entirely removable drive bays.


    Remove the thumbscrews on the front and the topmost tray will just slide out:


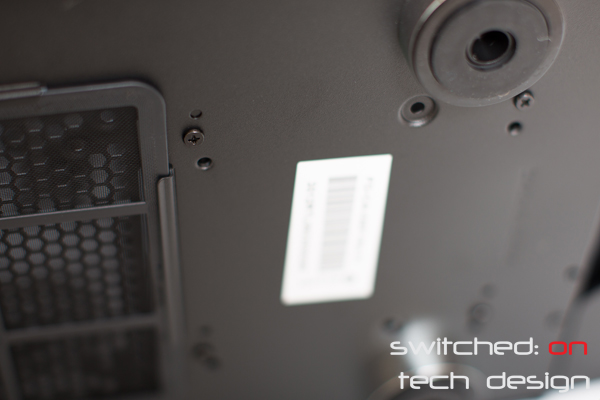
    This will leave you with plenty of room to install almost any graphics card you might care to; it also improves airflow from the front uppermost fan as there’s nothing blocking the airflow. The second set of drive trays is a little trickier; have a look under the case for the first set of screws attaching it:


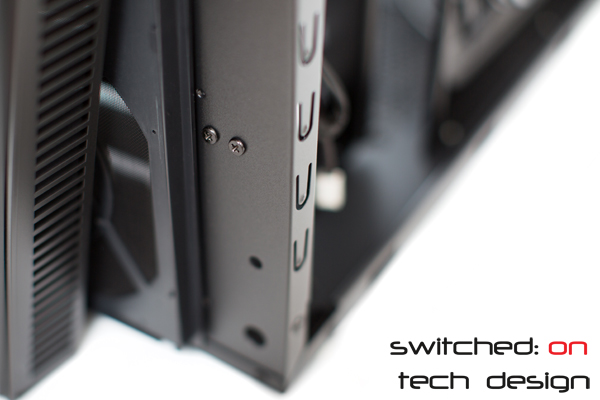
    There are four in total here, two of which are clear in the photo. Once they’re removed, unclip the front panel by pressing out the plastic pins that hold it in and you’ll see the front screws holding in the drive tray:


    There are only the two you see in the photo here. Once they’re removed, the drive tray lifts right out.


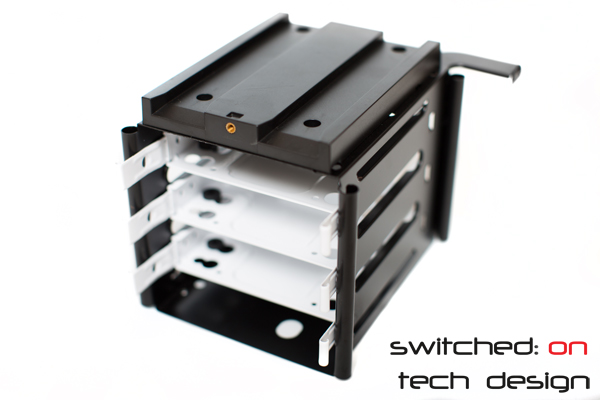
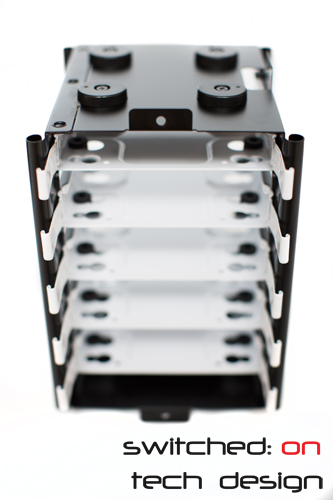
    …and the top one:


    They’re quite sturdy little units themselves and could certainly be re-purposed elsewhere should you have a need for drive trays!


    Now we have a front chassis that’s empty – until you install a radiator, that is… here’s a view of the newfound free space:


    Happy disassembling!