Tag: networking

  • Monitoring network usage on Ubuntu


    If you want to see how much traffic is passing through your network port there’s a handy tool called vnstat which will tally the amount of data passing through. You can install it with:


    sudo apt-get install vnstat


    It will usually add the databases and network ports automatically like so:


    vnstat-0


    If it doesn’t and gives you an error you can create the database(s) with:


    sudo vnstat -u -i eth0


    If you have multiple network cards/ports you can add those in, too:


    vnstat -u -i eth1

    vnstat -u -i eth2

    …etc


    If it couldn’t create the databases you can start it with:


    sudo /etc/init.d/vnstat start


    If you need to change the maximum bandwidth from 100Mb you can edit the file:


    /etc/vnstat.conf


    Scroll down until you see the following:


    # maximum bandwidth (Mbit) for all interfaces, 0 = disable feature
    # (unless interface specific limit is given)
    MaxBandwidth 100


    and make MaxBandwidth the figure you require (e.g. 1000). If you make a change restart vnstat with:


    /etc/init.d/vnstat restart


    You can now see how much traffic has come through the NIC since vnstat started recording – at first it probably won’t be much (if any), but as it adds up you can check it with:


    vnstat


    The output should look like:


    vnstat-01


    You can watch how much traffic is flowing through in real-time by running:


    vnstat -i eth0 -l


    This will give you a screen showing you the current traffic:


    vnstat-02


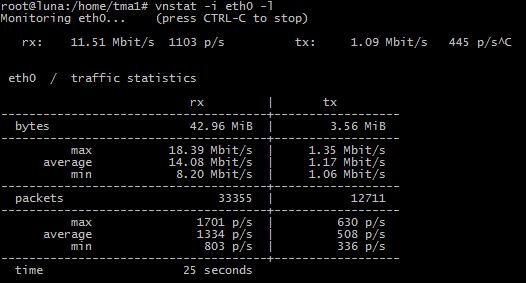
    You can end this with CTRL+C, which shows you a summary screen:


    vnstat-03


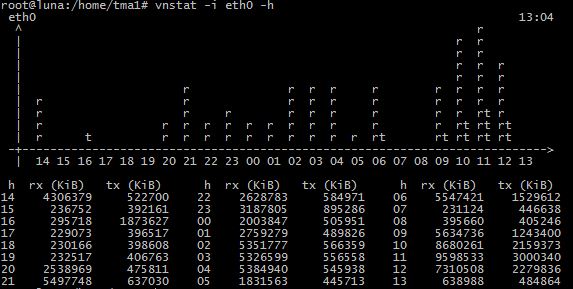
    You can get an hourly summary with:


    vnstat -i eth0 -h


    vnstat-04 vnstat-05


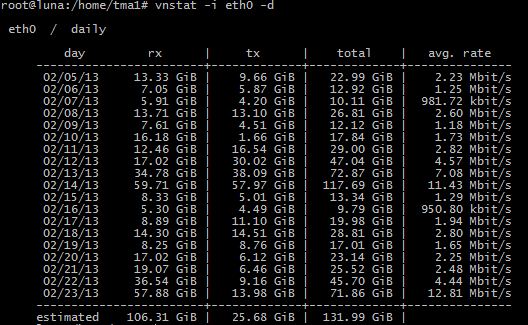
    Daily summary with:


    vnstat -i eth0 -d


    vnstat-04

    Monthly summary with:


    vnstat -i eth0 -m


    vnstat-06


    This is a really handy way of keeping track of your network traffic – whether it’s out of curiosity, wanting to know how much stress your network is under or looking for a bottleneck this can be quite a valuable tool.

  • Ubiquiti EdgeRouter Lite Review: Part 1


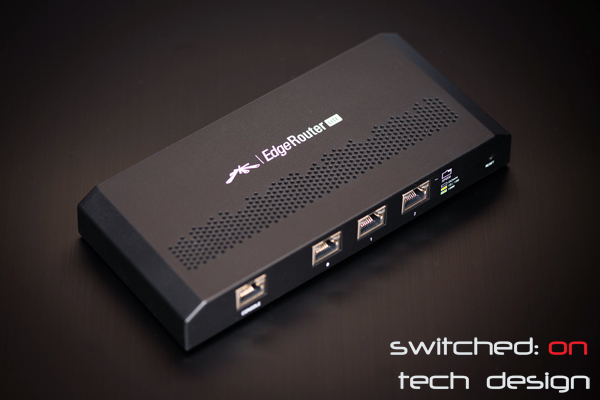
    The EdgeRouter Lite is Ubiquiti’s latest router with some pretty high-end features at an entry-level price. The tagline is “The world’s first sub-$100, one million-packets-per-second router” – US dollars, of course. It retails for around $140 Australian.


    ubiquiti-edge-router-lite


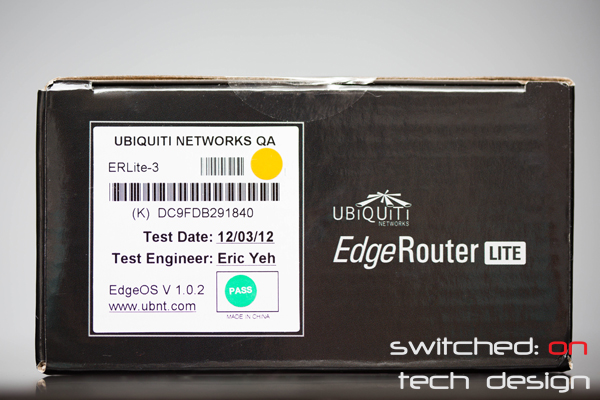
    The first part of the review is going to focus on the actual unit itself, the second on the software and performance. The box itself is reasonably innocuous – matte black plastic with ventilation holes top and bottom. It is quite light in the hand – under 300 grams – and around 20x9x3cm. One interesting thing on the box is the testing date is clearly marked on the top:


    ubiquiti-edge-router-lite-box


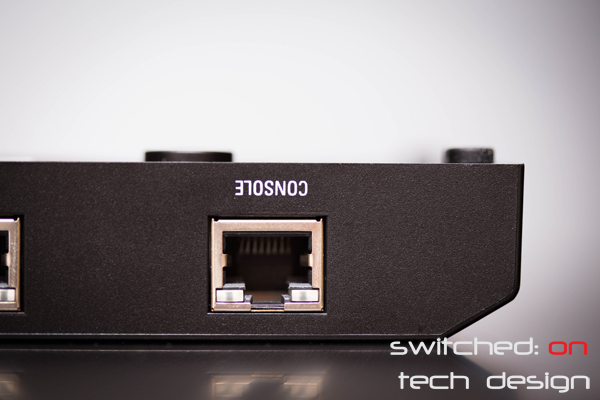
    Having the engineer’s name is a nice marketing touch – giving the impression that someone has personally tested this unit. This might be the case with every other product out there but few draw attention to it. Inside the box itself is the unit itself, a charge cable, a quick setup guide, some wall-mount screws and… that’s it. While there is a console port on the back Ubiquiti don’t provide you with a cable with which to access it – not surprising given the price point. Looking at the unit itself again:


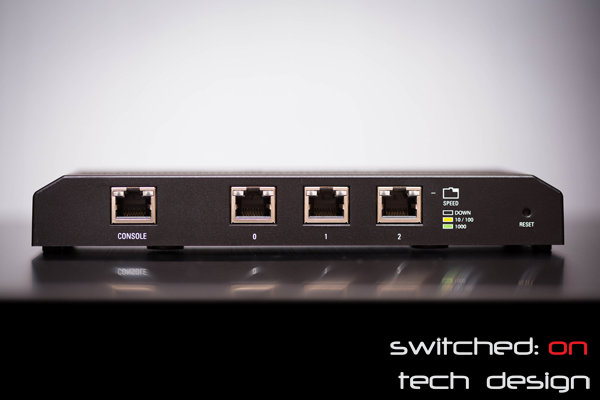
    ubiquiti-edge-router-lite-front


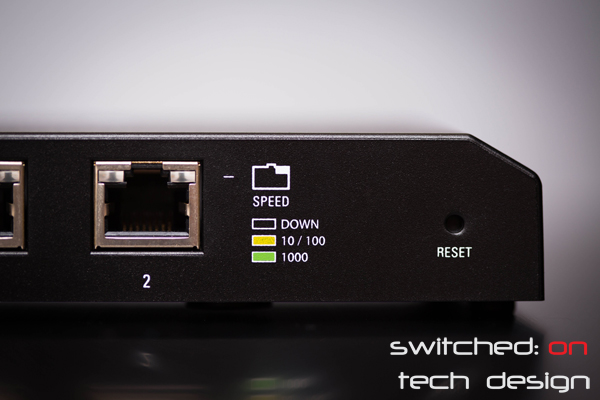
    On the left there is a clearly marked console port, followed by the ethernet ports 0, 1 and 2. It’s nice that they’re clearly labelled, and the speed indicator colours are also quite clearly marked. On the far right hand side we see the reset button:


    ubiquiti-edge-router-lite-info-and-reset-button


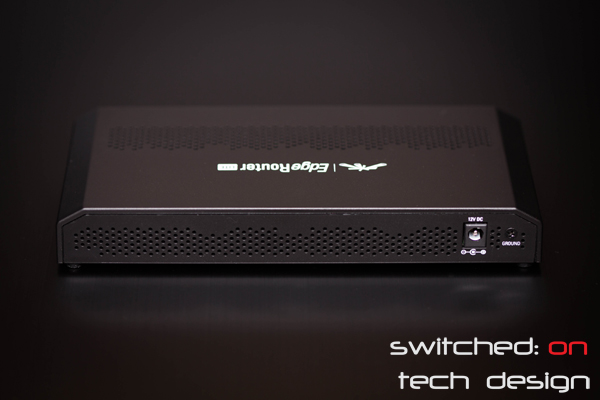
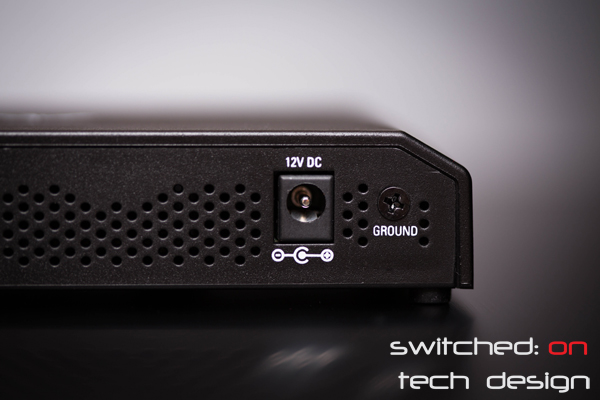
    Looking at the other side we’re greeted by, well, not much. Some faux ventilation holes, the power connector and a ground screw.


    ubiquiti-edge-router-lite-rear

    ubiquiti-edge-router-lite-power-and-ground


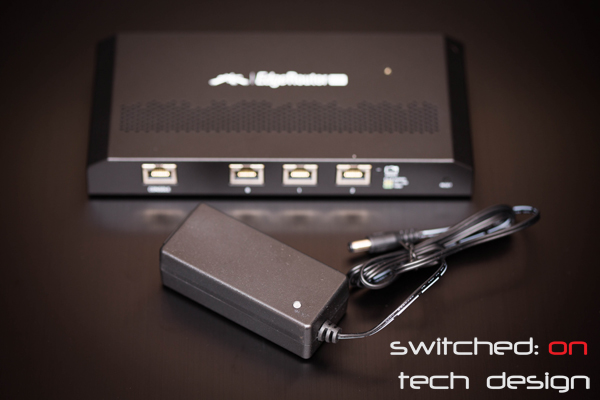
    Speaking of power, the power brick is a mere 1A and is reasonably small:


    ubiquiti-edge-router-lite-power-brick


    The brick uses a cloverleaf connector.


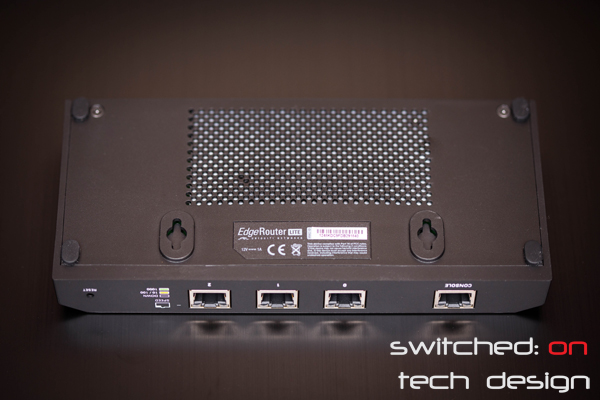
    ubiquiti-edge-router-lite-base


    On the underside we have the wall mounting holes, four rubber feet and some ventilation holes. The feet give the chassis a few mm of breathing space:


    ubiquiti-edge-router-lite-feet


    That’s it for the outside of the box – stay tuned for Part 2, where we look at the OS and what this little box can do!

  • Just arrived: Intel Dual-10-Gigabit Network Cards


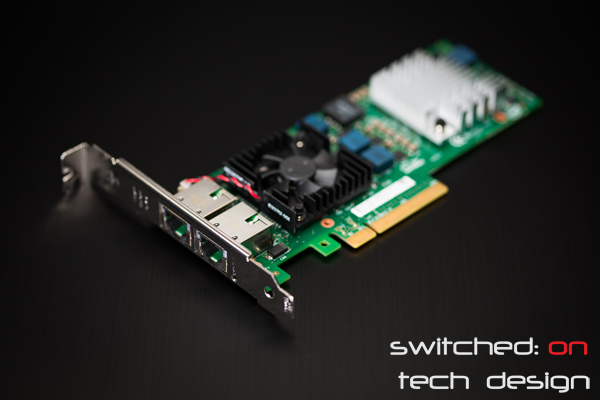
    We got our first Intel X520-T2 10Gbe cards in this week; benchmarks and a review won’t be available for a couple of weeks yet but we’re expecting big things…


    Stay tuned for more!

  • Creating a static IP in OpenIndiana/OpenSolaris

    If you’re running an OpenIndiana/OpenSolaris fileserver chances are you’ll need a static IP so that you’ll always know where to find it on the network. There is more than one way of doing this but by far the easiest is using NWAM, or network auto magic.


    Do the following (the # at the beginning means you need to have superuser permissions for this, and any line without bolded text at the end means you just hit enter):


    # nwamcfg

    nwamcfg> create ncp lan

    nwamcfg:ncp:lan> create ncu phys e1000g0

    Created ncu ‘e1000g0’. Walking properties …

    activation-mode (manual) [manual|prioritized]> prioritized

    enabled (true) [true|false]>

    priority-group> 0

    priority-mode [exclusive|shared|all]> shared

    link-mac-addr>

    link-autopush>

    link-mtu>

    nwamcfg:ncp:lan:ncu:e1000g0> end

    Committed changes

    nwamcfg:ncp:lan> create ncu ip e1000g0

    Created ncu ‘e1000g0‘. Walking properties …

    enabled (true) [true|false]>

    ip-version (ipv4,ipv6) [ipv4|ipv6]> ipv4

    ipv4-addrsrc (dhcp) [dhcp|static]> static

    ipv4-addr> 10.0.1.2

    ipv4-default-route> 10.0.1.1

    nwamcfg:ncp:CorpNet:ncu:e1000g0> end

    Committed changes

    nwamcfg:ncp:lan> end

    nwamcfg> end

    # nwamadm enable -p ncp lan


    Voila! You have now set a static ipv4 IP in OpenIndiana/OpenSolaris. If you would like to set an ipv6 address instead, or both, select ipv6 or nothing when prompted for the ip-version. Replace the 10.1.1.2 and gateway (10.1.1.1) with whatever IP addresses match your own network.

  • ECC in Intel Network Cards

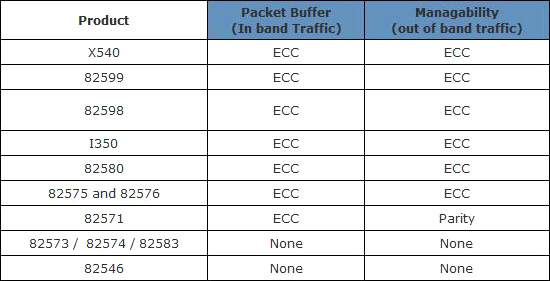
    Intel have released some information about ECC in their networking cards;


    Some of the older chips like the 82571 – found in cards like the Pro/1000 PT single/dual/quad port NICs – actually do have error correction on the in-band traffic, which is good news. You can see that the latest generation (i.e. i-350, i-540 etc.) have ECC on both the in-band and out-of-band (management) traffic – that’s on top of benefits like lower TDP and CPU consumption.


    Of note is that the more common chips for onboard Intel Gigabit LAN ports – e.g. 82574L – doesn’t feature ECC or parity at all on either in-band or out-of-band traffic. For those who are trying to create the most stable, secure system possible this is a consideration which may prompt you to look at some of the newer network cards which do have those features. I would think that for the majority of users it’s unlikely to have a significant impact on your data long-term but if you’re buying new, it pays to have all the facts. Also, for those of us who are paranoid about data corruption, well, there’s now one more place you can have ECC for your peace of mind…


    Source.

  • Intel Pro/1000 PT Quad review

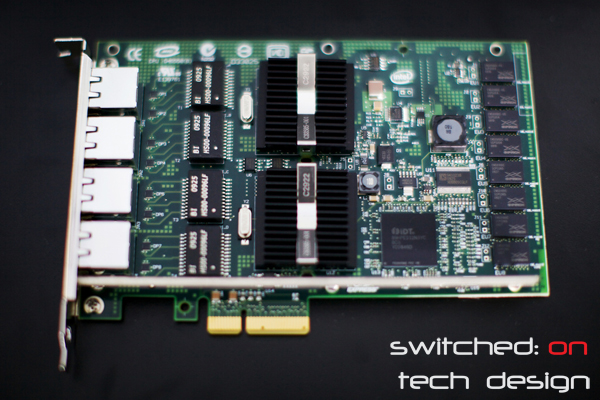
    One of the more common quad-port network cards that pops up online is the Pro/1000 PT. This is a 2006 Intel design – discontinued in 2009 – which generally seems to be priced anywhere from AU$120-160 as a server pull. It uses two Intel  82571 chips, each controlling two gigabit ports, and is PCI-E 1.0 x4. The chips are widely supported and work out of the box with most operating systems and hypervisors. The card is also compatible with PCI-E 2.0 and 3.0 lanes, and there are both low-profile and full-height variants.


    Full-height variant


    One of the appealing features these cards have – beyond four gigabit ports, of course – is teaming (aka trunking or bonding, falling under IEEE spec 802.3ad). This allows you to create links between the card and other devices which span more than one gigabit port, allowing you anywhere from a single gigabit connection to using all four to pipe your traffic through. Note that you won’t get 4Gb/s in a single transfer that way – it will be four gigabit pipes rather than one 4Gb pipe. This is particularly useful if the network traffic going into your server is exceeding a single gigabit link and can result in a noticeable improvement in network  performance – so long as your switch supports 802.3ad too.


    The card’s TDP is 12.1W and the chip heatsinks get reasonably hot to the touch if you don’t keep adequate airflow over the card during operation; they’re cards designed for use in high-airflow server environments so if you’re putting them in a quiet home server you may want to consider how much airflow the cards will get. The controllers can be passed through for hypervisors such as ESXi; keep in mind that you’re passing through one or both controllers rather than the ethernet ports themselves, so you can only pass the ports through in pairs.


    This card represents quite good value for the home/SMB user who needs more ports, either to separate network traffic or to alleviate bandwidth congestion. The wide compatibility is also an advantage for those using motherboards without existing Intel network controllers and it should work out of the box with just about any modern OS, including ESXi. At about a third of the cost of one of the new variants (i350-T4) these are definitely a card to consider if you’re looking for an Intel NIC but don’t want to buy new.