Category: Storage

  • Ubuntu: How to restore your files from a tape


    This is just like extracting a regular tar archive:


    tar -xvf /dev/[path to tape] [directory or file to restore]


    e.g.:


    tar -xvf /dev/st0 backups


    This will restore the “backups” file/folder to the current working directory. To check your current directory, you can use:


    pwd


    to make sure that you are restoring your files to the correct location!
  • Ubuntu: How to check the contents of a tape


    To check the contents of a tape, insert the tape and run the following:


    tar -tf /dev/[path to tape device]


    e.g.:


    tar -tf /dev/st0


    Note that typically it’s a zero, not a letter o, at the end.

  • Ubuntu: How to write files to a tape


    To put files onto a tape, run the following:


    tar -cvf /dev/[path to tape] [file or directory] [file or directory] [file or directory]


    An example would be:


    tar -cvf /dev/st0 /home/bob


    This will back up the user bob’s home directory to the tape, here located at /dev/st0 (a typical location – note the zero, not the letter o).


    If you want to use compression in your backup, use the z flag in addition to the other tar flags, such as:


    tar -cvfz /dev/st0 /home/bob


    All done!

  • Seagate HDD Date Codes


    seagate-date-codes


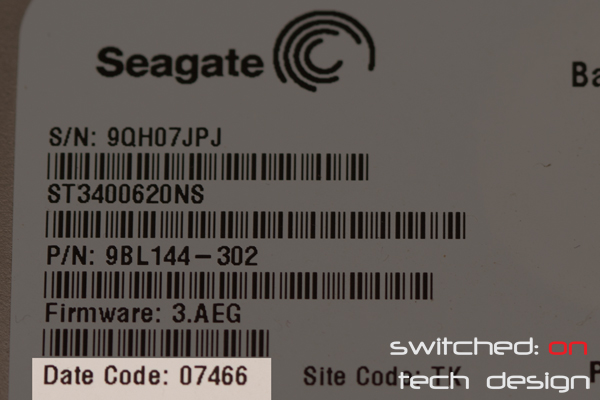
    On Seagate drives you may see a Date Code – e.g. 07466. What does it mean?


    Simply put, it’s in the format of YY:W:D, or YY:WW:D, where Y is year, W is week and D is day of week.


    The year is fairly self-explanatory; the weeks aren’t measured from January, though, they are from the start of the financial year – e.g. July 1st, and they begin on the first Saturday after that date. The days figure is how many days from the beginning of the week the drive was manufacturered; the weeks are considered to start on Saturdays and run through to Fridays!


    One wonders why they don’t simply put the date! In the case of the example above the drive was manufacturered on the 21st May 2007.

  • Western Digital Green drive resilver rates


    western-digital-green-drives


    We get asked fairly regularly about resilver rates for ZFS pools – these matter as it impacts on how quickly a vdev with faulty disks can rebuild data onto a fresh disk, as well as how quickly you can swap one disk for another. The longer it takes to rebuild the vdev after a disk has died, the longer your pool is operating with less redundancy – meaning that if you have had one disk fail (raidz1) or two disks fail (raidz2) already then one more failure before it has finished rebuilding will cause the vdev and zpool to fail.


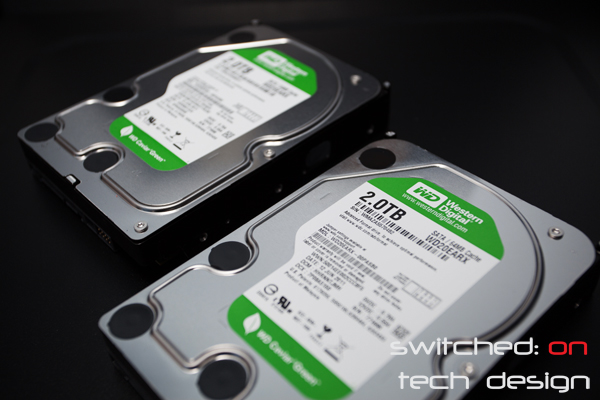
    Today we have been tasked with swapping new drives into two 6-disk vdevs, each consisting of a mixture of WD20EARX and WD20EARS drives – Western Digital 2TB green drives. One array contains 8TB of information, the other 5TB. The 5TB array fluctuates around 245MB/s resilver rate, and the 8TB fluctuates around 255MB/s – giving around 6 hours and 9 hours rebuild times respectively.


    These figures are what we would consider typical for that size of vdev, given the disks involved. We will post more rebuild rates and add them into a database over time – stay tuned 🙂

  • Samba log showing error: failed to retrieve printer list


    If you’re using Ubuntu and seeing the following error in your Samba log:


    Failed to retrieve printer list: NT_STATUS_UNSUCCESSFUL


    If you are a home user and using samba purely for file sharing from a server or NAS you’re probably not interested in sharing printers through it. If so, you can prevent this error from occurring by adding the following lines to your /etc/samba/smb.conf:


    printing = bsd

    printcap name = /dev/null


    Restart samba:


    /etc/init.d/smbd restart


    …check your logs:


    less /var/log/samba/log.smbd


    and the error should now no longer be appearing.

  • Intel SSD 330 120GB benchmarks


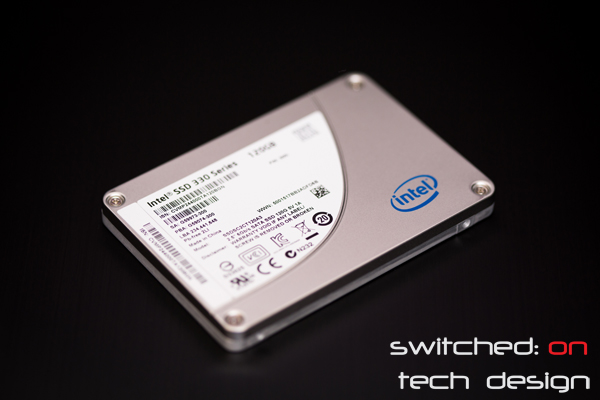
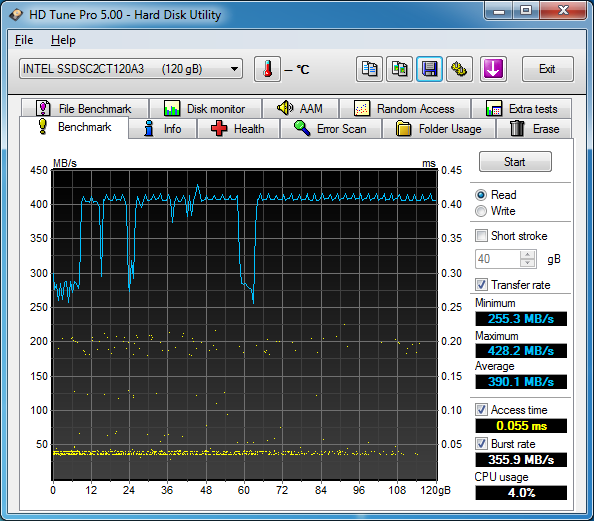
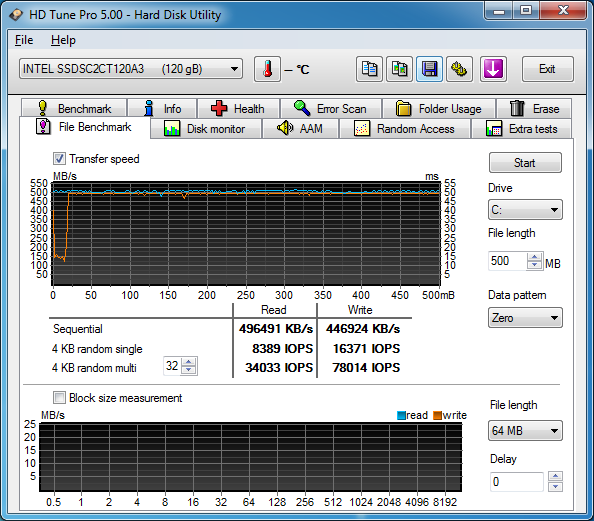
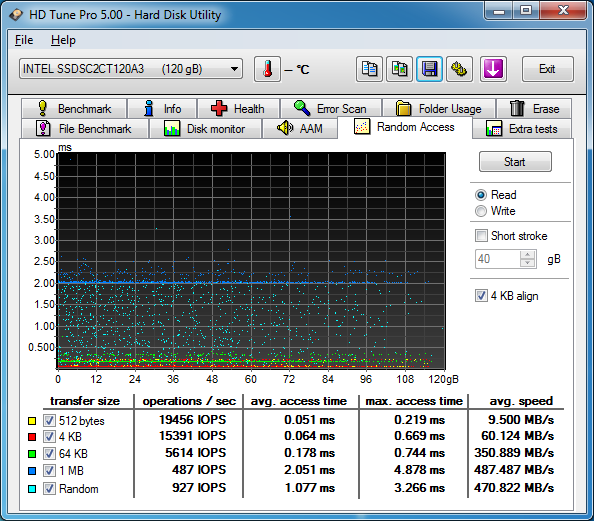
    As promised, here are some benchmarks of Intel’s SSD:

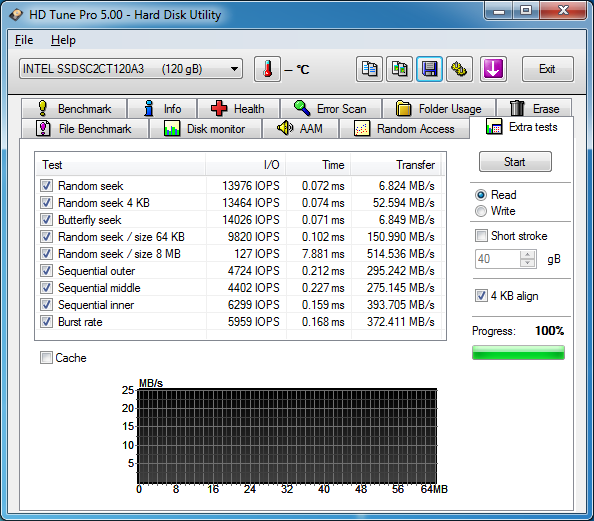
    An average of 390MB/s for sequential reads? Nice. IOPS:

    HD Tune Pro’s File Transfer test:

    Hovering around 500MB/s there – impressive. Last benchmark for now:

    Overall this is a well performing drive and is the only Sandforce-controller-based drive that we currently use.

  • How to restart NFS server on Ubuntu


    Once you set up your NFS exports by adding lines to /etc/exports you need to restart your NFS server; do this with the following:


    sudo /etc/init.d/nfs-kernel-server restart


    You should see output along the lines of:

     * Stopping NFS kernel daemon                 [ OK ]
    * Unexporting directories for NFS kernel daemon…           [ OK ]
    * Exporting directories for NFS kernel daemon…
    exportfs: /etc/exports [1]: Neither ‘subtree_check’ or ‘no_subtree_check’ specified for export “10.1.1.87/24:/nfs/sharedDir”.
    Assuming default behaviour (‘no_subtree_check’).
    NOTE: this default has changed since nfs-utils version 1.0.x


    Assuming no error messages pop up here you should now try to connect to your NFS share.

  • ZFS on Ubuntu error: Failed to load ZFS module stack


    If you see the above error in a fresh installation of ZFS on Ubuntu one cause may be that the package build-essentials wasn’t installed prior to installing the ubuntu-zfs package; run:


    sudo apt-get purge ubuntu-zfs


    then check for the remaining packages with the following:


    dpkg –list | grep zfs


    …and apt-get purge any remaining relevant ZFS packages.


    Then:


    sudo apt-get install build-essential


    …then install ubuntu-zfs as you did originally:


    sudo apt-get install ubuntu-zfs


    This time it should take properly. This isn’t the only cause of that error but on a fresh install with a new OS it’s one possibility.

  • Right-angled SATA cables


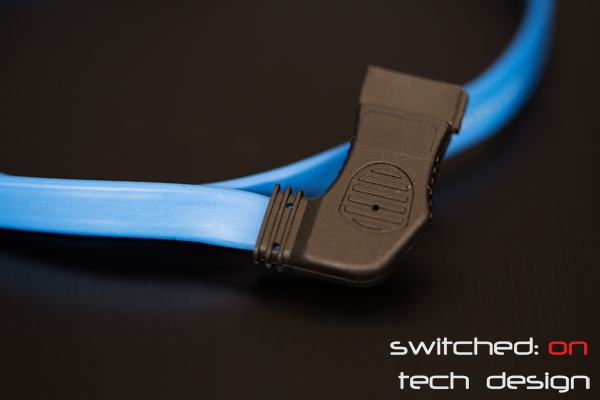
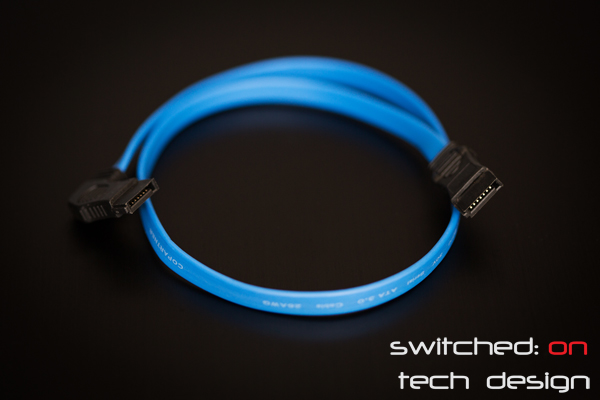
    Having trouble with routing SATA cables in a tight space? Don’t forget that you can get SATA cables with connectors at a variety of angles, including 90 degrees to the side:


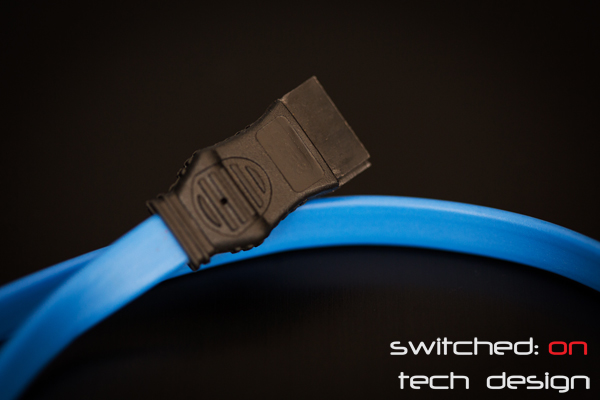
    This can make routing cables quite a bit easier – sometimes allowing you to avoid pressing the cable in at an odd angle or putting pressure on the connector (which can break your $100+ drive rather than your $5 cable). The other end can be straight or 90 degrees – straight is usually the most handy for the motherboard end:


    They’re around the same price as a regular straight-ended SATA cable – only a few dollars each, which is well worth the investment if it means avoiding putting strain on your drives or potentially damaging the cable through awkward routing.


    Hope that helps someone who didn’t know they existed!