Category: Storage

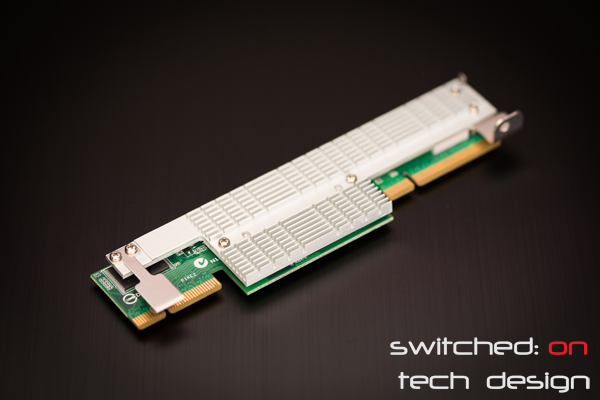
  • Asus Pike 2008 SAS card


    We have finally got one of these cards in-house for testing;


    We’re particularly interested in how it compares to cards like the M1015 in IT mode as an inexpensive way of adding 8 SAS/SATA ports to a storage server. Expect a post soon reporting on what we find!

    You can buy the Asus PIKE 2008 card from Amazon.com:

  • ZFS: How to check compression efficiency


    If you have enabled compression on a ZFS folder you can check to see just how much disk space you’re saving. Use the following command:


    sudo zfs get all [poolname]/[folder] | grep compressratio


    An example:


    sudo zfs get all backup01/data | grep compressratio


    returns the following:


    backup01/data compressratio  1.50x  –


    Here we can see we have a compression ratio of 1.5x. Compression is an excellent way of reducing disk space used and improving performance, so long as you have a modern CPU with enough spare power to handle it. Some data will not be easily compressible and you may see less benefit – other data will be much more compressible and you may reach quite high compression ratios.


    If we run the same command on a folder full of already-compressed RAW image files:


    sudo zfs get all backup01/photos | grep compressratio

    backup01/photos compressratio 1.05x


    …we can see that they do not compress as easily as the documents in the data folder, giving us only a 1.05x compression ratio. You can see the compression ratio of all of your ZFS pools and folders with the following:


    sudo zfs get all | grep compressratio


    Check your own datasets and see how much you are saving!

  • Checking SSD health with ESXi 5.1

    A new feature with ESXi 5.1 is the ability to check SSD health from the command line. Once you have SSH’d into the ESXi box, you can check the drive health with the following command:


    esxcli storage core device smart get -d [drive]


    …where [drive] takes the format of: t10.ATA?????????. You can find out the right drive name by the following:


    ls -l /dev/disks/


    This will return output something like the following:


    mpx.vmhba32:C0:T0:L0
    mpx.vmhba32:C0:T0:L0:1
    mpx.vmhba32:C0:T0:L0:5
    mpx.vmhba32:C0:T0:L0:6
    mpx.vmhba32:C0:T0:L0:7
    mpx.vmhba32:C0:T0:L0:8
    t10.ATA_____M42DCT064M4SSD2__________________________000000001147032121AB
    t10.ATA_____M42DCT064M4SSD2__________________________000000001147032121AB:1
    t10.ATA_____M42DCT064M4SSD2__________________________0000000011470321ADA4
    t10.ATA_____M42DCT064M4SSD2__________________________0000000011470321ADA4:1


    Here I can use the t10.xxx names without the :1 at the end to see the two SSDs available, copying and pasting the entire line as the [drive]. The command output should look like:


    ~ # esxcli storage core device smart get -d t10.ATA_____M42DCT064M4SSD2__________________________000000001147032121AB
    Parameter                     Value  Threshold  Worst
    —————————-  —–  ———  —–
    Health Status                 OK     N/A        N/A
    Media Wearout Indicator       N/A    N/A        N/A
    Write Error Count             N/A    N/A        N/A
    Read Error Count              100    50         100
    Power-on Hours                100    1          100
    Power Cycle Count             100    1          100
    Reallocated Sector Count      100    10         100
    Raw Read Error Rate           100    50         100
    Drive Temperature             100    0          100
    Driver Rated Max Temperature  N/A    N/A        N/A
    Write Sectors TOT Count       100    1          100
    Read Sectors TOT Count        N/A    N/A        N/A
    Initial Bad Block Count       100    50         100

    One figure to keep an eye on is the reserved sector count – this should be around 100, and diminishes as the SSD replaces bad sectors with ones from this reservoir. The above statistics are updated every 30 minutes. As a point of interest, in this case ESXi isn’t picking up on the data correctly – the SSD doesn’t actually have exactly 100 power-on hours and 100 power cycle count.

    Assuming it works for your SSDs, this is quite a useful tool – knowing when a drive is likely to fail can give you the opportunity for early replacement and less downtime due to unexpected failures.

  • Fractal Design Define R4 Review – Part One


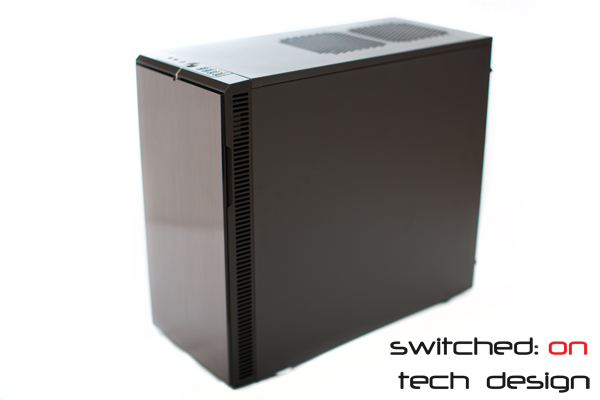
    If you’re in the market for an understated, quiet case that performs well and leaves plenty of room for expansion the Fractal Design Define series is quite likely to be on your list of cases to investigate. The latest revision of the case is R4, which draws upon user feedback on the R3 and features a host of minor changes. So how does it fare?


    (more…)

  • Fractal Design Define R4: Does a Corsair H100 cooler fit in the front?


    With the release of the Fractal Design Define R4 we have been asked a few times about whether Corsair’s self-contained liquid cooling system will fit in the front. Placement here has a few advantages over placing it in the top of the chassis; noise is reduced, for a start, and if you use the top as an intake you lose the inbuild dust filters. You could use the H100 in an exhaust configuration in the top position but temperatures will not be as good as you will be drawing in warm air from inside the chassis to cool the CPU rather than the cooler, outside air.


    That leaves the front as an ideal position from the perspective of noise and cooling; the Define R3 did not allow this placement without drilling out the front drive bays. Since the R4 allows you to remove the front drive trays without permanently modifying the chassis, how does the H100 fare in terms of fit?


    As it turns out, it fits beautifully:
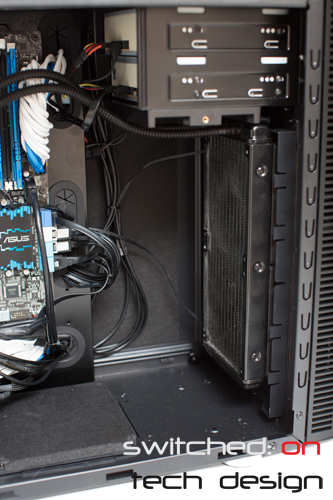


    Given that the front has been upgraded to allow the placement of 140mm fans as well as 120mm fans there’s a little bit of space below the cooler; this hasn’t proven to be an issue in our testing though you could easily put a baffle in (foam, tape etc.) if it bothered you. You can see the coolant tube placement here:
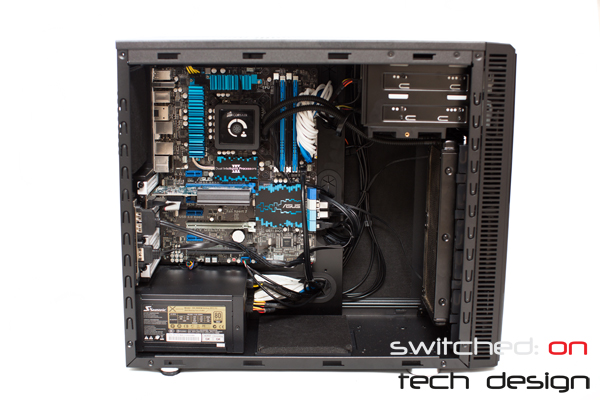


    There’s a reasonable amount of slack there – it’s definitely not applying an undue amount of pressure on the tubes.


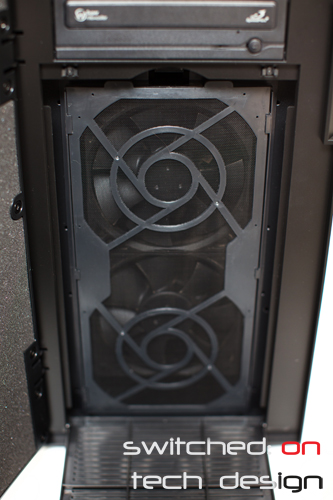
    From the front we can see:
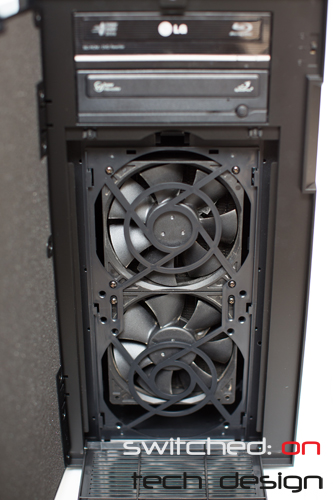


    You can see the gap at the bottom (and a slight one at the sides) more clearly here. For those concerned about aesthetics, you can’t see anything when the filters are back in place:


    Comparing the top to the front mounting in practice the front is notably quieter – and temperatures are a few degrees better, which may be important if you’re pushing the boundaries with the all-in-one units and don’t want to go to a full-blown watercooling setup. It’s well worth the effort to install it in the front rather than top if you don’t need the 3.5″ bays!
  • Fractal Design Define R4: Removing all of the front drive trays


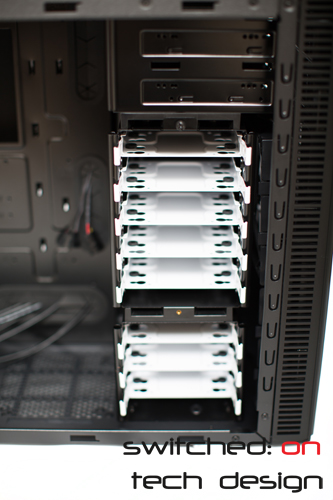
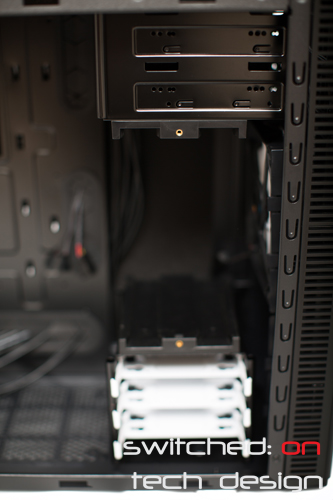
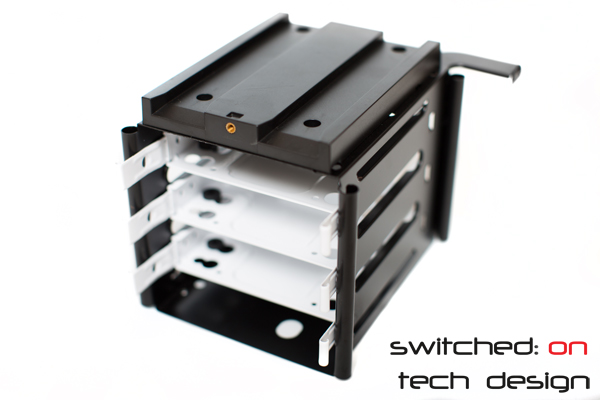
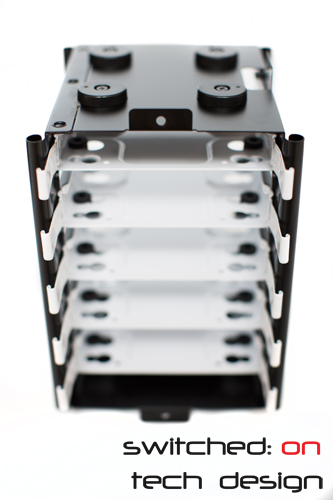
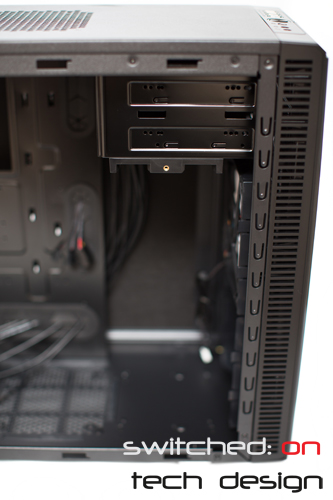
    Someone asked how we removed the hard drive bays in the Fractal Design R4 builds we’re doing at the moment, so we wrote up a quick post for those who are wondering. If you want to install a radiator to the front of the R4 or are simply using a handful of SSDs and have no need for the 3.5″ drive bays you may wish to remove them; unlike the R3, where they’re riveted in place, the R4 features entirely removable drive bays.


    Remove the thumbscrews on the front and the topmost tray will just slide out:


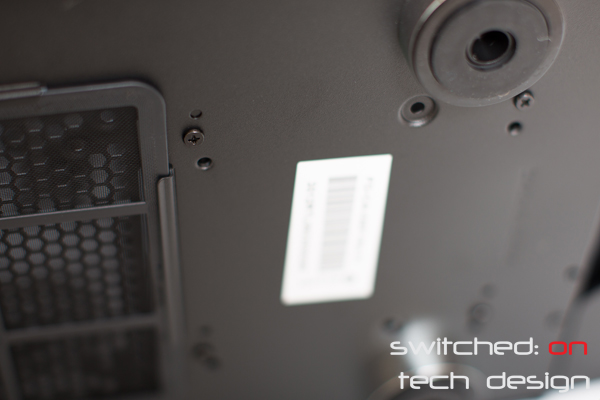
    This will leave you with plenty of room to install almost any graphics card you might care to; it also improves airflow from the front uppermost fan as there’s nothing blocking the airflow. The second set of drive trays is a little trickier; have a look under the case for the first set of screws attaching it:


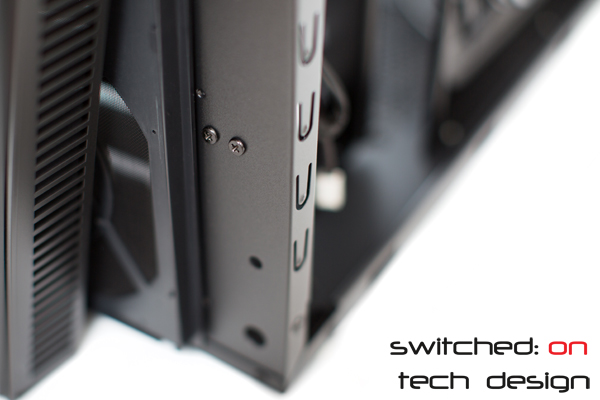
    There are four in total here, two of which are clear in the photo. Once they’re removed, unclip the front panel by pressing out the plastic pins that hold it in and you’ll see the front screws holding in the drive tray:


    There are only the two you see in the photo here. Once they’re removed, the drive tray lifts right out.


    …and the top one:


    They’re quite sturdy little units themselves and could certainly be re-purposed elsewhere should you have a need for drive trays!


    Now we have a front chassis that’s empty – until you install a radiator, that is… here’s a view of the newfound free space:


    Happy disassembling!

  • Western Digital Red Drive Performance Numbers: Sequential Read/Write


    As a follow-up to our review (found here), we’ve finally finished testing the new Red drives and compared them to the equivalent Green drives.


    (more…)

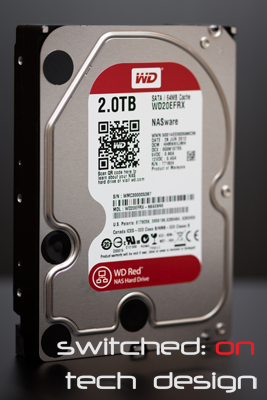
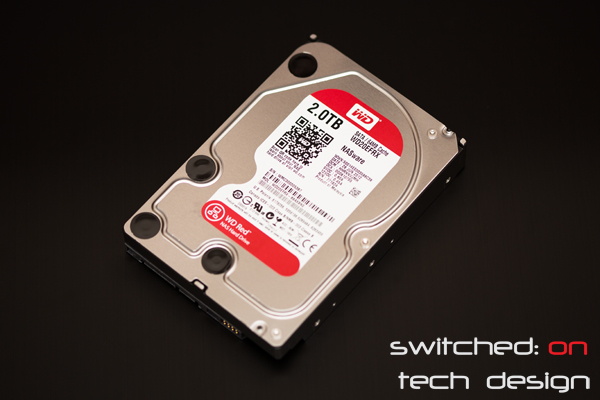
  • Western Digital 2TB Red Drive review (WD20EFRX)


    Up until now Western Digital have separated their hard drive lines into three; Blue for consumer drives, Green for low-power drives and Black for performance. This has now been expanded with a fourth colour added to the stable; the WD Red NAS hard drive range. Western Digital tout these as being designed specifically for the usage patterns typically seen in a network-attached-storage (NAS) device – generally 24/7 operation, potentially poor ventilation and the likelihood of being in a RAID array of some description for mass media storage.


    (more…)