If you’re in the market for an understated, quiet case that performs well and leaves plenty of room for expansion the Fractal Design Define series is quite likely to be on your list of cases to investigate. The latest revision of the case is R4, which draws upon user feedback on the R3 and features a host of minor changes. So how does it fare?
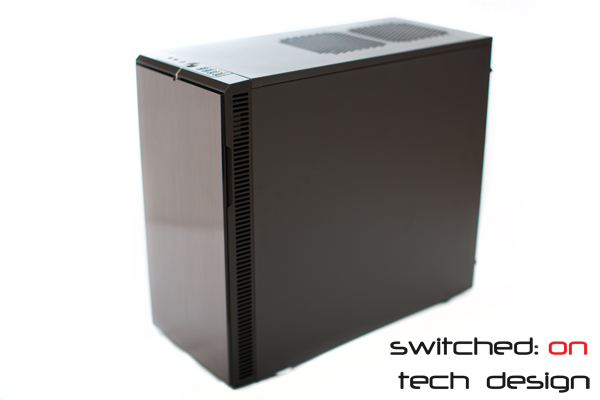
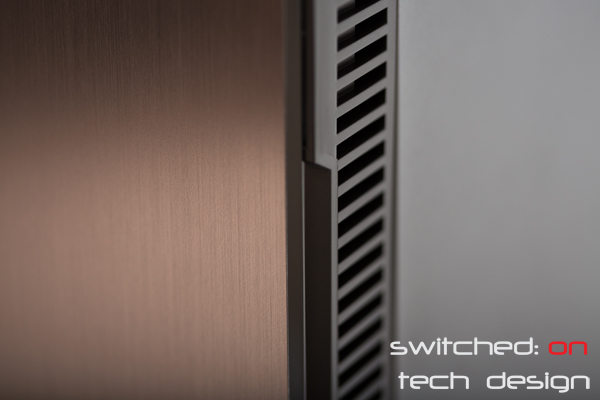
Our sample case was Titanium in colour; all of the sides bar the front are an attractive matte black colour while the front door is a lighter, metallic brown (Titanium, I suppose…) and has a brushed-aluminium-look finish, despite being plastic. The overall effect is quite nice – understated but not unattractively so.
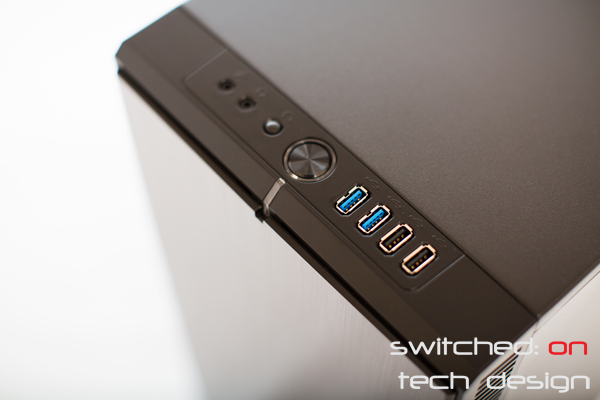
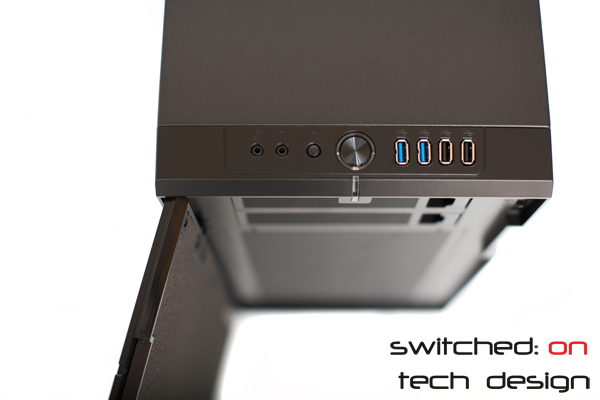
On top the I/O cluster features two USB 3.0 ports alongside the standard two USB 2.0 ports, the power button, a reset button and microphone + speaker audio ports. The reset button on top is much easier to find than it was on the R3, where it was hidden inside the front door. The ring around the power button in the center and the clear slot in front of that light up blue when the system is on – there’s no HDD LED, but I don’t know how many people will miss that nowadays. The blue light is reasonably bright – enough to easily see in a sun-lit room.
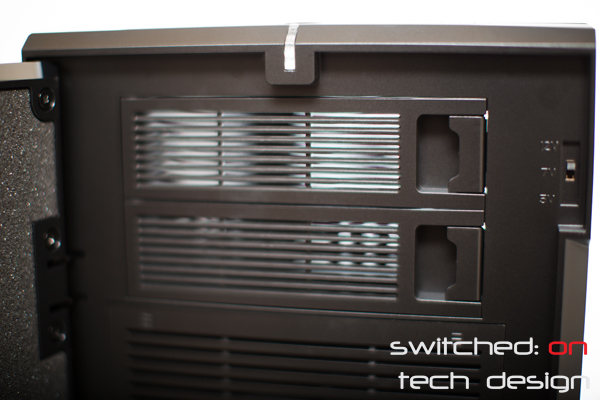
Moving down the front of the case we find two 5.25″ bays – a good number as far as we’re concerned, allowing for two Bluray/DVD drives or a single drive and a fan controller/extra I/O + cardreader – more than that is overkill on a modern case for the majority of users given how little use CDs are seeing. You could also fit a 3-in-2 HDD adapter in here for a total of 11 3.5″ HDDs if you wanted to turn the system into a fileserver – two raidz1 arrays with a hot spare, anyone? The drive bay blanks pop out with the lever you can see on the right and fit quite firmly. Looking to the right again, we see:
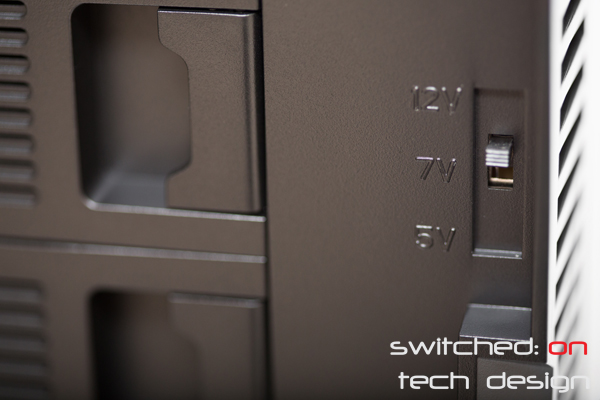
…a 3-speed fan controller! Fractal Design have eschewed the PCI-slot fan controller that came with the R3 and replaced it with the more useful front switch. You can hook up three fans to this controller inside the chassis, and it requires a single Molex connection to function. Using the stock fans 7v is a sweet spot between noise and performance – the noise doesn’t drop significantly going to 5V and 12V is handy if you need the additional cooling. Whether your case is on your desk or on the floor, it’s much more convenient being able to access the fan controller from the front rather than having to reach around to the rear – an arduous task if your system lives under your desk.
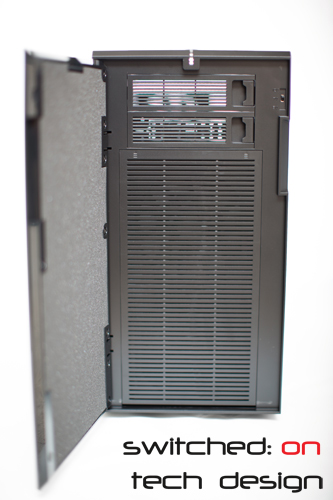
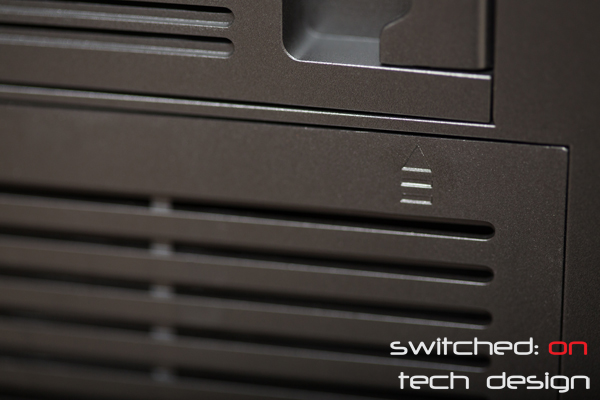
Below these we have the fan intake grille; behind this sits a dust filter and two 140mm/120mm fan slots. The two clips for this front section are at the very top:
Press both of those in and hey presto, the grille plate pivots on the bottom and flips down.
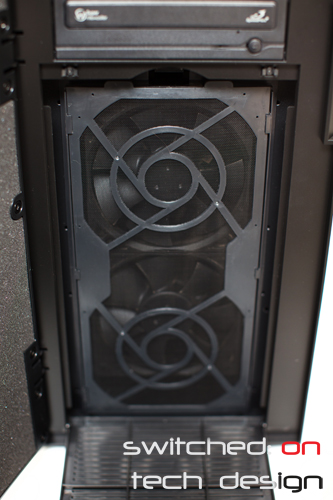
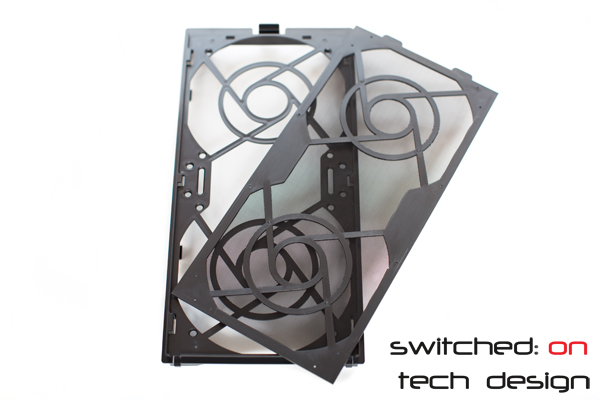
From the factory the case has a single Fractal Design 140mm fan in the top intake – in the above photo it’s been replaced with two black fans. The fan assembly and dust filter are removable:
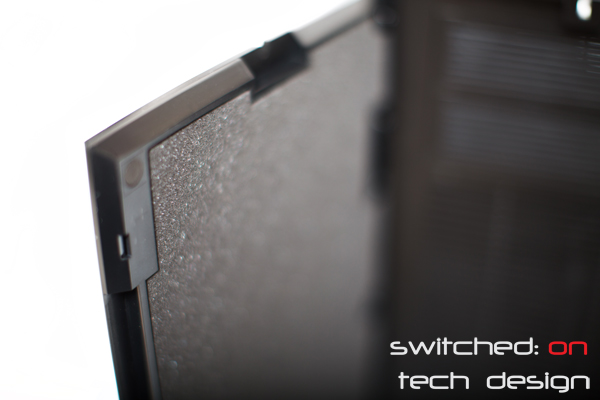
…which makes them easy to clean! The dust filter material is quite tough, too, so it’s not hard to scrape a large dust build-up off without removing the filter.
Moving on to the front door, we find our first lot of sound deadening material – in this case light foam. It’s surprisingly effective at blocking out the noise of intake fans, even when they’re set to high speed. When the case door is closed the air is drawn in through vents on either side of the front plate:
Here you can also see the slight cutout on the right-hand side to allow for fingers to get a grip on the front door. Note that the door only opens right to left, and that there is a reasonably limited range of movement available:
That’s as far as it goes. This may be an issue depending on how your chassis is positioned in relation to you but in practice we found it to be no problem at all, even with the chassis sitting to the right of a monitor.
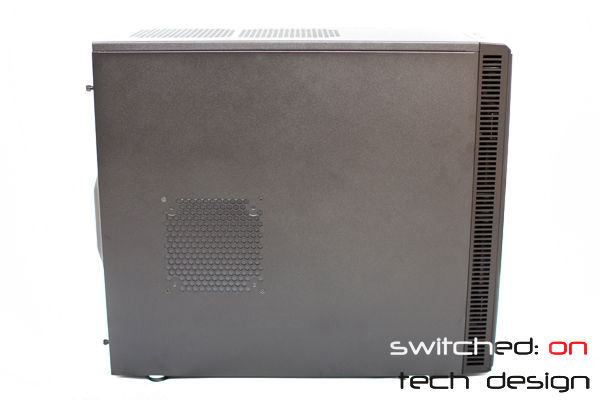
Moving around to the left, we have another 140mm/120mm fan hole – with a noise blocking square in-place – and a heavy, sound-deadened side panel. The sound deadening material used on the side panels is much heavier than the front, and is suited to dulling vibrations. The panel unscrews with two thumbscrews at the rear and slides off to reveal the interior:
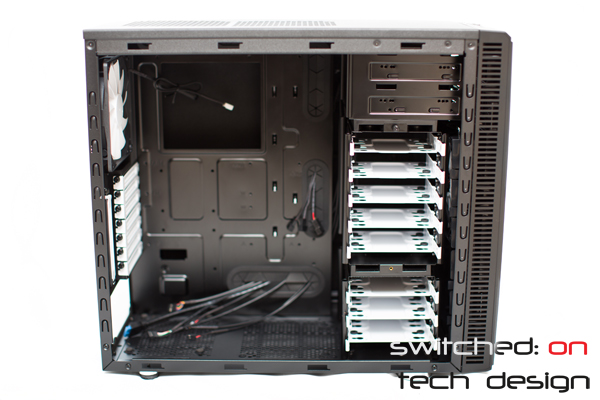
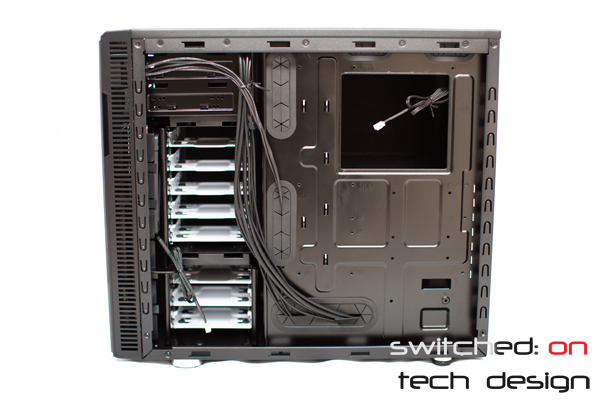
Eight 3.5″/2.5″ bays, a good amount of interior space and appropriately long cables – looking good so far.
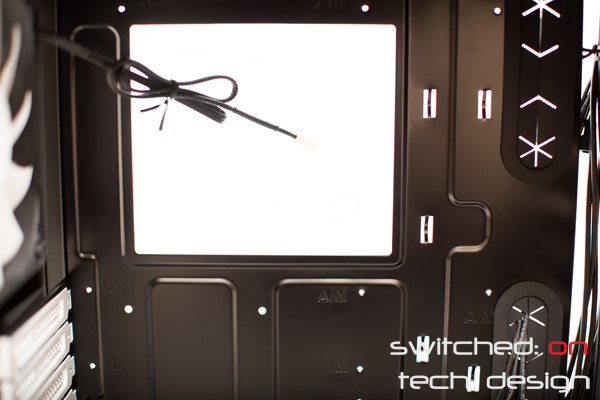
The CPU cutout is large enough that it should be possible to fit most S1155 backplates without removing the motherboard, should you choose to do so. The rear panel is reasonably rigid despite the large hole.
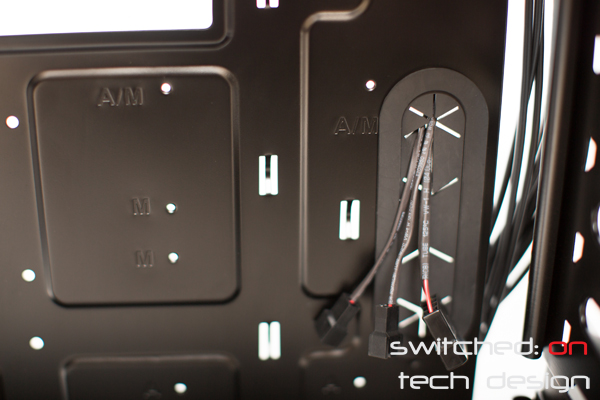
The mounting holes for ATX and mATX are clearly marked, which is handy – particularly if you aren’t confident with installing the hardware. You can see the rubber grommets here, which are firmer than what was found in the R3 – meaning that they fall out less frequently when you’re tugging cables through them. You can also see two of the three fan controller cables here along with the Molex power cable for the controller.
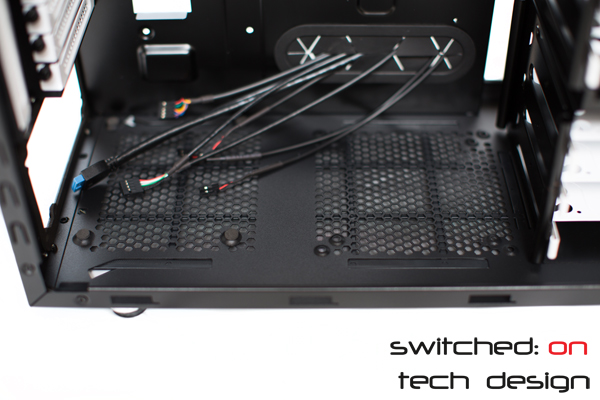
On the inside floor we have the mounting points for an ATX PSU – which is held off the base by small rubber mounts – and the mounting points for a 140mm or 120mm fan. Presumably you would use this fan mounting point as an intake to feed cold air to your graphics cards – I can’t see a reason to use it as an exhaust. Underneath this we can see:
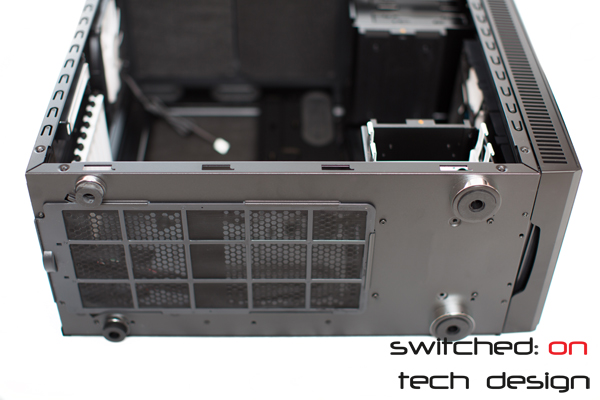
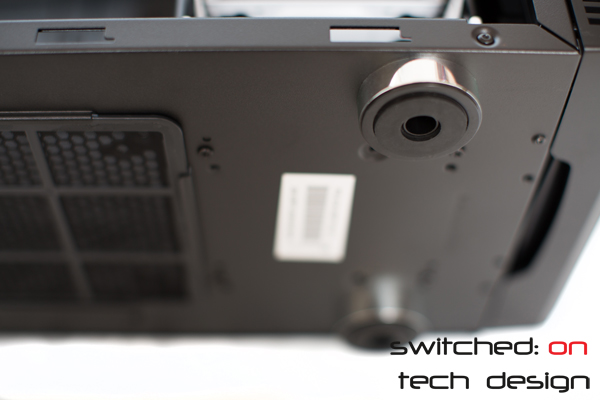
As you can see, there’s a dust filter underneath both the PSU intake and the additional fan space. It unclips easily and slides out the back, and is made of the same material as the front – fairly tough and easy to clean. You can also see the difference between the front and rear case feet here:
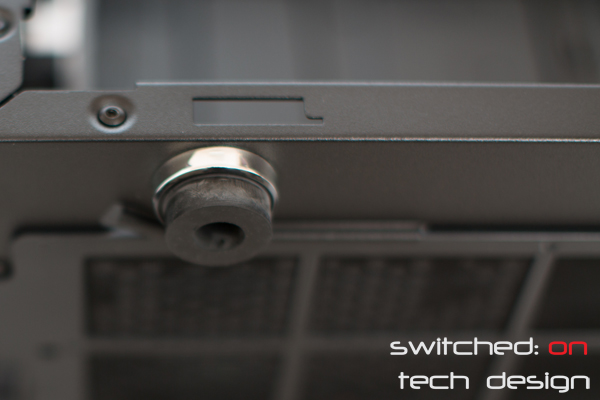
The front have a silver bezel, whereas the rear are smaller and have a much smaller silver ring around the rubber:
It’s a given that the front feet are more likely to be visible than the rear feet so this cost-cutting feature is probably going to be a non-issue for most people.
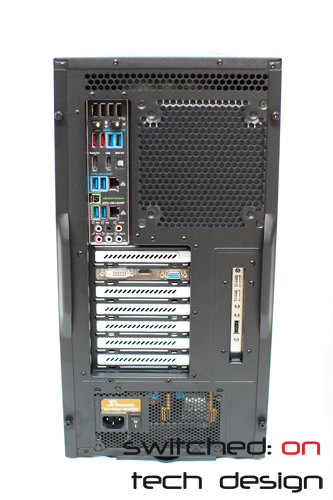
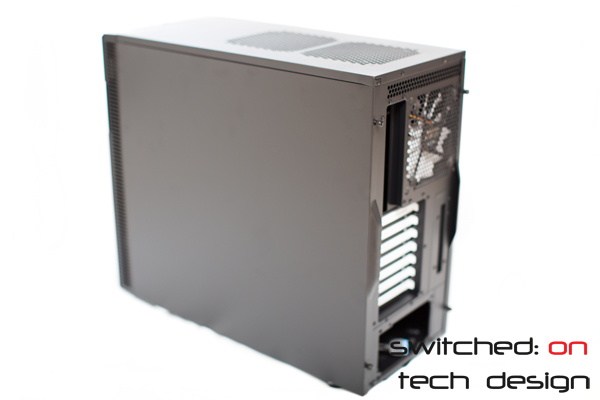
Moving around to the rear you can see 7 PCI expansion slots as well as an eigth vertical slot – this is handy for USB/eSATA extension ports or anything else that doesn’t have to fit into a motherboard PCI/E slot. This is a much better use of space for most people than the rubber water cooling grommets seen in the R3 – particularly for those who run a lot of expansion/video cards. Another 140/120mm fan can fit above the slots. Stock the case comes with a 140mm Fractal Design fan in place here. Moving to the top…
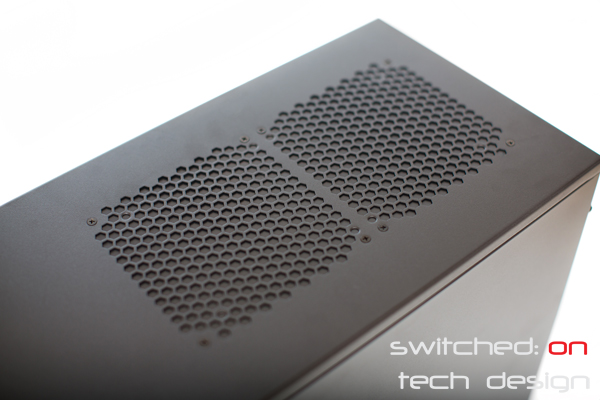
Two 140mm/120mm fan slots for exhausting hot air out the top of the chassis. Stock they come with two removable baffles in them to prevent sound and air escaping. Note the additional space on either side of the grilles – this should help a great deal when fitting radiators up here, as the R3 had the mounting points very close to the chassis – much too close to use a radiator internally here in a lot of cases thanks to the radiators coming into contact with motherboard heatsinks.
There’s not really a great deal of note on the other side, until you take the panel off…
There’s more space behind the motherboard tray with this revision – 26mm! This helps a great deal with putting the case sides back on when there’s a tangle of thick cables being hidden away here. The small hole over the PSU is handy for connecting audio/USB cables while keeping them hidden from view for the most part.
There’s also screw holes for two SSDs to mount behind the motherboard, too – a very welcome inclusion, though you do have to remove the motherboard to get at the screws! For our builds we’re skipping the screws and using adhesive velcro here – it means you can fit more than 2 SSDs behind the motherboard and it also means that you don’t have to disassemble your entire system when your solid state drive fails…
Overall the system is a very worthy upgrade to the R3 – most things in the case have been thoughtfully revised and the result is a very well rounded chassis which is suitable for a wide range of applications. With a ~$35 adapter you could have 11 3.5″ bays – filled with cost-effective 2TB drives that gives you 22TB raw capacity or 33TB raw capacity from 3TB drives. For gamers you can fit extra long video cards with the removal of the drive bays, and with the price of SSDs falling almost daily it’s now cost effective to buy a large enough SSD/pair of SSDs to keep your OS + games on – meaning you may well not miss the 3.5″ bays. If you fall somewhere inbetween you can take out the top set of drive trays to have the long graphics cards, improved airflow but still have a few storage drives. It’s a flexible case with an elegant, understated aesthetic – well worth shortlisting and it’s firmly on our list of recommended chassis’.
Stay tuned for the second part of our review where we build a system into the case to see how it performs!
