In-Win’s H-frame ITX chassis caught people’s attention in early 2013 for it’s striking looks, and today we got our hands on one to review.
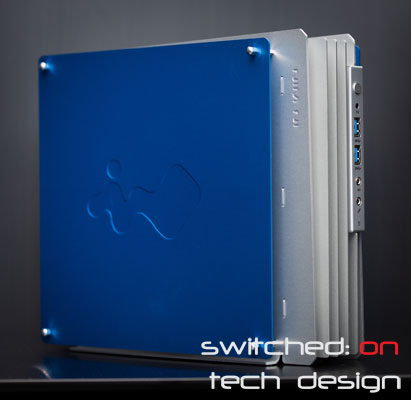
In-Win’s H-frame ITX chassis caught people’s attention in early 2013 for it’s striking looks, and today we got our hands on one to review.

With the massive increase in how useful mini-ITX boards are has come a corresponding increase in chassis to fit them, all of which are challenged by dissipating a full-sized-desktop CPU worth of heat in a small space. Add in a GPU and other components and you have quite a difficult proposition – getting the right balance of size, aesthetics, noise, cooling and price. One of the more recent contenders is Silverstone’s FT-03 Mini:
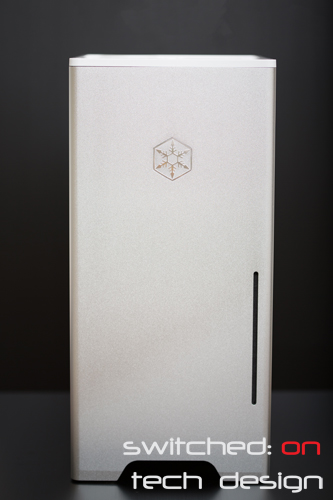
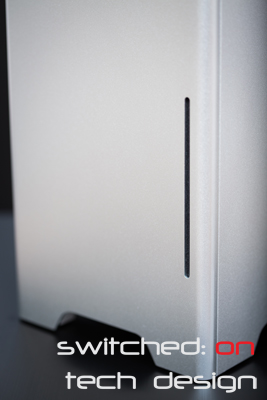
The white is tasteful and matches up with the silver nicely. There’s a power and reset button in the center:
…along with two USB 3.0 ports and the usual two audio ports on top.
The top plastic piece is held in with clips and lifts off without too much difficulty. The sides are also held in with clips:
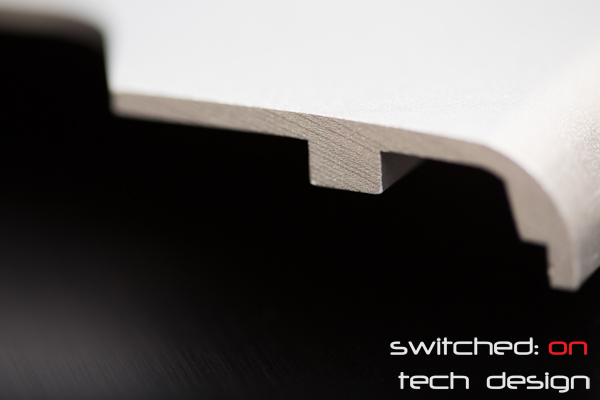
They’re particularly solid sides – though they do scratch easily. The aluminium is several mm thick:
There’s enough room in the chassis for a SFX PSU and even a self-contained watercooling unit if you’re feeling adventurous – it’s a reasonably flexible chassis, too, so if you don’t need a CD/DVD/Bluray drive you can leave that mounting bracket out, which gives you a little more leeway in installing other components.
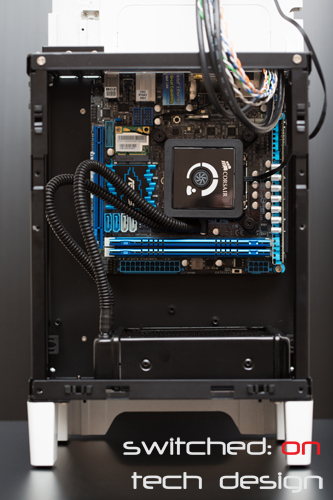
We haven’t built one that isn’t cooled with a Corsair H80 yet and we’ve also avoided using SFX PSUs in exchange for smaller units to give more internal space. There’s a dust filter on the base, too, which is handy as it catches a reasonable amount of dust being so close to the floor.

As promised, here’s part two of our review! We’re building one of our standard test systems using this chassis and the following components:
Asus P8Z77-V Deluxe motherboard
Intel i7-3770K CPU @ 4.5GHz
8GB G-skill Ares 2133MHz RAM (2x4GB)
Corsair H100 self-contained liquid cooling
Crucial M4 SSDs
Seasonic X-560 PSU
AMD HD6450
Click through to see how the build went!
If you’re in the market for an understated, quiet case that performs well and leaves plenty of room for expansion the Fractal Design Define series is quite likely to be on your list of cases to investigate. The latest revision of the case is R4, which draws upon user feedback on the R3 and features a host of minor changes. So how does it fare?
With the release of the Fractal Design Define R4 we have been asked a few times about whether Corsair’s self-contained liquid cooling system will fit in the front. Placement here has a few advantages over placing it in the top of the chassis; noise is reduced, for a start, and if you use the top as an intake you lose the inbuild dust filters. You could use the H100 in an exhaust configuration in the top position but temperatures will not be as good as you will be drawing in warm air from inside the chassis to cool the CPU rather than the cooler, outside air.
That leaves the front as an ideal position from the perspective of noise and cooling; the Define R3 did not allow this placement without drilling out the front drive bays. Since the R4 allows you to remove the front drive trays without permanently modifying the chassis, how does the H100 fare in terms of fit?
As it turns out, it fits beautifully:
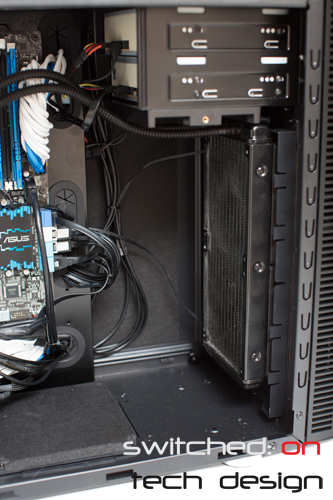
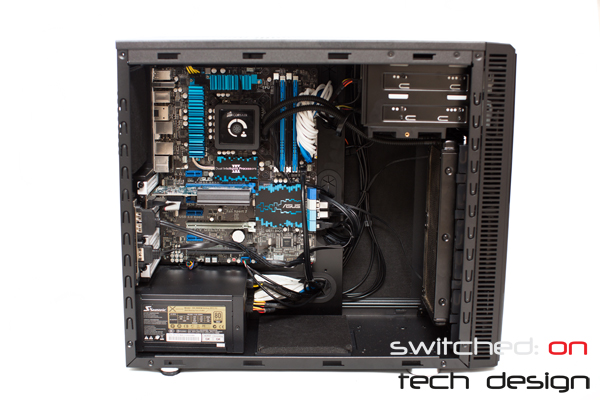
From the front we can see:
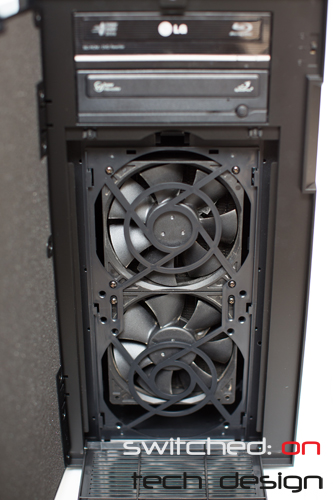
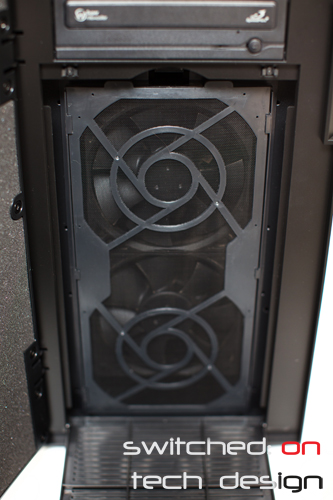
Someone asked how we removed the hard drive bays in the Fractal Design R4 builds we’re doing at the moment, so we wrote up a quick post for those who are wondering. If you want to install a radiator to the front of the R4 or are simply using a handful of SSDs and have no need for the 3.5″ drive bays you may wish to remove them; unlike the R3, where they’re riveted in place, the R4 features entirely removable drive bays.
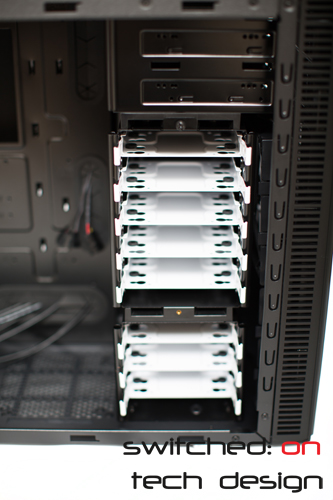
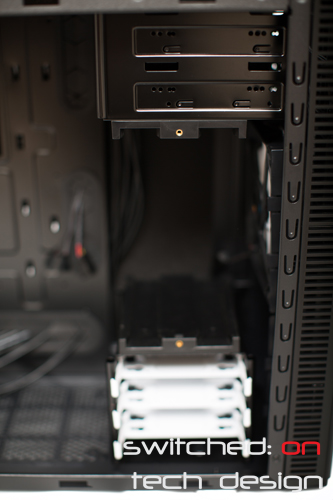
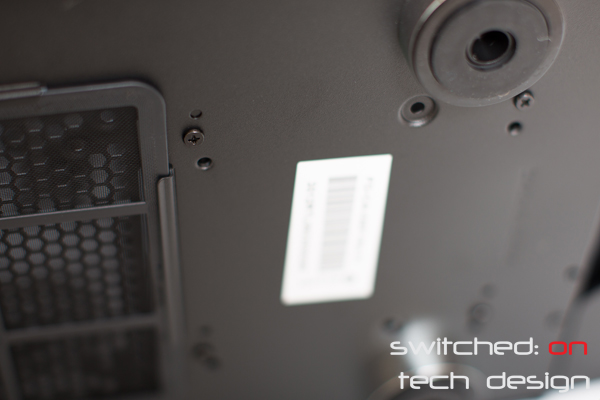
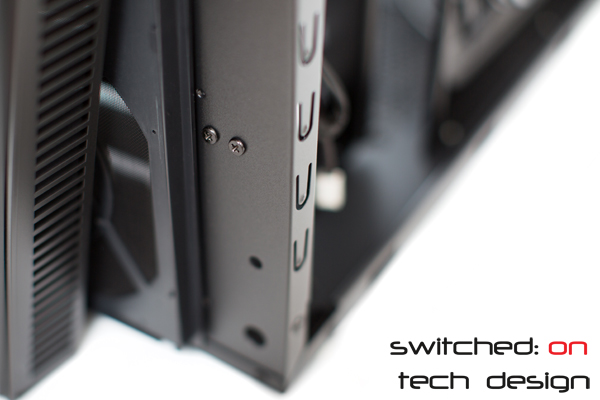
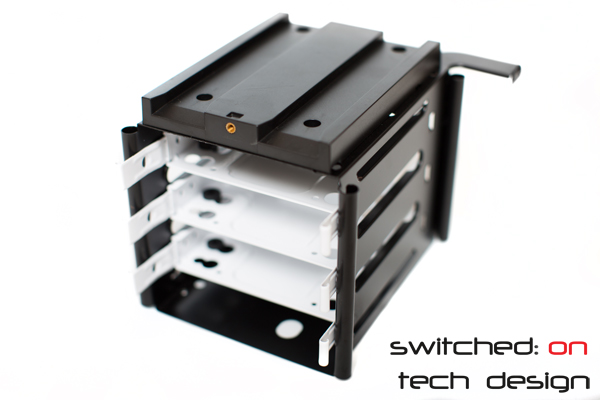
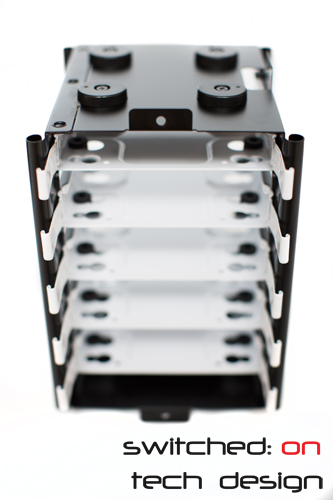
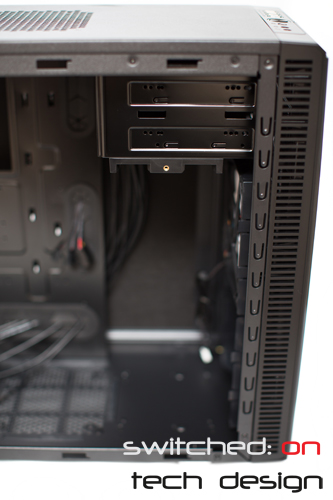
Now we have a front chassis that’s empty – until you install a radiator, that is… here’s a view of the newfound free space:
Here is a comparison of the Define R3 and R4, side by side – the R4 is the larger, black case and the R3 is in white.
When the front panels are lined up like so…
The rears meet like so:
Same length! As for the width:
As you can see the R4 is substantially wider – it also replaces the grille and twin rubber grommets for water cooling with a vertical PCI expansion slot, which is arguably more useful. The rear exhaust fan mounting has gone from a 120mm-mount to a 140mm mount – 120mm fans can also fit, mind. The front intake and top intake/exhaust fan mounting points are also 140mm-compatible now as well on the R4 (again, 120mm still fits).
As you can see the R4 is slightly higher, too.
More comparisons to come as well as a full write-up of the R4 🙂