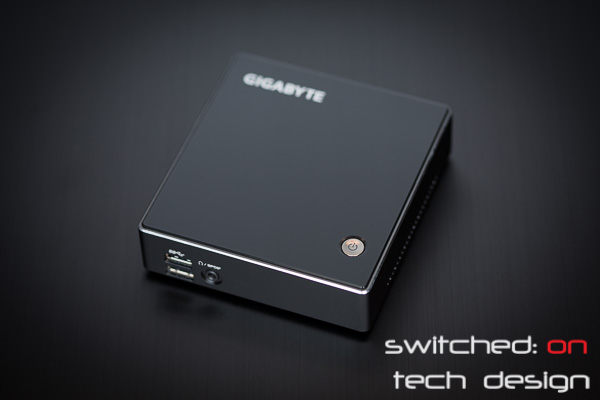
Gigabyte recently updated their line of Brix mini-computers to Intel’s Haswell architecture (from Ivy Bridge). Today we have the i5-4200 model (BRIX GB-BXi5-4200) in for testing.
Click through to read the review!
Specs are:
- Haswell i5-4200U processor (1.6Ghz, 2.6GHz max turbo)
- HD 4400 graphics
- 2x 1.35v DDR3 SO-DIMM slots, up to 16GB
- One mSATA port
- One half-size mini-PCI-E port – occupied by Wifi/Bluetooth card
- Wireless b/g/n and Bluetooth 4.0
- VESA mountable
- HDMI/Mini Displayport
- 4x USB 3.0 ports – two front, two rear
- Gigabit Ethernet port (Realtek RTL8111G)
- Headphone jack with SPDIF (Realtek ALC269)
- Approx 30mm x 108mm x 115mm
The i5-4200u is a dual-core hyperthreaded CPU – meaning it presents four thread to the OS. It is a mobile CPU and has quite a low TDP accordingly – 15W. This is pretty standard for small form factor units, where a more powerful desktop-class CPU would require far too much cooling to be practical in such a small chassis. It is built on Intel’s latest Haswell architecture – meaning a 22nm process, with good USB 3.0 support and a host of other benefits. You can find the Intel ARK page for the CPU here.
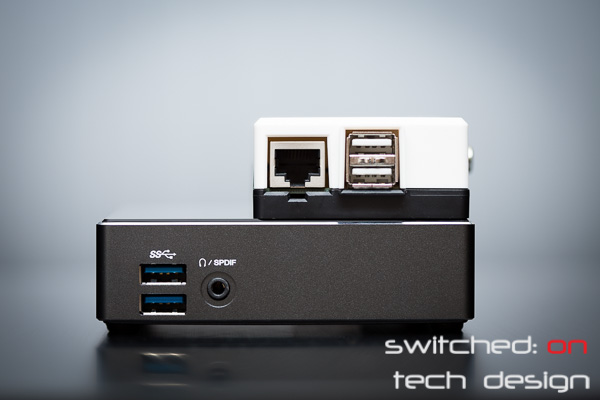
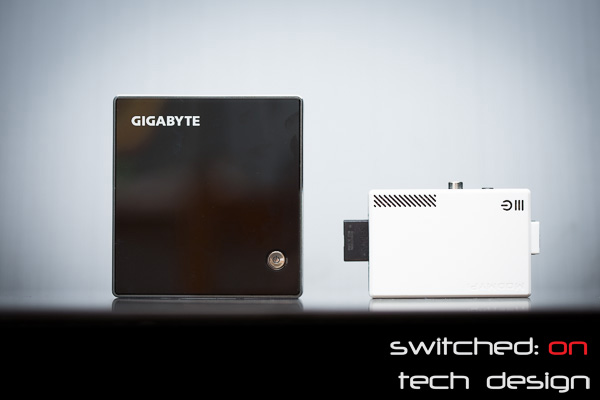
The Brix is startlingly small – it’s not ridiculous to compare it in size to a Raspberry Pi:
A full-blown x86/64 machine that’s not even as wide as 2 Raspberry Pis? Now that’s impressive.
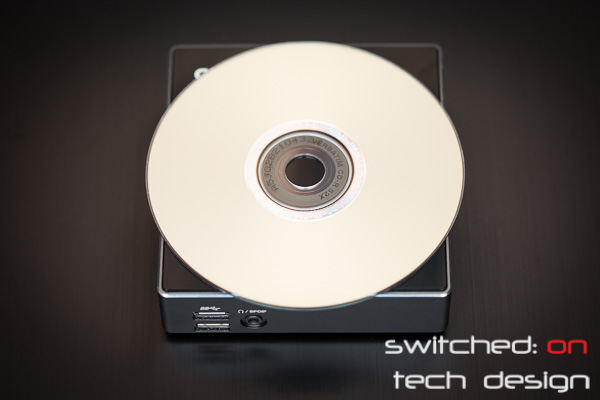
You don’t have a Raspberry Pi to compare it to? How about a CD?
Everyone who has seen the Brix while it was being photographed has been quite impressed by it’s size, and we can understand why – it’s a lot of computer in a very small box. Let’s take a closer look.
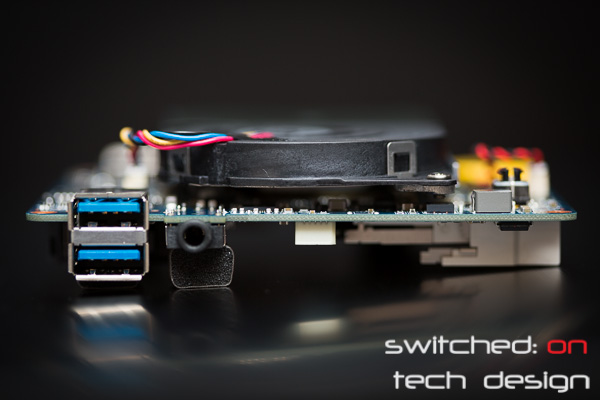
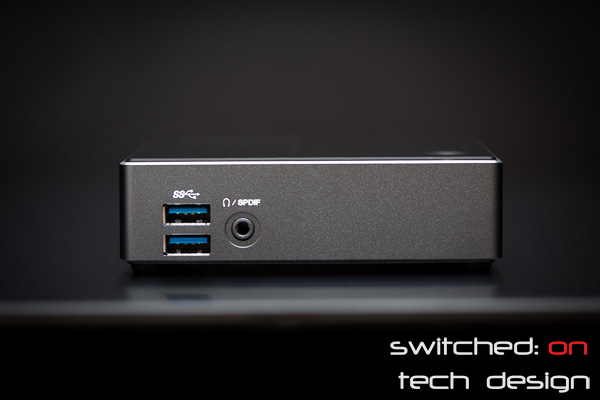
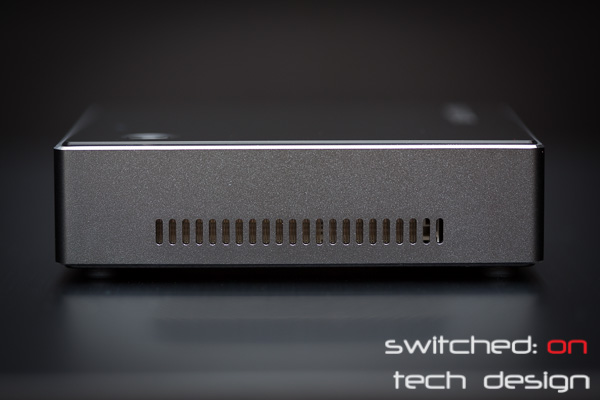
The front is quite sparse – two USB 3.0 ports and an audio port. Moving around to the left and right sides:
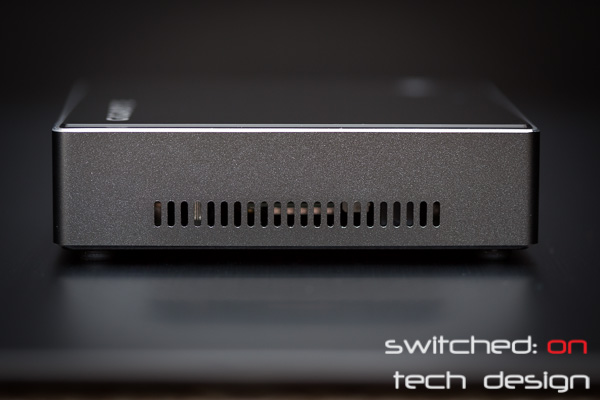
OK, so there’s next to nothing to see there. The rear should hold more interest:
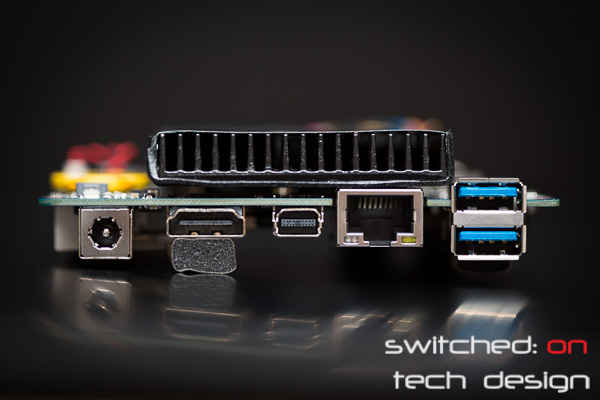
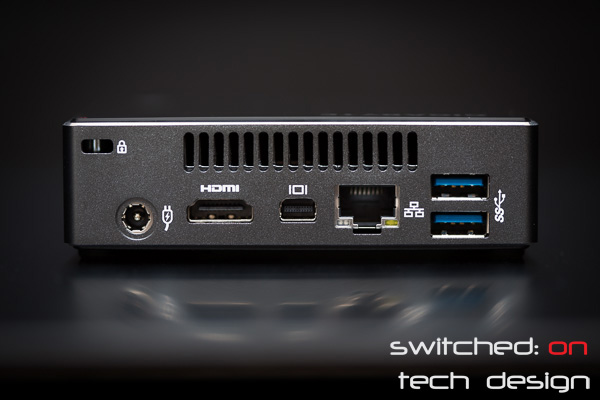
Going from left to right we have the Kensington lock up the top, followed by the power connector, HDMI port, mini Displayport, gigabit Ethernet port and two USB 3.0 ports. The CPU supports 4 USB 3.0 ports natively, so it’s not surprising to see that that’s all we have here. I do think it’s somewhat of a shame that there aren’t more USB ports present on the device, though fitting them in elegantly might be a tad difficult – considering the number of devices the average user has which connect via USB more would be welcomed. As it stands, though, HDMI is a welcome inclusion as we find a lot of customers still aren’t sure what a mini Displayport is, and HDMI cables seem more familiar and readily available for a lot of people.
The Brix also supports two displays – many people use two displays to improve productivity, so supporting this out of the box is quite a handy feature. The gigabit ethernet port is also welcome for those devices which won’t be hooked into a wireless network.
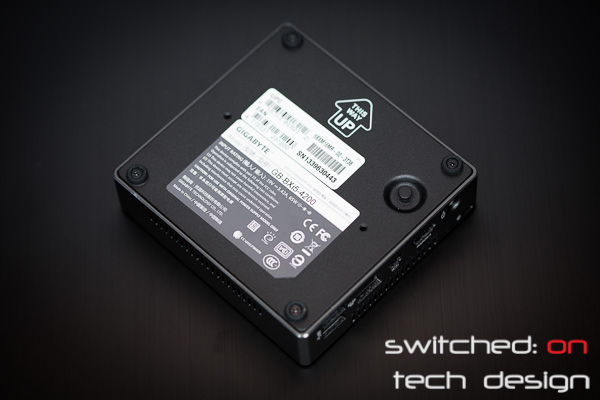
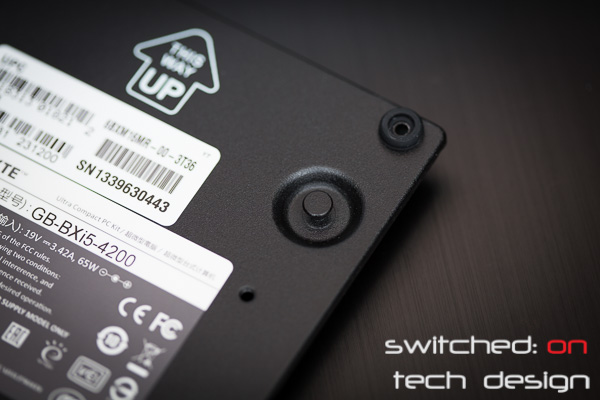
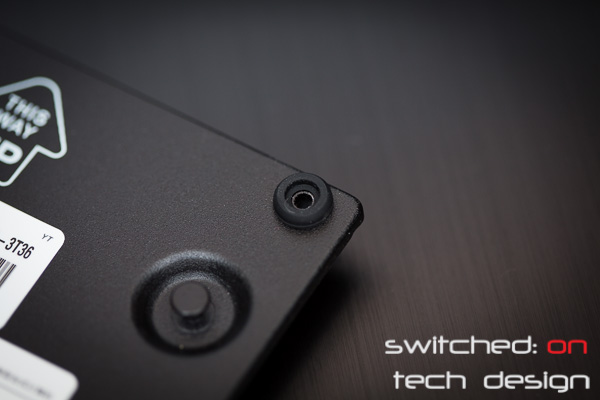
The underside is pretty straight-forward, with various part and serial numbers on the sticker here. There’s also a little handle for removing the cover:
…and just above that you can see the rubber feet which the case sits on:
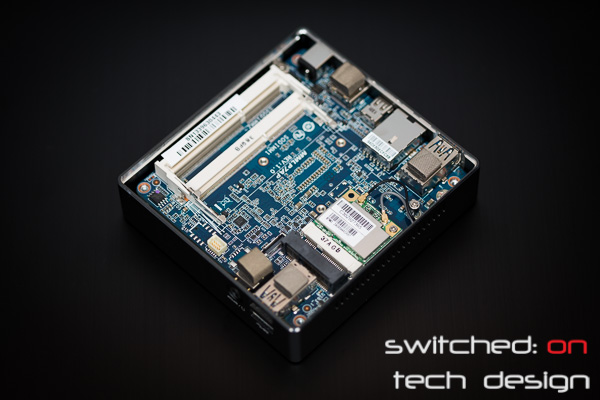
So, what’s inside?
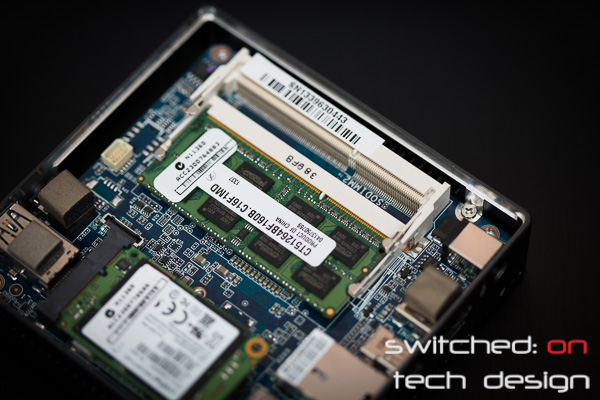
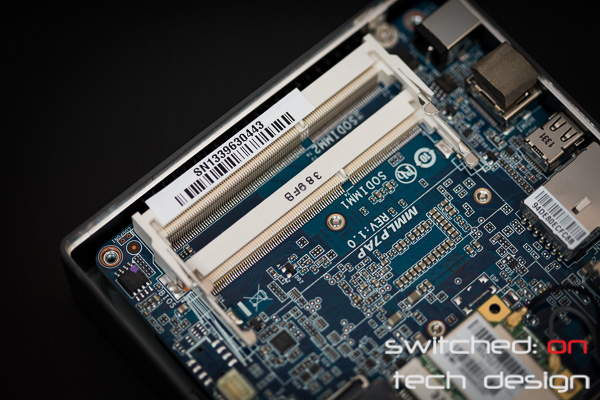
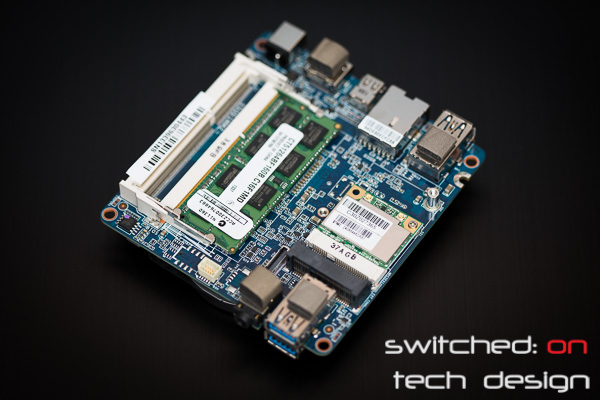
When compared to a regular system build, this one is ridiculously simple. Two DDR3L SO-DIMM slots:
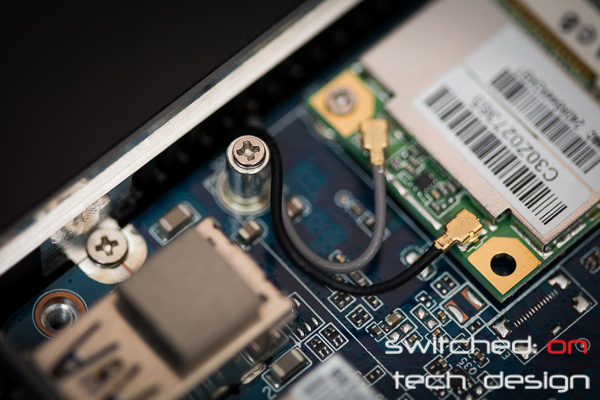
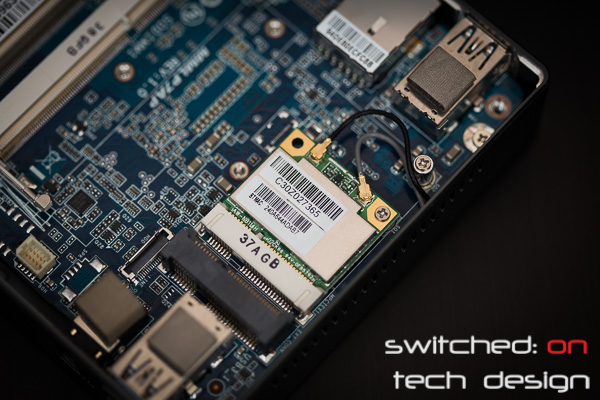
A Mini-PCI Express wireless card, preinstalled:
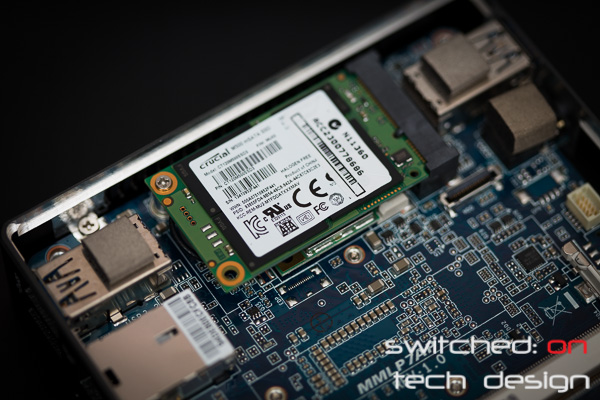
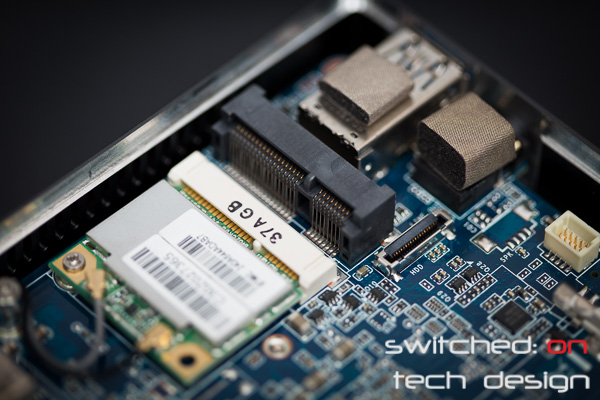
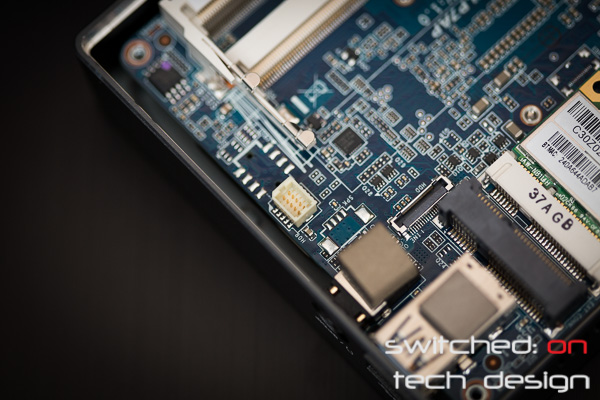
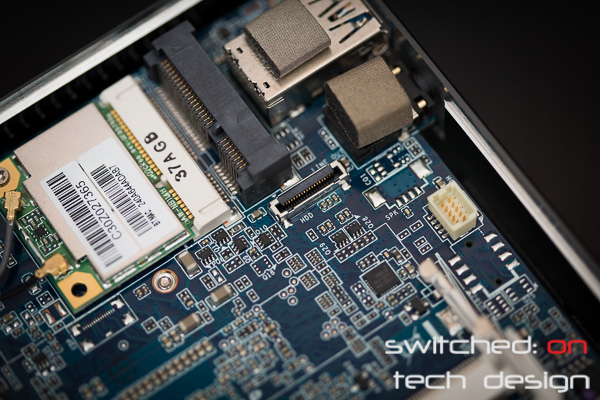
Above the wireless card an mSATA slot:
We’re not sure what this connector on the right is:
Or this one marked “HDD”:
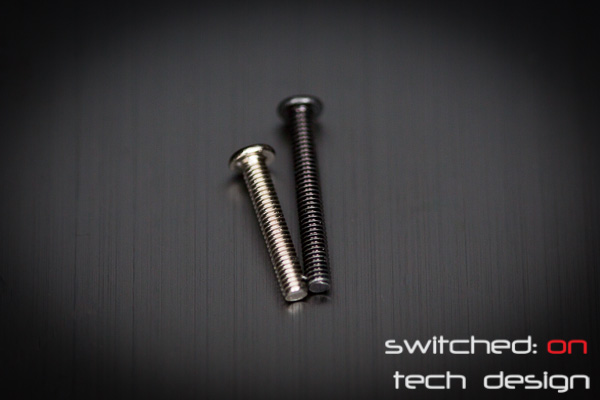
Otherwise… that’s it for the top of the inside. There are two motherboard screws (silver), here pictured next to the case screws in black:
Removing those and we can carefully remove the motherboard:
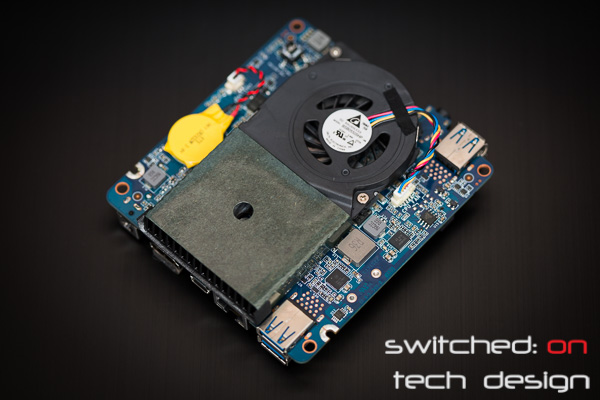
Tiny. Also note that this shot was taken after a single stick of RAM was installed. The flipside:
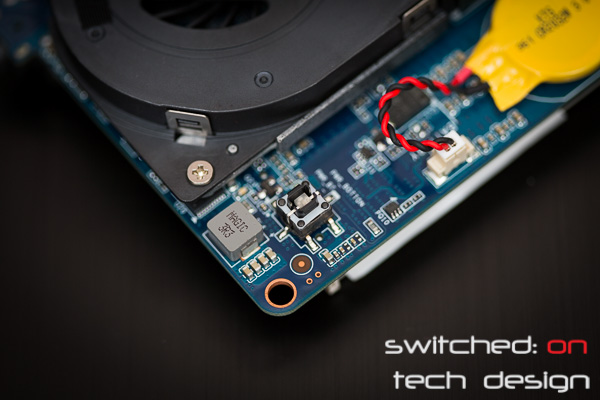
Anyone who has worked on a laptop will be familiar with this style of CPU cooler. Quite a few people we have shown the Brix to were surprised that it had a cooling fan at all; it is extremely quiet in operation and given the size you could be forgiven for expecting it to be fanless. There’s not much else to comment on on this side of the board; the CPU fan header:
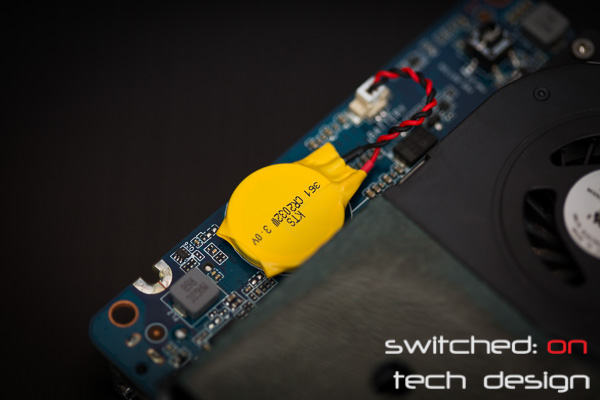
The battery:
The CPU cooler:
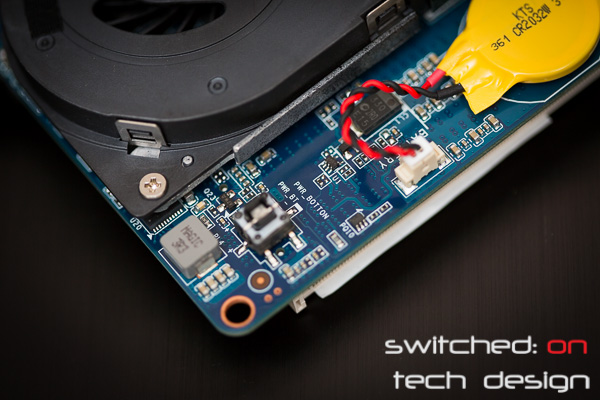
The power button:
Or is it “Power Botton”?
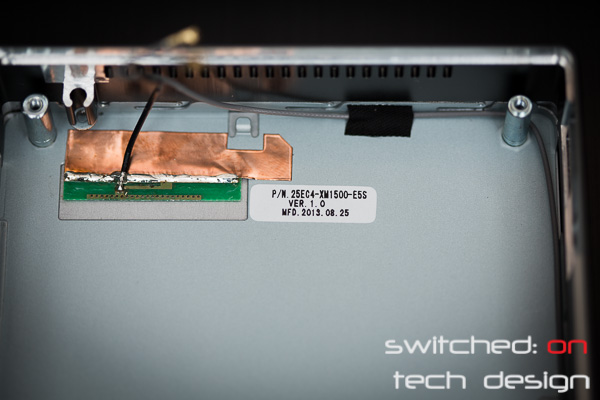
The case part number:
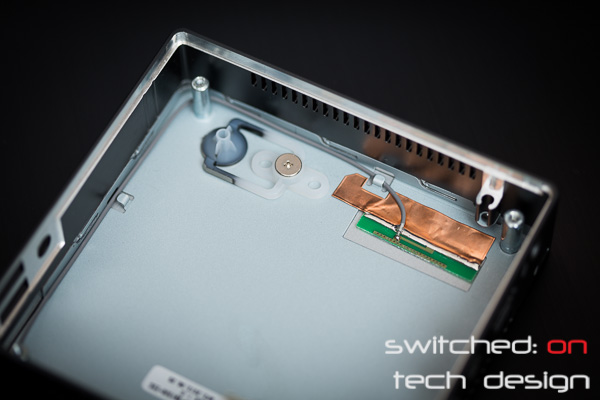
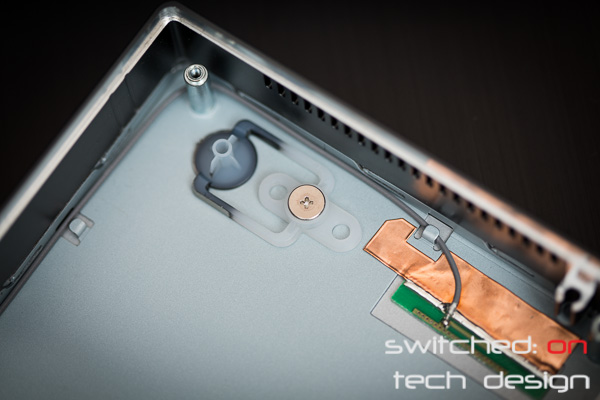
You can also see the Wifi antenna here. The other side of the top of the case:
The plastic piece and screw to the right are the power button assembly:
Otherwise, as is the case with many specialised units like this, there isn’t much to see here! Looking at either end of the motherboard before we put it back together:
Seems like you don’t need much of a heatsink to cool a 15W CPU.
…and there’s nothing really of note on the other end. Reassembling, we remove the mSATA retaining screw:
Then insert an mSATA SSD (here a Crucial M500 120GB SSD), replacing the screw:
I don’t think anyone is going to miss a second post for the mSATA SSD to be attached to; one is plenty sturdy. Now to add some RAM:
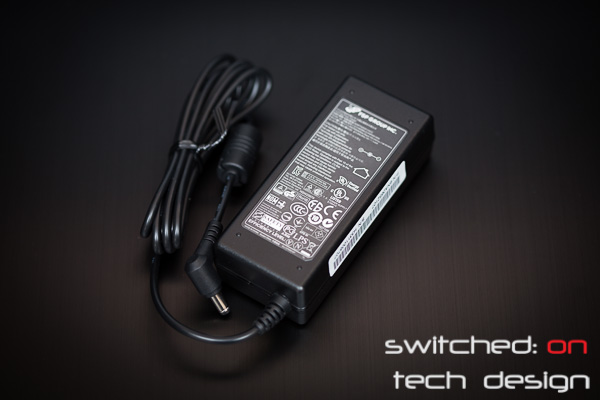
The RAM clips in like it does on any laptop build – inserted at an angle and pressed down until it latches. As far as the build goes, taking off the cover, adding an SSD and RAM then closing the cover is all there is to it. The power brick is quite diminutive:
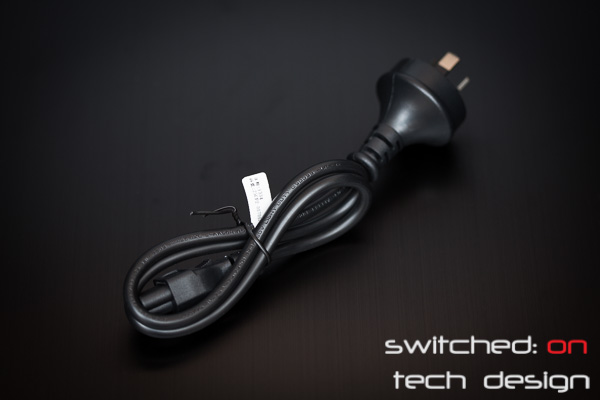
…taking a standard cloverleaf power cord – the provided one is quite short which could be good or bad depending on your needs:
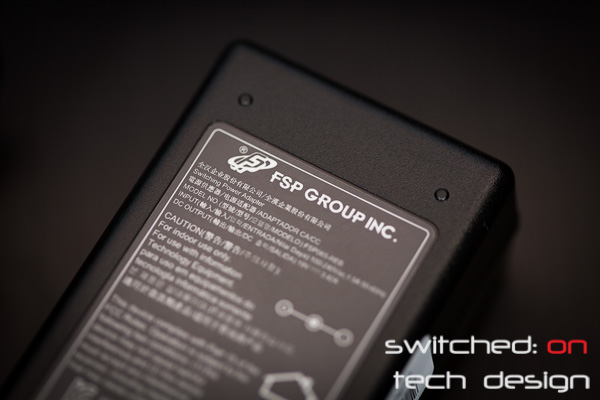
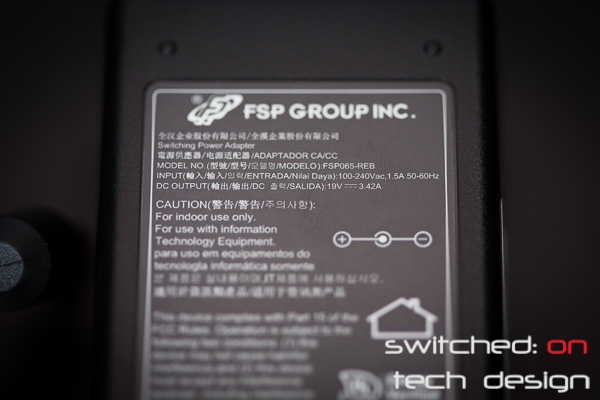
The power supply is made by FSP:
Specs:
19V, 3.42A.
The unit is also VESA-mountable, with the mounting plate supplied – this works quite well, with the Brix sliding into the plate easily and remaining conveniently out of sight behind the monitor. More useful if you have a USB hub, really, so you don’t have to go rummaging behind the monitor to attach a USB drive. Using the VESA mount can certainly make for a neat desktop, though, with all of the cables neatly tied up behind your screen!
So, how does the low voltage CPU perform? We were only provided with a single 1600MHz DIMM to test with (and didn’t have any others laying around), so keeping in mind that these results are running single-channel RAM only, which will slightly blunt the performance in benchmarks:
Geekbench 3 results:
- Single-threaded: 2476
- Multi-threaded: 4741
This is within striking distance of Microsoft’s Surface Pro 2 with the same processor (scoring 4800-5000 with dual channel RAM) and other laptops/notebooks with the same processor (e.g. the HP Pavilion TS 14). So what does this translate to in real-world terms? The Brix i5-4200 feels snappy in everyday tasks (opening and using Firefox/Chrome, Open Office, VLC, Thunderbird) – helped in no small part by the fast SSD. You probably won’t be editing 100MP images in Photoshop on it but it’s extremely capable for the above kind of everyday use.
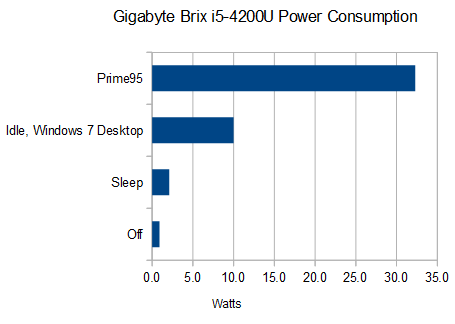
One benefit we haven’t touched on so far with using this CPU is power consumption. To cut straight to the chase, we attached a Steplight unit to the Brix and measured the power consumption under various situations:
Idle was 0.9W, sleep 2.1W, idle at the Windows 7 desktop 10.0W and the system maxxed out under Prime95’s highest power usage setting at 32.3W. Ten watts even idle is incredible – compared to the power hogs of yesteryear this is quite an achievement for a desktop system. Particularly given that there is a significant number of computer users who leave their system on 24/7 there could be serious power bill savings to be had by moving to a system which has power consumption this low.
Pros:
- Extremely small footprint
- Incredibly low power usage
- Easy build
- VESA mountable
Cons:
- Limited USB ports
- Cost vs. CPU grunt
Every build we have done with one of these so far has required the customer to use an external USB hub to attach the number of USB devices they desire; with USB 3.0 hubs it’s not like they’re hurting for device bandwidth but it’s a consideration for anyone looking to purchase one of these. If you’re still using a wired keyboard and mouse you’re going to eat up half of the available ports. We feel that this isn’t a huge issue, though, and the sheer fact that you can get a full-blown Windows 7 or Windows 8 machine (or *nix, if that’s your everyday desktop) in such a small, power-efficient form factor is incredible. Sans OS, RAM and SSD the i5-4200U Brix comes in at around $450US/$500AU, which is comparable to some entry-level PC builds – it’s worth noting, though, that those entry-level builds will never approach the Brix in terms of power efficiency. In terms of processing power, even a low-end i3 Haswell chip (e.g. i3-4130) will benchmark at around 10,000 in Geekbench 3 – so with a custom PC build you will get more processing power at a space- and power-efficiency cost. We definitely feel that the Brix has more than enough power for an average desktop user who primarily uses a browser, email client and word processing program – so the trade-off is worth it in quite a few use cases. While some will mourn the choice of a Realtek NIC rather than an Intel NIC most people who use this sort of system will probably never notice the difference, and many will likely end up on wireless. It is slightly a shame that there wasn’t a wireless AC chip used, though the market penetration of the AC standard doesn’t seem to be that high just yet – we would predict that for a future refresh.
The Brix may also find it’s way into the loungeroom courtesy of some HTPC duties – with HDMI out, built-in wireless and a CPU more than capable of displaying high-quality video content it’s a prime contender for a home-built, aesthetically pleasing media center. There’s obviously no space for a CD/DVD drive in the tiny chassis, which in this era of downloadable content is something more and more people won’t miss. You can pick up a good portable DVD burner for around $40AU so it’s not a huge hit to the wallet if you do need one.
On a hardware note, it’s worth being aware that the Brix is designed to take 1.35v RAM, not the more common 1.5v variety – we have seen a few people get caught out by this.
The bottom line from us? While something in this form factor is not going to replace an expensive workstation anytime soon, for an everyday user or HTPC it’s more than enough – in a tiny, power efficient form factor to boot. Well worth considering for those use cases as far as we’re concerned.
![gigabyte-brix-haswell-i5-4200-small-form-factor-closeup-of-cpu-fan]](https://sotechdesign.com.au/wp-content/uploads/2013/11/gigabyte-brix-haswell-i5-4200-small-form-factor-closeup-of-cpu-fan.jpg)
