Author: sotech

  • How do you check website links and jpgs etc. recursively?

    LinkChecker is a great way of doing this;


    http://wummel.github.io/linkchecker/


    Other people’s sites may have robots.txt files that prevent you from using this tool on their sites but it’s darn handy for pulling up broken links on your own sites. This is a valid alternative to the Integrity tool on Mac if you’re comfortable with the command line and piping the output to a CSV file etc.


  • Importing a MySQL database with a new name where the original still exists

    So you want to export your MySQL database then import it on the same server with a new name.


    I tried this several times and using the SOURCE command inside MySQL or just mysql -p < db.sql both resulted in the database re-importing over the original name.


    To fix that run:

    sed -i 's/OLDDATABASENAME/NEWDBNAME/g' mysqldumpFile.sql
    

    Then run:


    mysql -p
    
    create NEWDBNAME;
    
    use NEWDBNAME;
    
    SOURCE /path/to/sql/file


    No need for a semicolon on the last line.


    Then check the success by:


    show tables;


  • PHP contact form returns 504 gateway error after moving to Digital Ocean

    This one had me scratching my head for a while – using php7.0-fpm and the latest nginx on Debian 8 Jessie I was seeing our PHP contact form working correctly but returning a Gateway 504 error upon submission, which was resulting in a great deal of resubmitted forms and error notifications from users.


    This only started occuring after we moved our site to Digital Ocean – it turns out that it was a IP priority issue and the following resolved it:


    vim /etc/gai.conf


    and uncommenting the following line:


    precedence ::ffff:0:0/96  100


    Then a reboot. Voila, the contact form worked properly again.

  • How to pass through a USB device to a Windows Virtualbox VM

    Running a Mac with Windows running in a Virtualbox virtual machine? Here’s how to pass through a USB device so that whenever the VM (Virtual Machine) is running and the USB device is plugged into a USB port it appears in the Windows VM and not in Mac OS X. Open up Virtualbox and make sure that the Windows VM is not running:
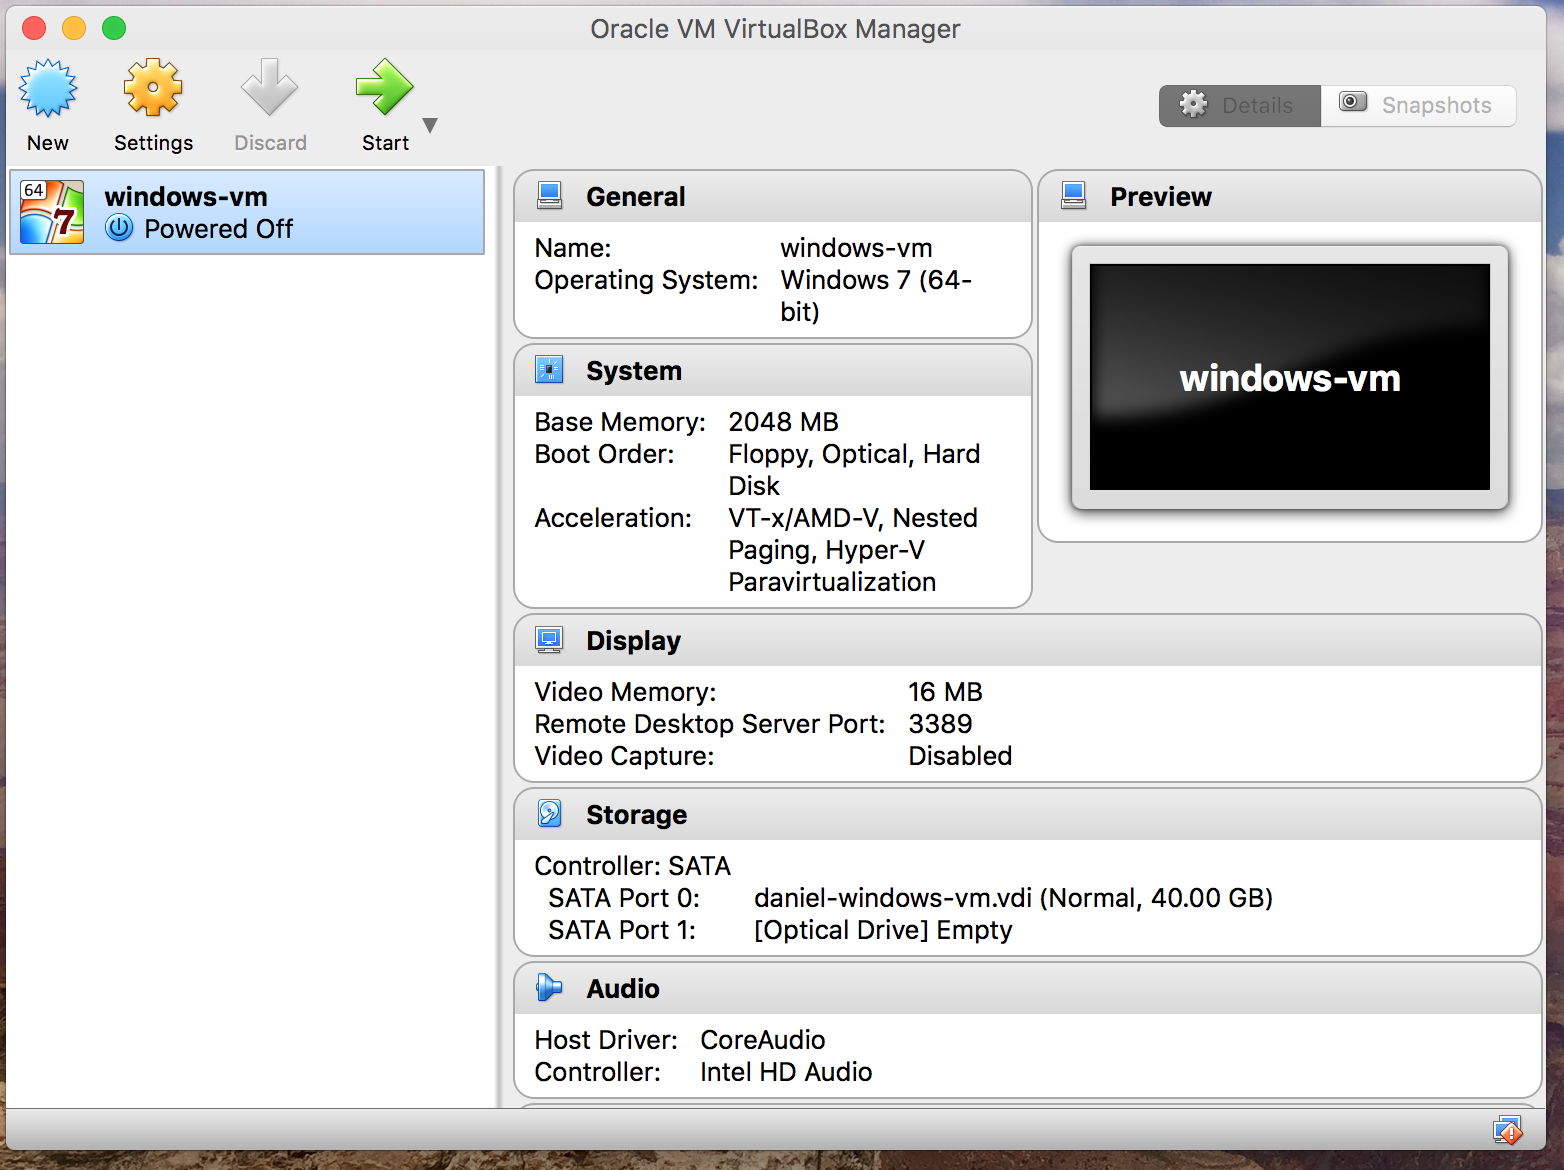
     

    screen-shot-2016-09-18-at-10-55-51-pm


    Click on “Settings” at the top and you should see this screen:
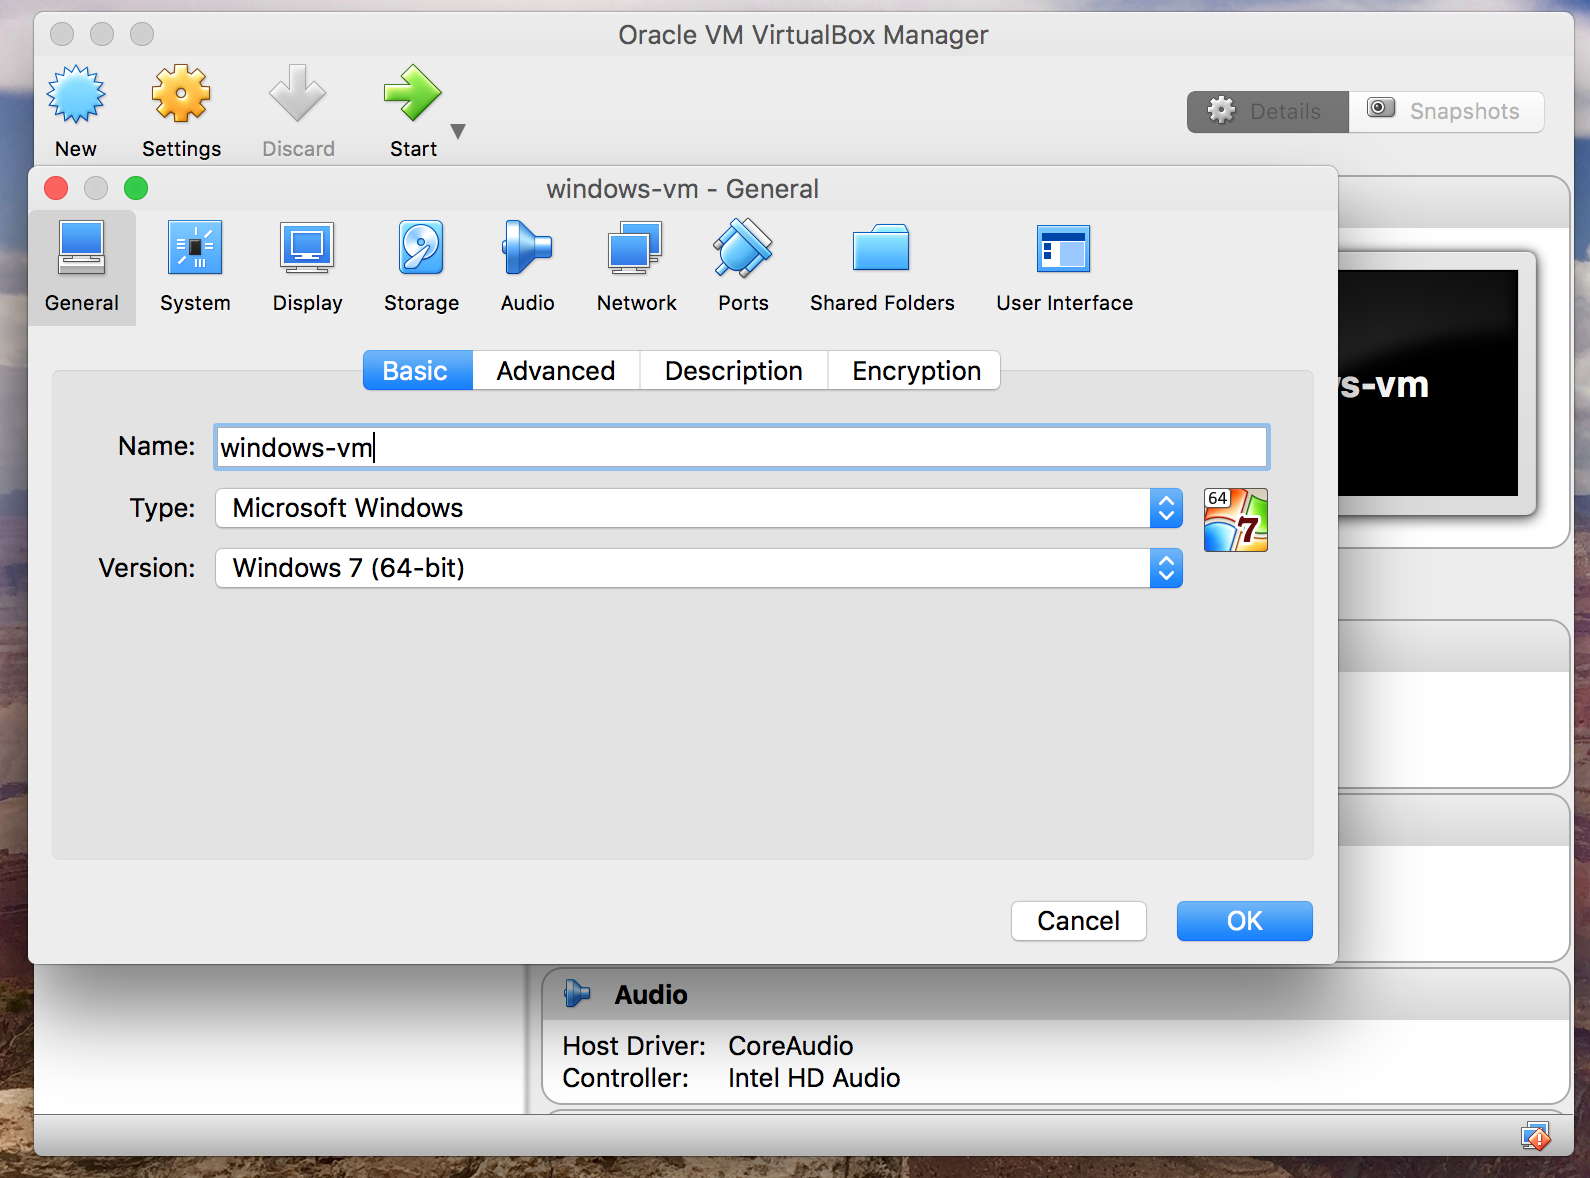
     

    screen-shot-2016-09-18-at-10-56-07-pm


    Click on “Ports” (third from the right hand side in the icon menu at the top):
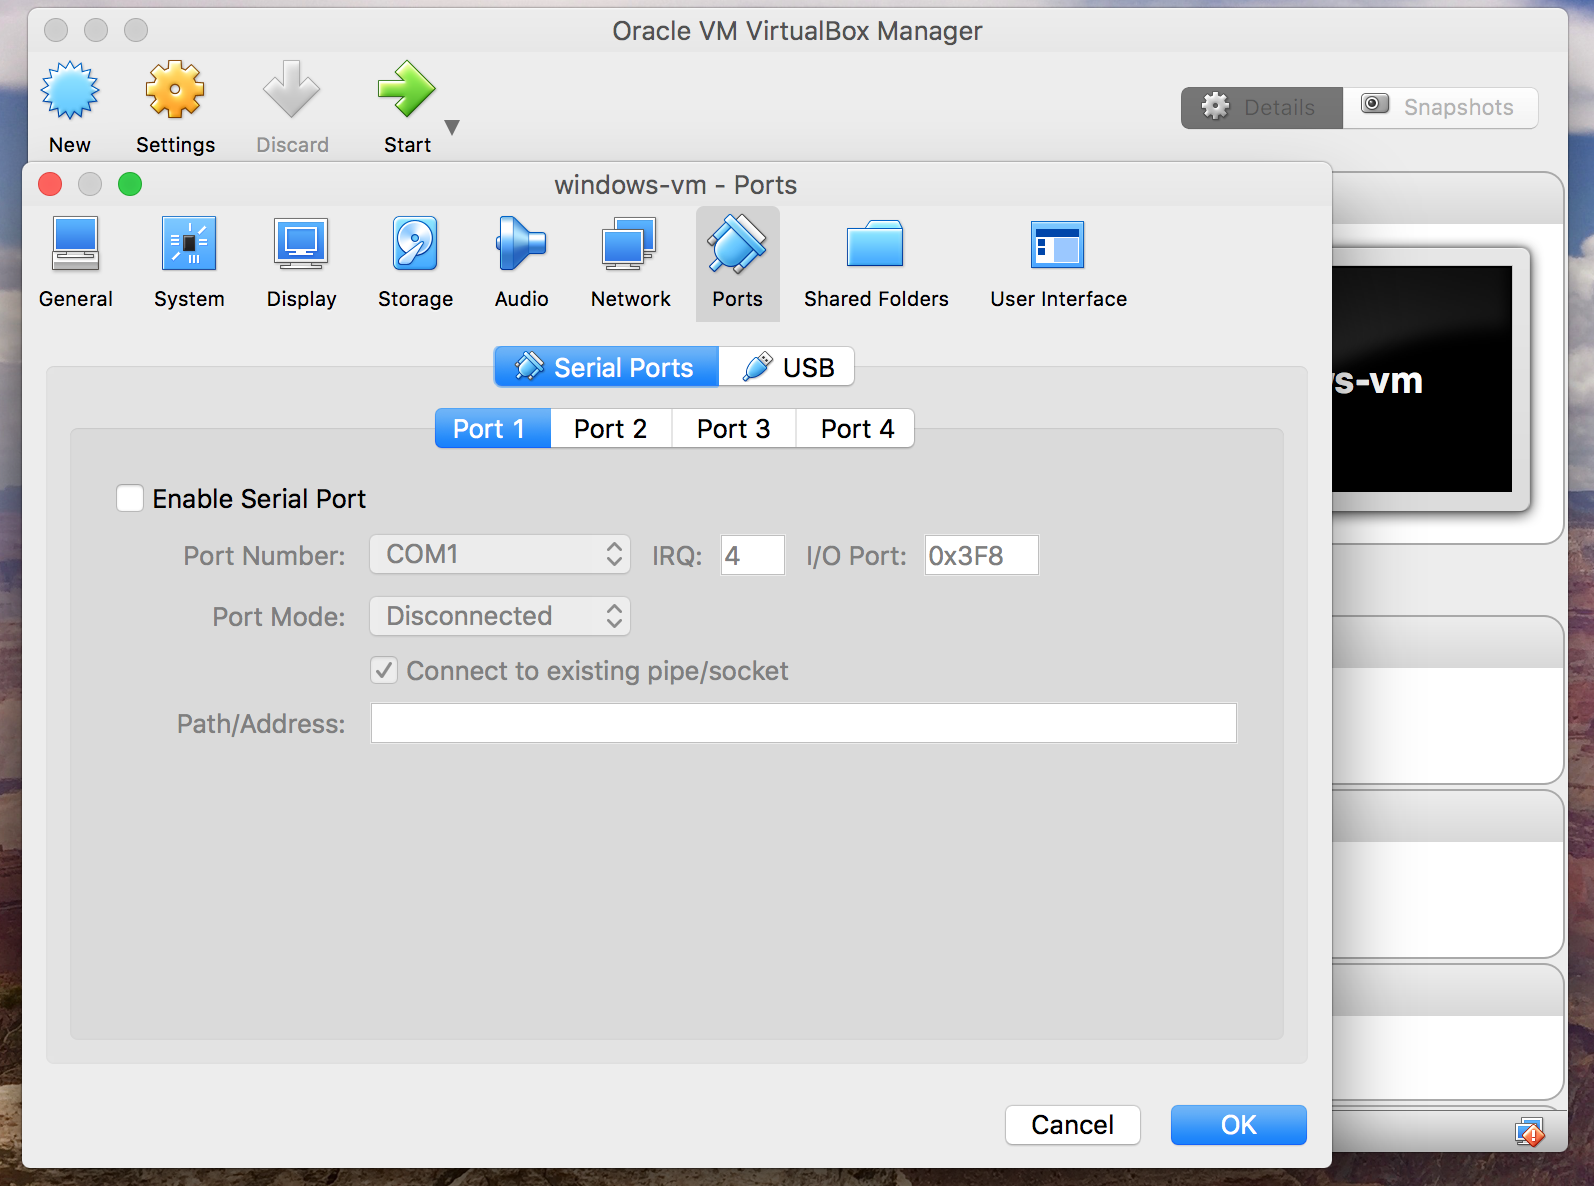
     

    screen-shot-2016-09-18-at-10-56-19-pm


    It defaults to Serial – click on USB:
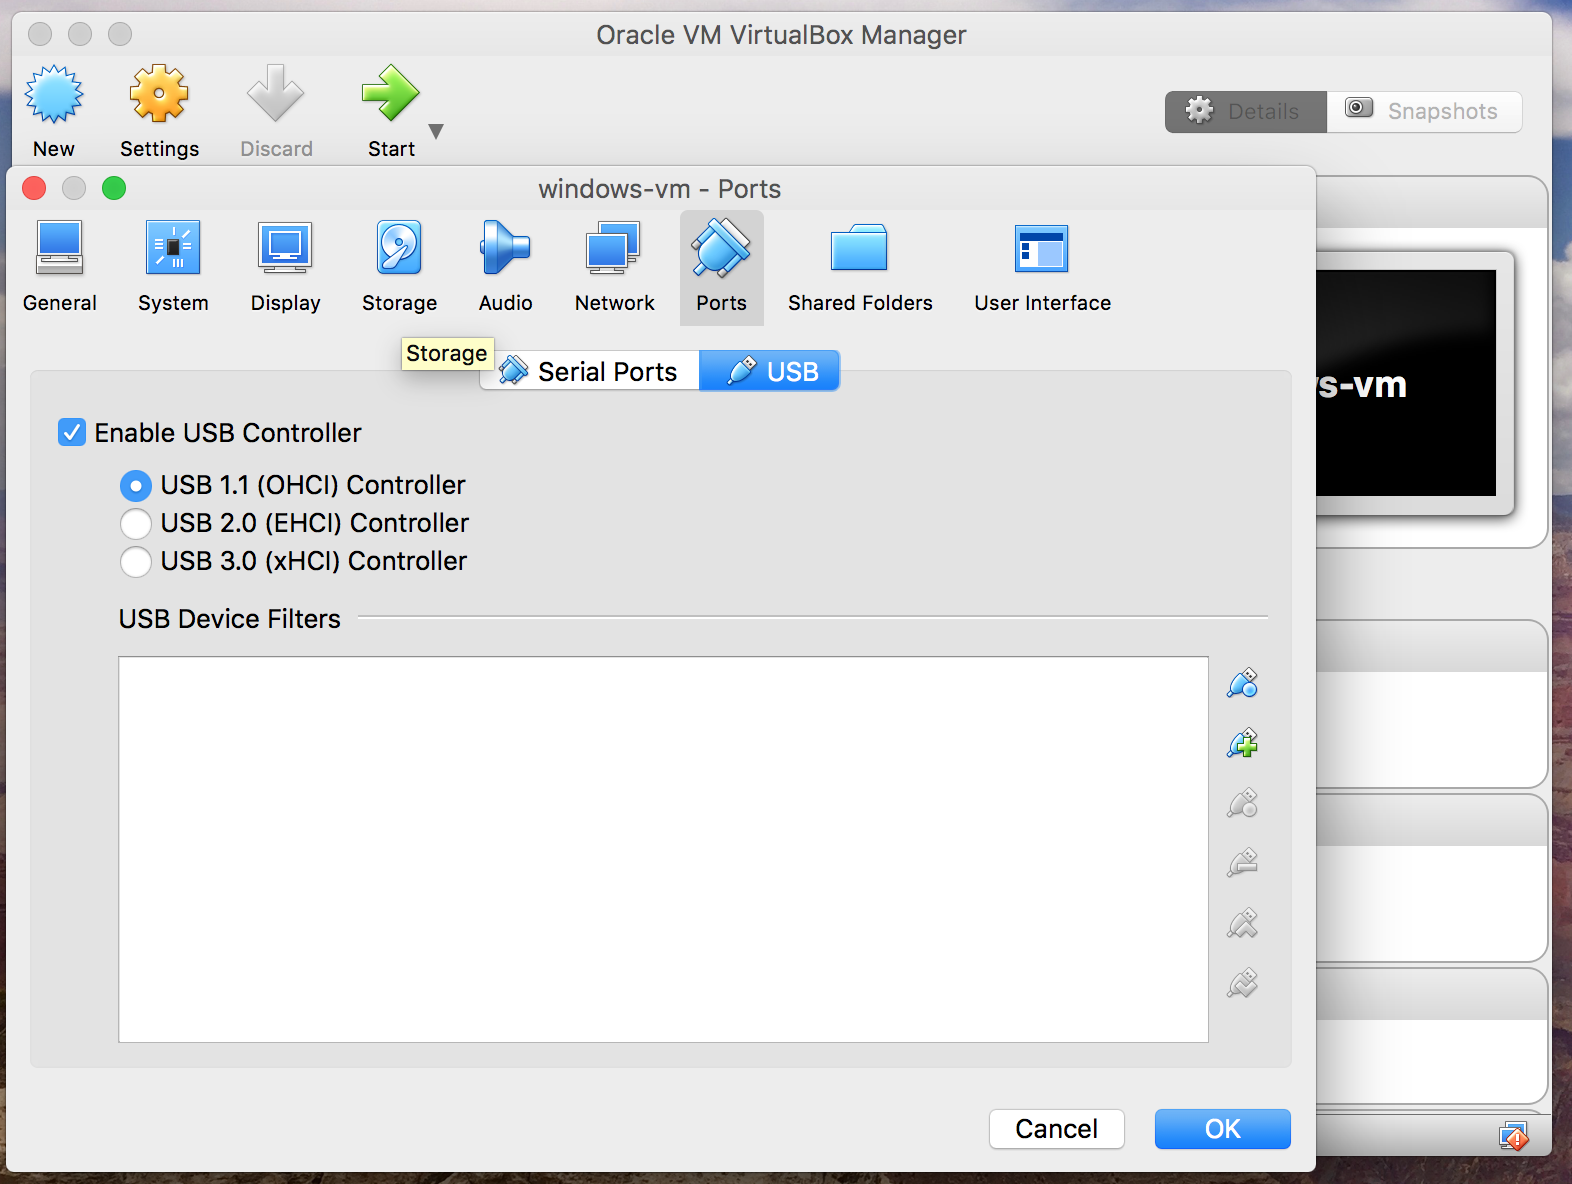
     

    screen-shot-2016-09-18-at-10-56-26-pm


    Nobody wants to be using USB 1.1 (slow) so click on USB 2.0:
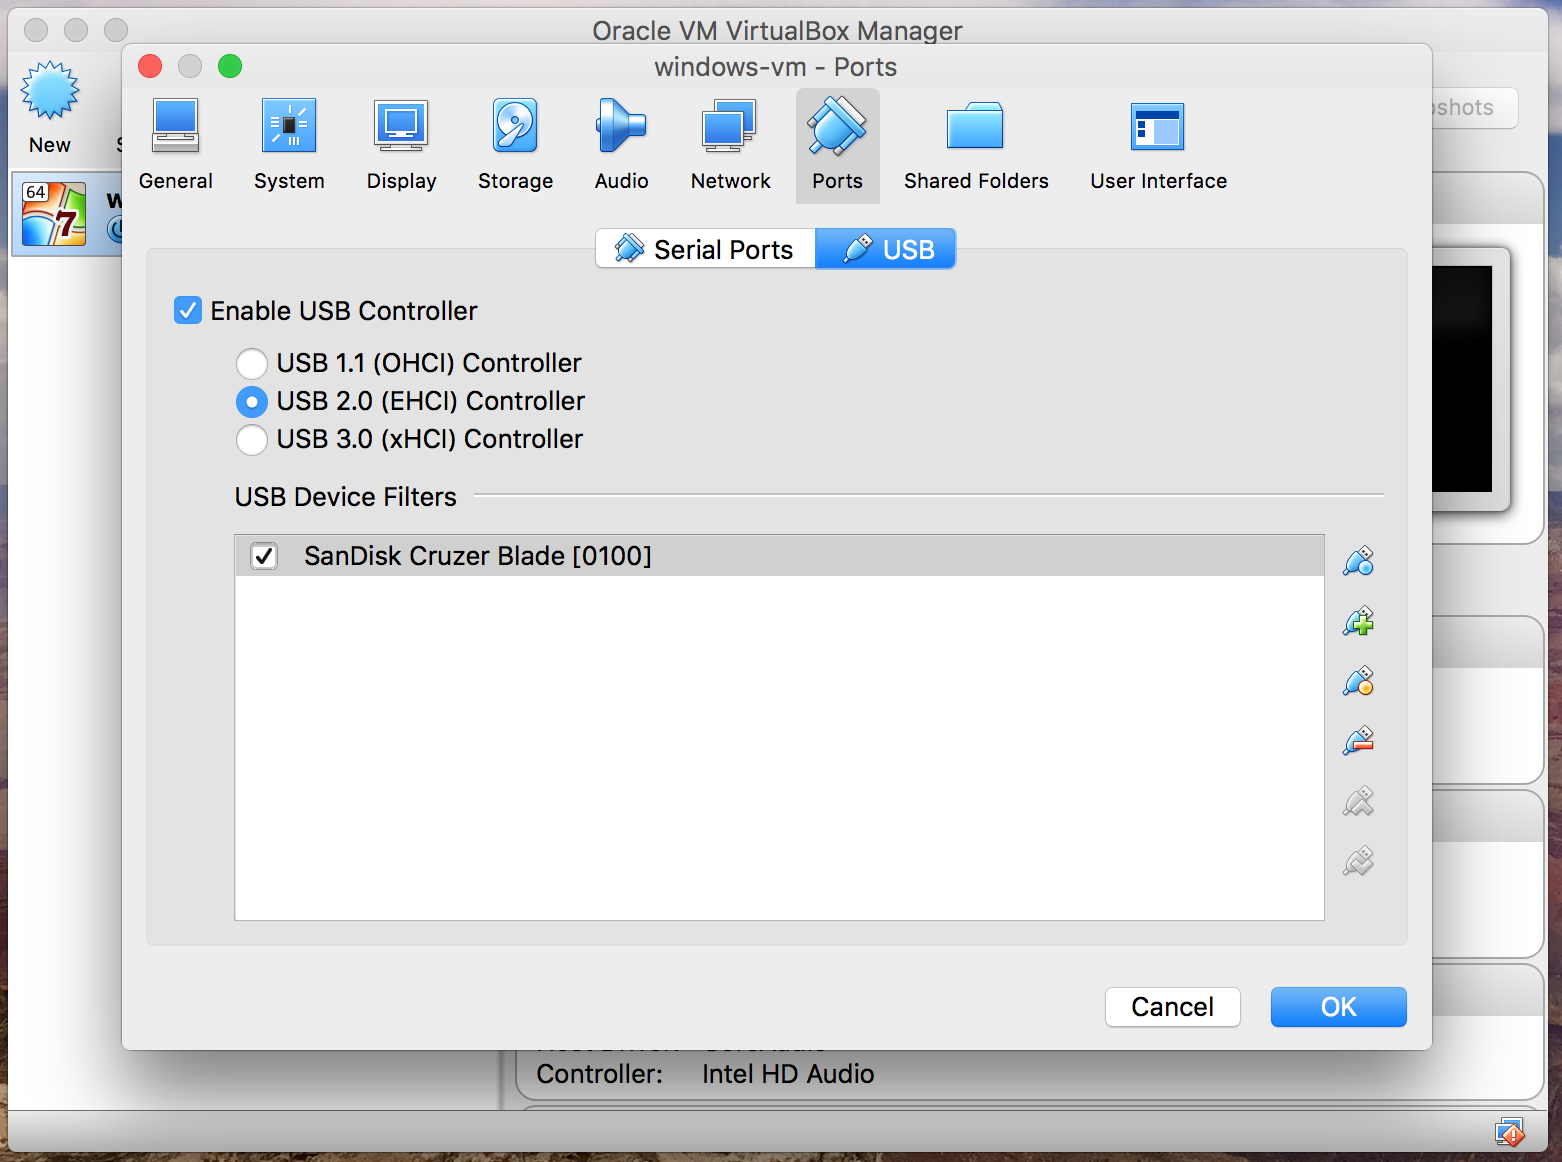
     

    screen-shot-2016-09-18-at-11-04-01-pm


    Then plug in your USB device that you want to pass through. In a nutshell, we will be setting up the specific USB devices we select on this screen to be passed through to the Windows VM whenever they are plugged in while the VM is powered on. If the virtual machine is closed down when you plug in the USB device the normal Mac OS X system will read the USB device as usual.


    Click on the icon on the right that has a little green plus and you should see a listing of USB devices that are eligible for passthrough:


    screen-shot-2016-09-18-at-10-59-16-pm


    In this instance we are selecting the SanDisk Cruzer Blade. Click on it.
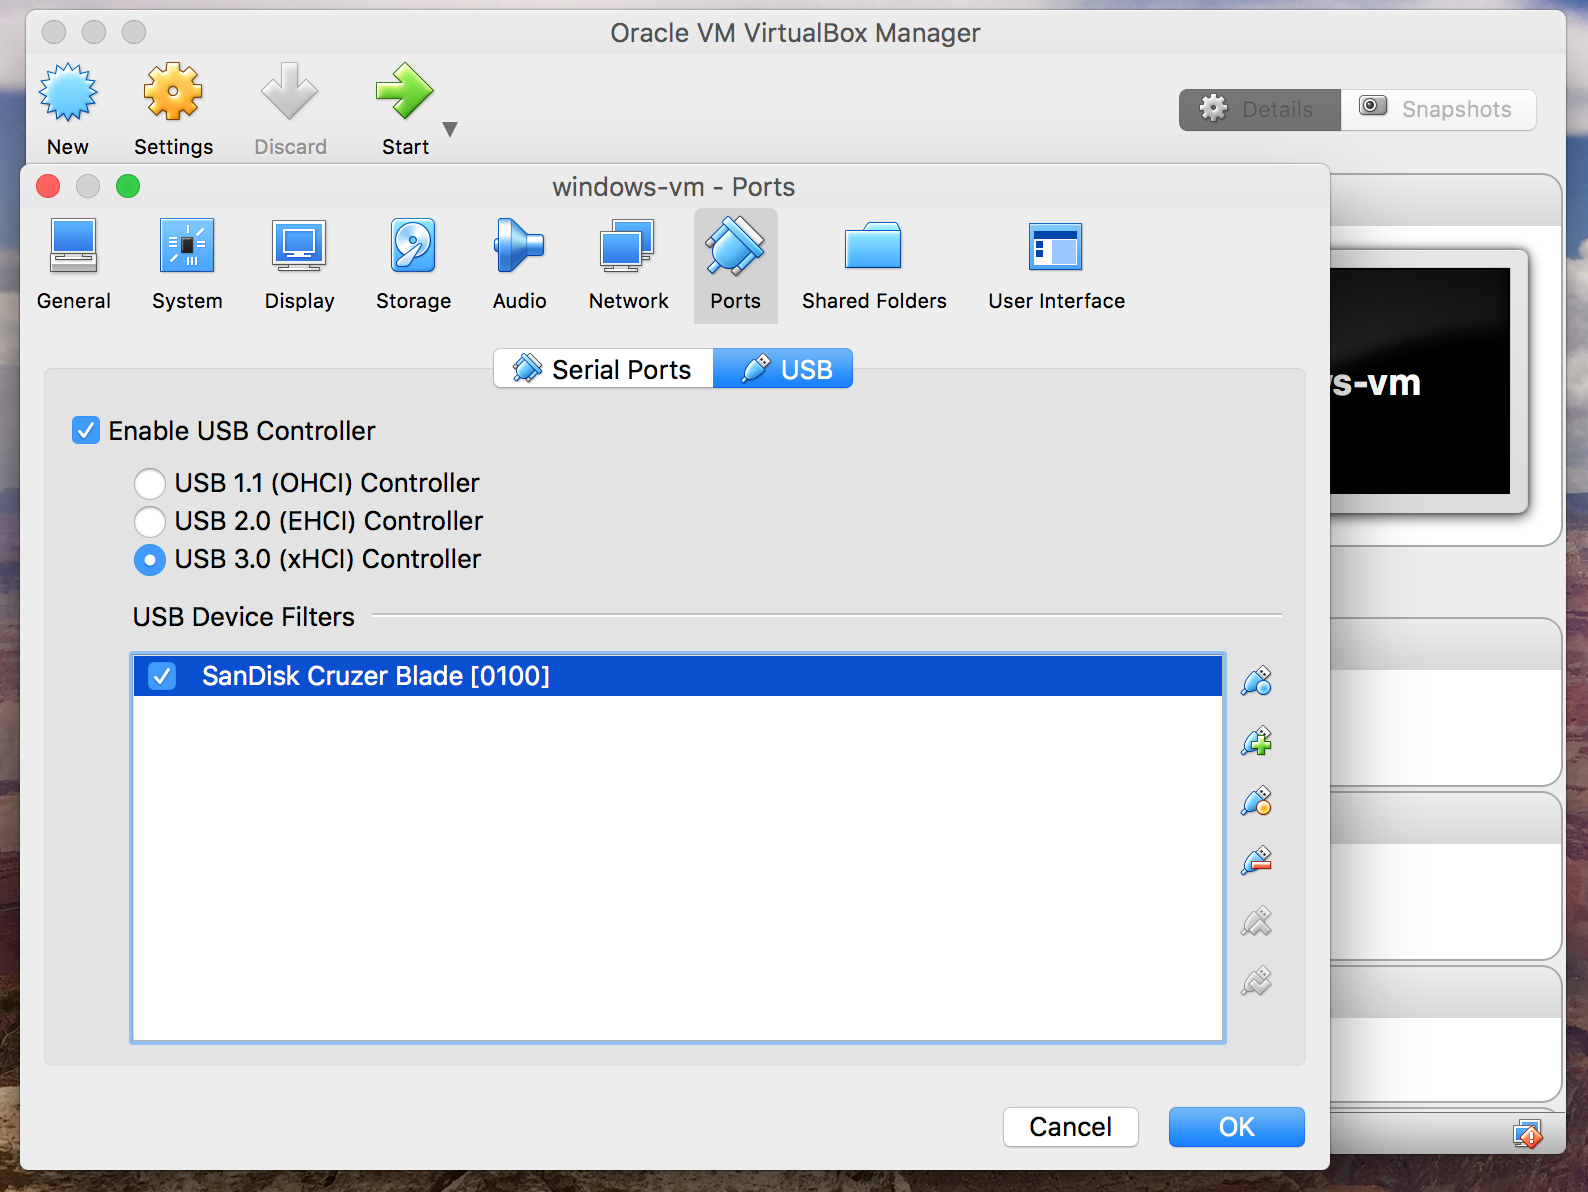
     

    screen-shot-2016-09-18-at-10-59-27-pm


    Now you should see it listed under “USB Device Filters”. The USB controller has been moved to USB 3.0 in the above screen shot – ignore that, as USB 3.0 currently does not work on Windows 7 VMs. Click OK, and go back to the main Virtualbox screen. Safely remove the USB device from your computer and then start the Windows virtual machine.
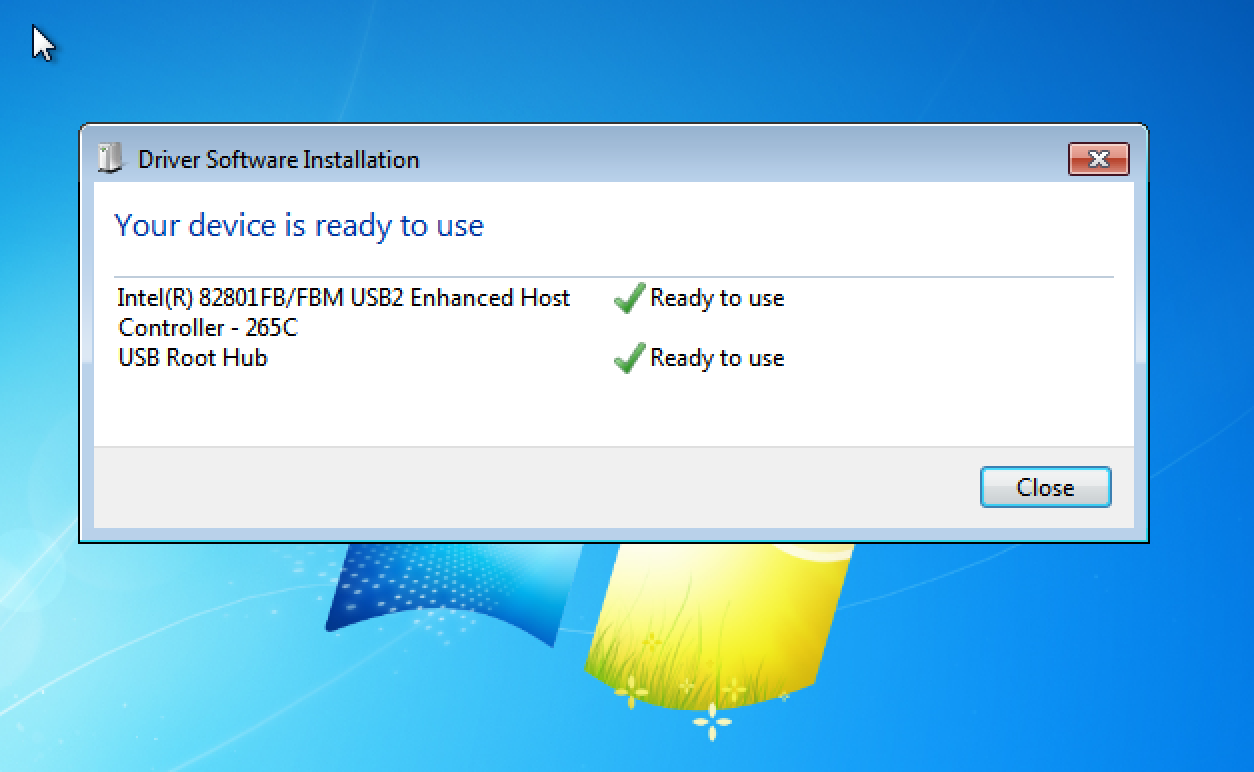
     

    screen-shot-2016-09-18-at-11-04-40-pm


    If you have only just selected USB 2.0 for the first time you will probably see the above screen. Otherwise, you can now plug your USB device in:
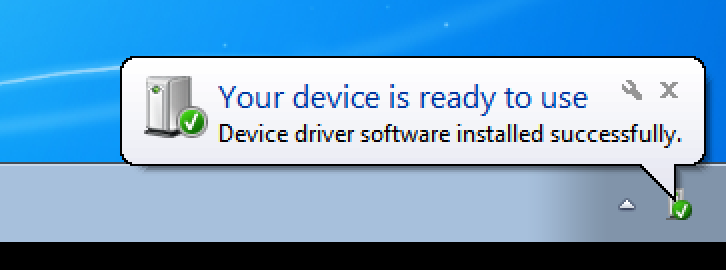
     

    screen-shot-2016-09-18-at-11-05-12-pm


    …and it should be picked up as if it were plugged into a physical Windows computer:
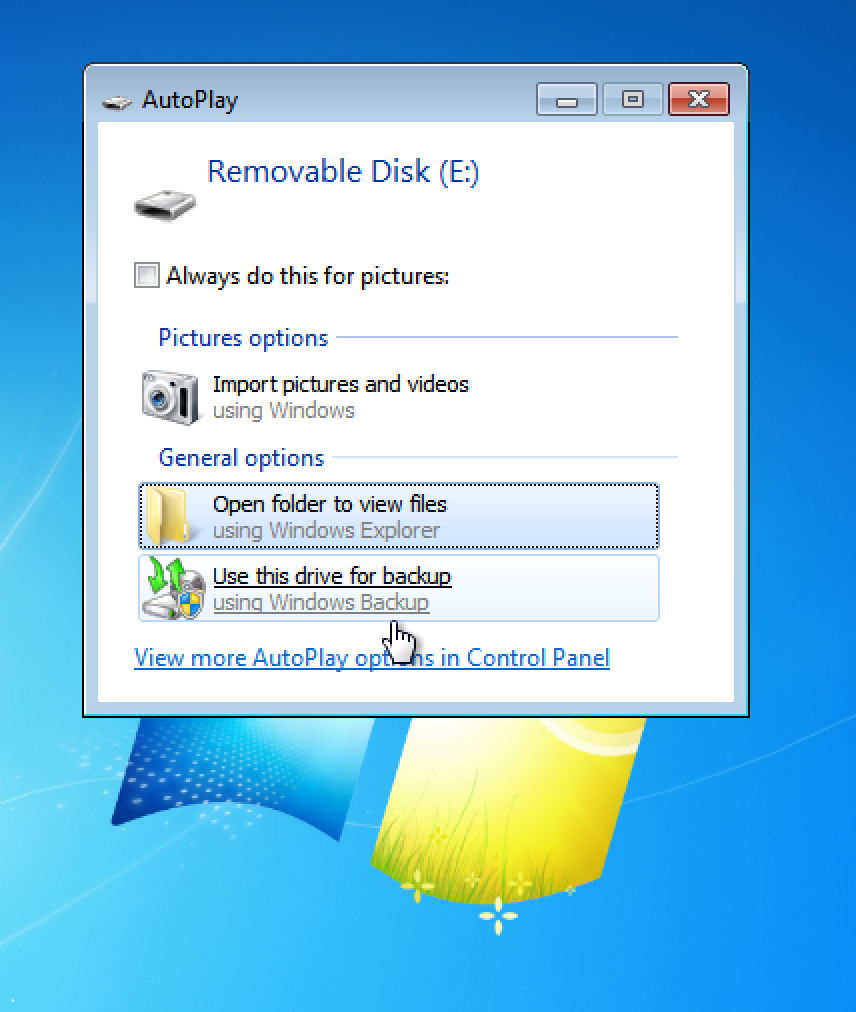
     

    screen-shot-2016-09-18-at-11-05-21-pm


    All done. Now, if you look in Finder in Mac OS X you won’t see the drive:
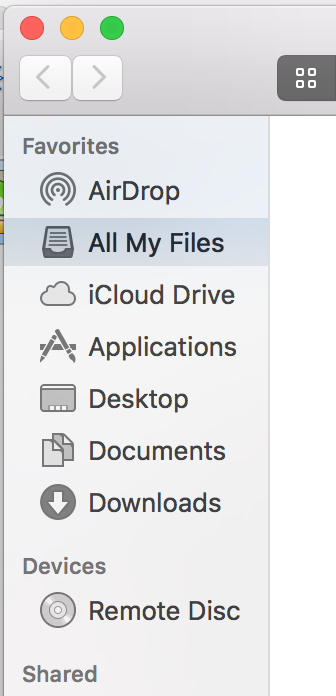
     

    screen-shot-2016-09-18-at-11-05-42-pm


    Closing down the VM, though, and unplugging/reinserting the drive will make it show up as normal:
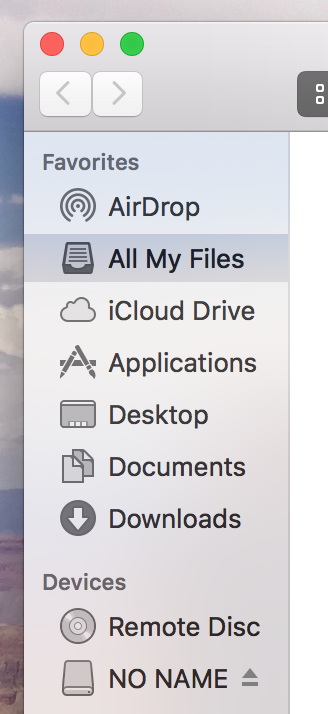
     

    screen-shot-2016-09-18-at-11-06-16-pm


    In the above screen shot it is appearing as “NO NAME”.


    All done! Incidentally, if you want a USB thumbdrive to work in both Windows and OS X you want it formatted into FAT32 or ExFAT rather than NTFS or Mac OS X Extended.


    If you wish to remove the USB device from the passthrough list, click on the USB device in the list and then click on the little red minus sign on the right hand side.

  • Owncloud Nine: How to reset the admin password

    Well, about ten minutes after installing the new Owncloud Nine we found out that we had typo’d the admin password. Fortunately, it’s an easy fix. Run the following (this worked on Debian with a fresh Owncloud 9 install):


    cd /path/to/owncloud

    sudo -u webserveruser php occ user:resetpassword adminaccountname


    In our case the command was:


    cd /var/www/cloud

    sudo -u www-data php occ user:resetpassword admin


    It should prompt you for your password twice:


    Owncloud Nine - How to reset the admin password
    Owncloud Nine – How to reset the admin password


    Assuming there are no more typos, that’s all done!

  • Adding products to Woocommerce

    First, log into your website at:


    yourwebsiteurl.com/wp-admin/


    Enter your username and password and you should be directed to your WordPress dashboard.


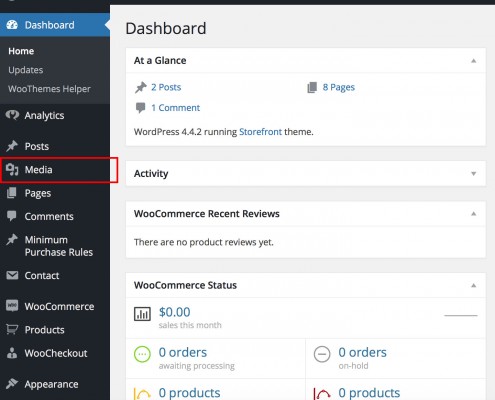
    First, we’ll upload some images to go with the products you’re adding today. On the left you will see Media:


    Screen-Shot-2016-03-04-at-10.02.25-AM

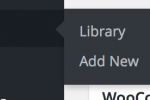
    Hover over it and you should see “Library” and “Add New”:


    Screen Shot 2016-03-04 at 10.03.51 AMClick “Add New”.


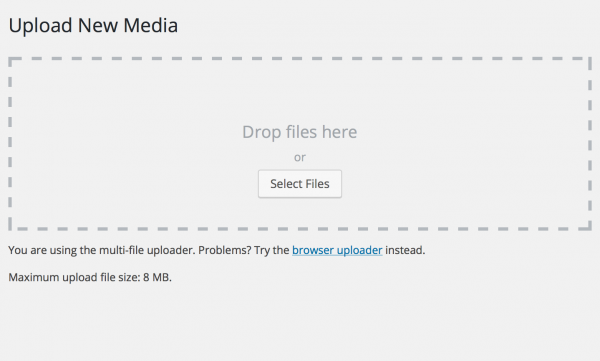
    Screen Shot 2016-03-04 at 10.04.21 AM

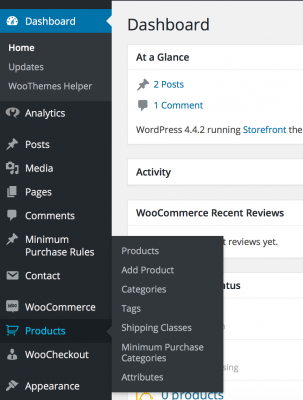
    Drag and drop some files in, or click “Select Files” and choose them from your file system. You will see the progress bars for each file below the selection area. Once all of the relevant media files are uploaded, look on the left for “Products” – hover over it and you should see “Add Product”:


    Screen Shot 2016-03-04 at 10.06.09 AM

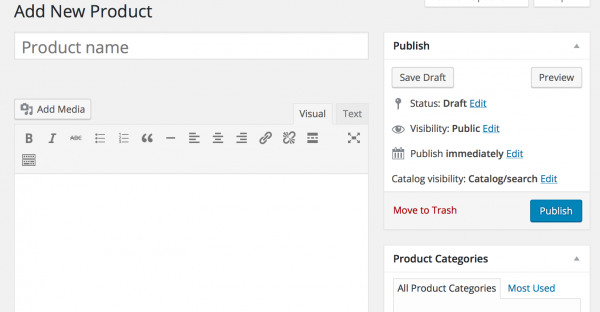
    Click on that, and you’ll unsurprisingly be taken to the “New Product” screen.


    Screen Shot 2016-03-04 at 10.06.41 AM

    Here you can add the product name, choose the category it should appear in – you can pick multiple categories – and add the contents for the product page, including additional photos/videos. Add the text in the blank white box on the lower left, and add images/video/etc. with the “Add Media” button. Scrolling down you should see some more info you need to add:


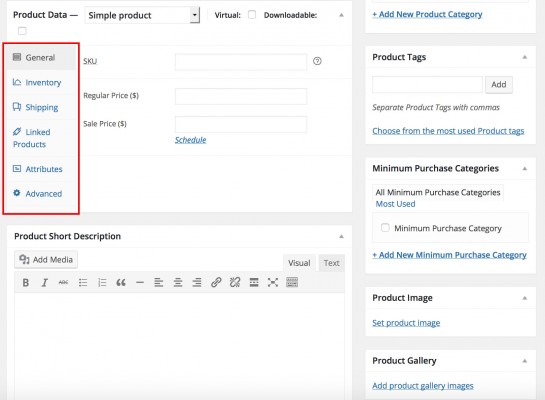
    Screen-Shot-2016-03-04-at-10.07.42-AM

    Most of it is self-explanatory – you’ll need to set a product image that appears in the search results and category views, and click on the various tabs in the area with the red rectangle around it to add the various info there.


    Once you have done that, head back up to the top and click “Publish” to make the product live!


  • Checking whether nginx cache is working

    Just set up nginx caching and wondering whether it’s working properly? You can check it pretty easily:


    curl -I URL.goes.here

    That should return a bunch of information, but the important bit is:

    X-Proxy-Cache: MISS


    Well, in this case it’s not working. If it’s working you’ll see a HIT there.

  • Drupal 8: Configure block or Place Block do nothing

    In short, clicking on “Place Block” results in a brief loading icon and then nothing, and Configure Block results in a “This website encountered an unexpected error” message. The fix was found here:


    https://www.drupal.org/node/2597506


    Edit the following file – the “core” directory should be in your Drupal 8 root directory:


    [drupal root]/core/lib/Drupal/Core/Annotation/Translation.php


    Before the final }, add the following text:


    public function __toString() {
    return $this->translation->__toString();
    }


    Now try placing a block again and it should work. Please note that until this change is added to the Drupal code this is probably going to revert when you upgrade Drupal.

  • Drupal 8 – How to enable multi image upload

    One of the great things about Drupal 8 is that it has multi-image uploading capabilities built-in, unlike Drupal 7. By default, however, it’s a single image at a time.


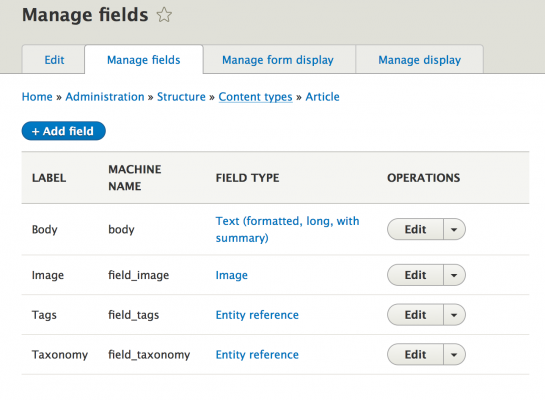
    To enable multiple image upload for articles, for example, navigate to:


    siteurl/admin/structure/types/manage/article/fields


    Drupal 8 - Enabling Multiple Image Uploads

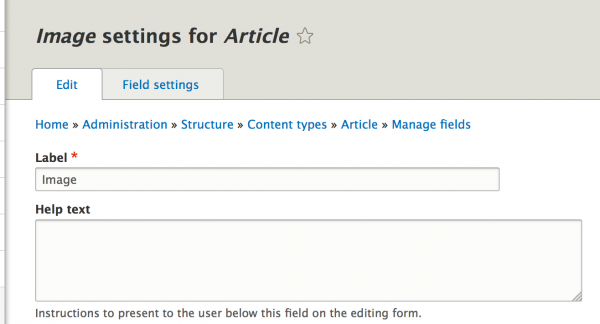
    Click “edit” next to the Image field type, and you’re taken to:


    Screen Shot 2015-11-19 at 3.27.02 PM

    Click on “Field Settings” and scroll down until you see:


    Screen Shot 2015-11-19 at 3.27.54 PM

    Set to “unlimited” as in the above image, save, and you should be good to go!

  • apt-add-repository: command not found on Ubuntu

    Following a tutorial where you’re supposed to add a repository with apt-add-repository but the command isn’t found? You can install it by doing the following:


    sudo apt-get install software-properties-common python-software-properties


    Then re-run the apt-add-repository command and it should work!