Category: Server

  • ZFS on Linux (Ubuntu) – arcstat.py is now available! How do you run it?

    UPDATE: This information is now out of date, see new post here.


    One very handy ZFS-related command which has been missing from the standard ZFS on Linux implementation has been arcstat.py. This script provides a great deal of useful information about how effective your adaptive read cache (ARC) is.


    ZFSoL 0.6.2 includes it, which you can now update to in Ubuntu with apt-get upgrade. But how do you actually use it when you upgrade? Easy. Assuming you have python installed, run the following (this works for 13.04 at least – we will check the others and update when we do):


    /usr/src/zfs-0.6.2/cmd/arcstat/arcstat.py


    This will provide you with the default readout, e.g. for our system which just rebooted:


        time  read  miss  miss%  dmis  dm%  pmis  pm%  mmis  mm%  arcsz     c

    21:33:13     3     1         33          1       33        0        0           1        33       2.5G   15G


    As you can see, since the system has just rebooted and hasn’t started caching requests the ARC size is quite small – 2.5G.

    This is an extremely useful tool to get an idea of how your ARC is performing – we will do a piece on interpreting the results soon!

  • Western Digital Se 2TB (WD2000F9YZ) Hard Drive Review


    wd-2tb-se-hdd-2


    Today we are looking at a new line of drives from Western Digital – the Se range. Click through to read our review of the baby of the new line – a 2TB drive…


    (more…)

  • How to install XenServer 6.2 – Step By Step


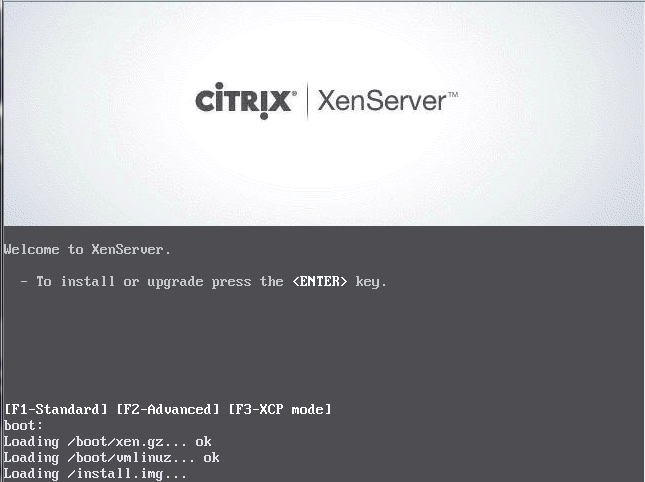
    With the recent public availability of XenServer 6.2 there are an increasing number of people wanting to try it; here is a walk-through of an install so that you know what to expect if you want to try it yourself. In this example we are using a NFS datastore on the network to store VM files. First, burn the ISO installer to a CD and boot to it:


    xen-000


    (more…)

  • How to install an Asus PIKE 2008 card


    As a non-standard PCI-Express card, the Asus PIKE card involves a slightly different installation procedure.


    asus-pike-card-01


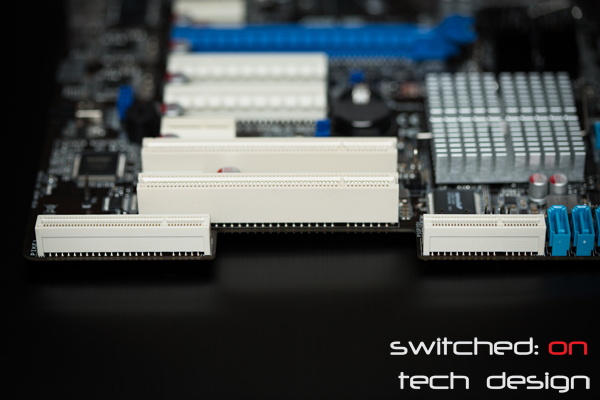
    The PIKE slot sits on either side of a gap in the motherboard:


    asus-pike-slot


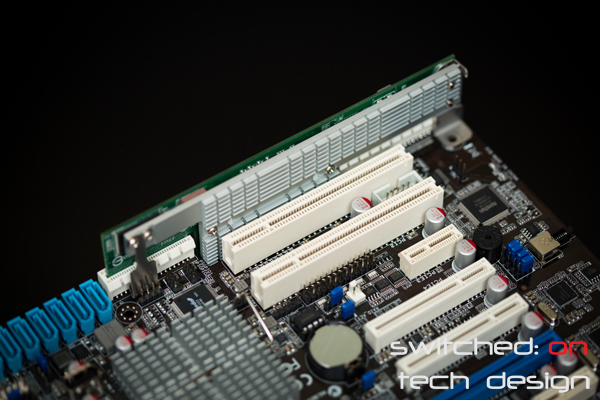
    You’re definitely not going to mistake it for a regular PCI-Express slot. The card only goes in one way, with the heatsink facing the PCI slots; it can be a little hard to get in sometimes as it needs to be inserted from almost directly above.


    asus-p9d-e4l-pike-card-in


    Motherboard-side view:


    asus-pike-installation-03


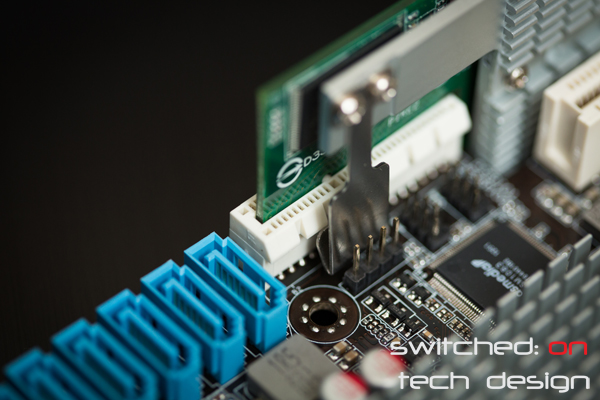
    The card is secured on either end; on the side closest to the SAS/SATA ports, it hooks under a latch on the slot:


    asus-pike-installation-01


    Here you can see the metal part of the PIKE card latching underneath the slot’s edge. You can also see how close other board components often are to this end! The other end sits over one of the motherboard mounting holes:


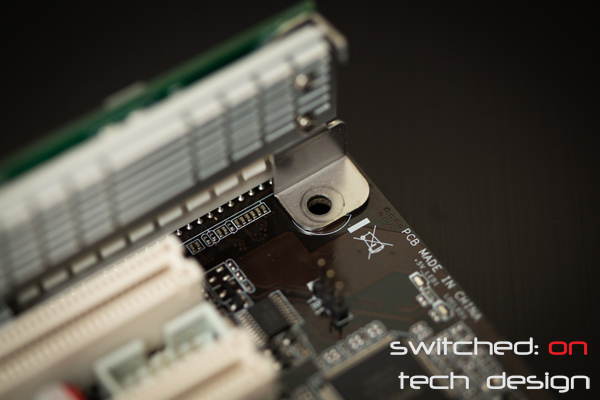
    asus-pike-installation-02


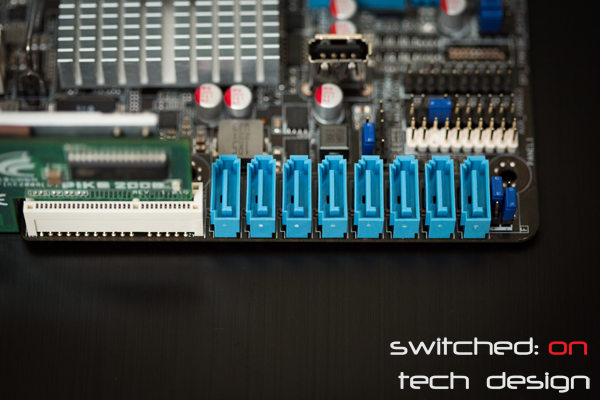
    Don’t install the card without taking this screw out first, otherwise you’ll be taking it out and starting over. Now the card will activate the SAS/SATA ports next to it:


    asus-p9d-e4l-sas-pike-ports


    Easy done! Taking the card back out can be a little challenging with the metal clip on the side where the ports are, particularly if you have PCI cards still installed while you try to remove it (e.g. when the motherboard is still in the chassis). On the topic of removing the card while the motherboard is still in the chassis – as the card is quite short and the insertion pressure is reasonable so it’s quite difficult to remove in the chassis if there’s not a lot of space on both sides. A better idea is usually to take the motherboard out in these cases to minimise the risk of damage to the card or other board components.


    You can buy the Asus PIKE 2008 card from Amazon.com:


  • Asus PIKE 2008 card review


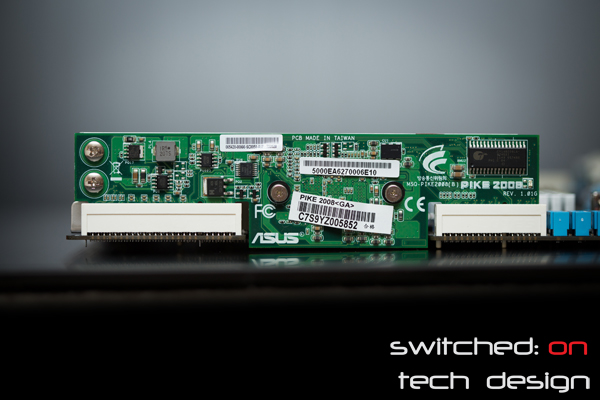
    Many storage enthusiasts are familiar with the IBM M1015 card, an IBM rebadge of the LSI 9220-8i host bus adapter (HBA), based on LSI’s SAS2008 chipset. Less are familiar with Asus’ PIKE card – essentially the same thing in Asus’ own form factor, fitting only their proprietary PIKE slots.
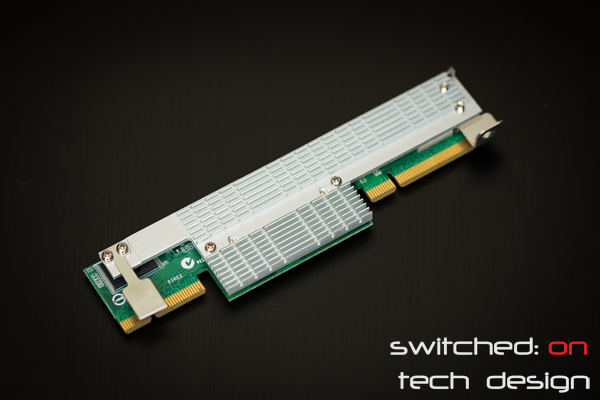
     

    asus-pike-card-01


    This card activates the onboard eight 6gb/s SAS/SATA ports featured on server boards with PIKE slots. The straight 2008 model acts just like an M1015 in IT mode; the IMR model gives you RAID capabilities, namely RAID1/RAID10/RAID0/RAID1E.


    The card itself is quite small, fitting into 1U chassis’ – at a mere 1.57″ high and 6.44″ long, it’s quite a bit lower than your usual PCI-E cards. Operating system support for the SAS2008 chipset is excellente – it has worked out of the box with every modern OS and hypervisor we have tried recently (e.g. Windows 7, Ubuntu 10.04-12.04-13.04, OpenIndiana, ESXi 4+ etc.).
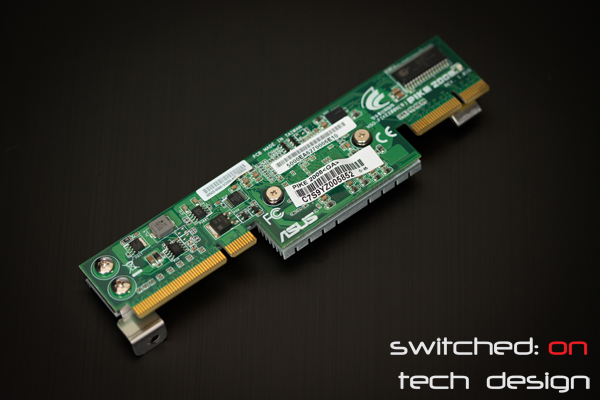
     

    asus-pike-card-03


    The card itself is readily available, at least in the US and AU – at around $130/140 new it’s actually extremely reasonably priced vs. picking up a used M1015 on eBay. With a PIKE card you’ll get a warranty, make use of an otherwise-unusable slot and keep one of your PCI-E slots free for other uses, so there are quite a few reasons to consider one.
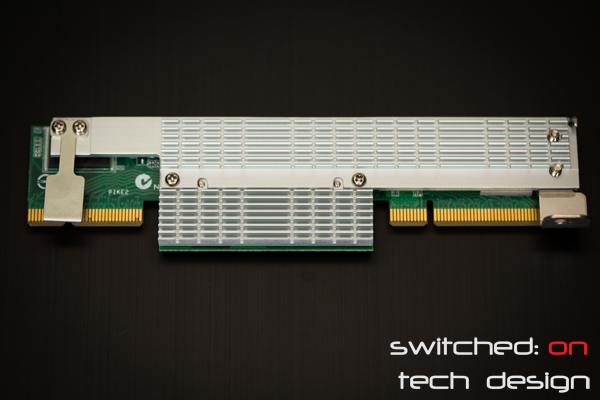
     

    asus-pike-card-02


    One caveat exists, primarily affecting those attaching a number of SSDs to the controller. Not all Asus motherboards have the same electrical connectors to the PIKE slot – some are PCI-E 2.0 x4, some PCI-E 2.0 x8, some PCI-E 3.0 x8 – there may be other combinations but these are the ones we have tested so far. A x4 connector may bottleneck a number of SSDs in use simultaneously; it’s extremely unlikely that you’ll hit that limit with spinning disks. It’s worth being aware of what electrical connection is present to you PIKE slot if you ever intend on hooking up a lot of fast drives as you may end up unintentionally bottlenecking their performance.


    In terms of performance, it acts exactly the same as plugging in an IT-mode M1015; eight extra ports are activated without fuss and drives hooked up to those ports should appear immediately in your OS. lspci should show something along the lines of:


    03:00.0 Serial Attached SCSI controller: LSI Logic / Symbios Logic SAS2008 PCI-Express Fusion-MPT SAS-2 [Falcon] (rev 03)


    Super straight-forward – couldn’t be easier. The card supports hot-swapping, too.


    The PIKE card is well worth a look in as an alternative to a secondhand M1015/LSI card for those enthusiasts with an Asus board with a PIKE slot.


    Also see: How to install a PIKE 2008 card

    You can buy the Asus PIKE 2008 card from Amazon.com:
  • Asus P9D-E/4L Haswell Server Motherboard Review


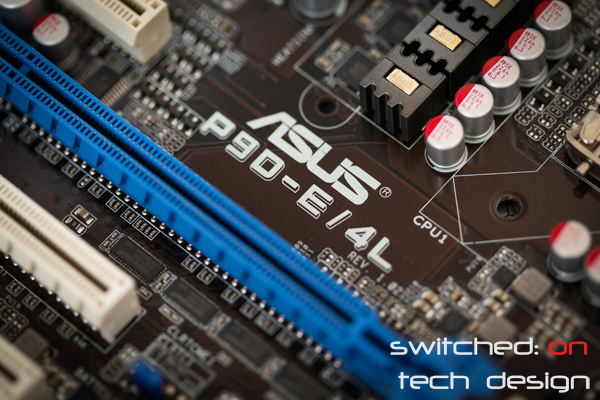
    With the recent release of Intel’s Haswell architecture came new server boards to match. From Asus came the new P9D line, and within that line the Asus P9D-E4/L is the flagship model with quite a comprehensive list of features.


    asus-p9d-e4l-logo


    (more…)

  • Ubuntu: How to check the samba version


    To check the version of Samba that you are running, use the smbstatus command. The first line is the version, which should look something like:


    Samba version 3.6.3


    If you want to see just the version without the rest of the smbstatus information, you can run:


    smbstatus –version


    Much less cluttered. The above is the current version for a 12.04 Ubuntu server. Still waiting for version 4!

  • Where is the crontab in Ubuntu?


    If you’re looking to make a copy of a user’s crontab as a backup or just to view it without using the crontab editor, you can locate it at:


    /var/spool/cron/crontabs


    Each user’s crontab will be in this directory in a file named as their username (e.g. root). If you’re working with a lengthy crontab it’s a good idea to back it up – can save you a lot of work if everything goes pear-shaped.

  • Ubuntu: Where is the default tmux config file?


    This is a tricky one to find, mainly because by default it doesn’t exist. You create your custom configuration file in your home directory in a hidden file like so:


    ~/.tmux.conf


    …and add your desired configuration changes to that file. So, if you were the user bob, your config file would be located at:


    /home/bob/.tmux.conf


    Since it is a hidden file (prefixed with a period) you won’t see it on ls – you need to use:


    ls -al


    (or ls -a if you don’t like lists) to see it in the directory.

  • Ubuntu: How to check the contents of a tape


    To check the contents of a tape, insert the tape and run the following:


    tar -tf /dev/[path to tape device]


    e.g.:


    tar -tf /dev/st0


    Note that typically it’s a zero, not a letter o, at the end.