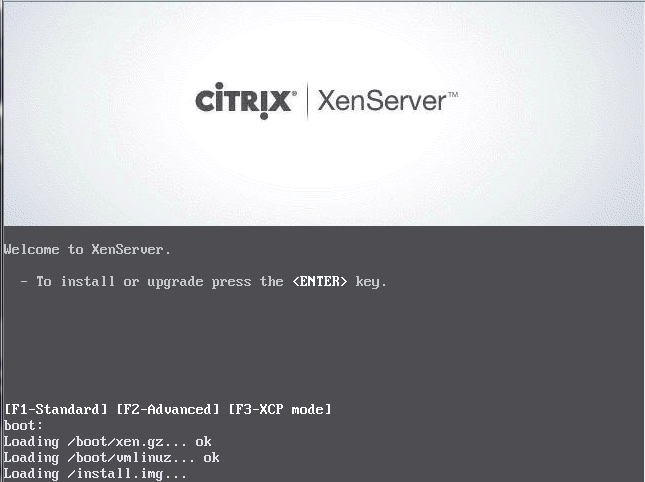
With the recent public availability of XenServer 6.2 there are an increasing number of people wanting to try it; here is a walk-through of an install so that you know what to expect if you want to try it yourself. In this example we are using a NFS datastore on the network to store VM files. First, burn the ISO installer to a CD and boot to it:
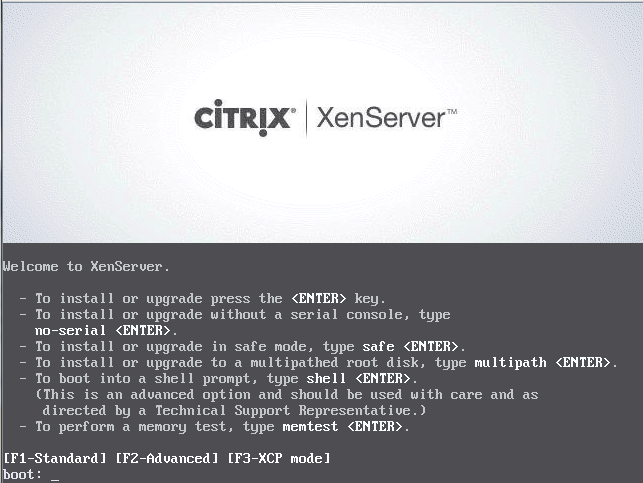
You should see the above screen to start with. If you press F2 you will see the advanced options:
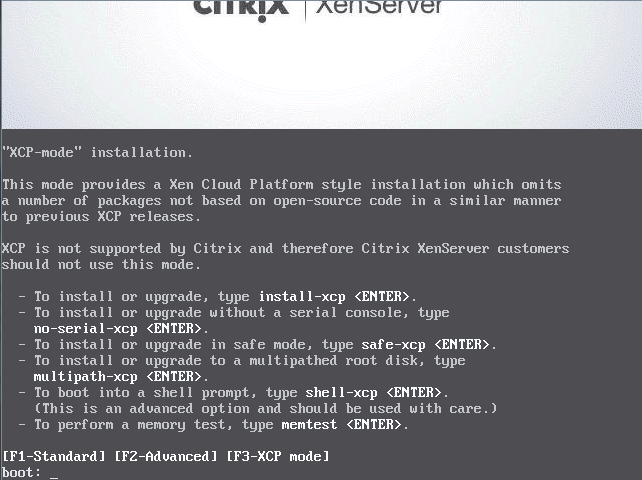
Most people who are trying it out are just going to want to choose the most straight-forward option – press enter. For those who are curious about the other screen (F3):
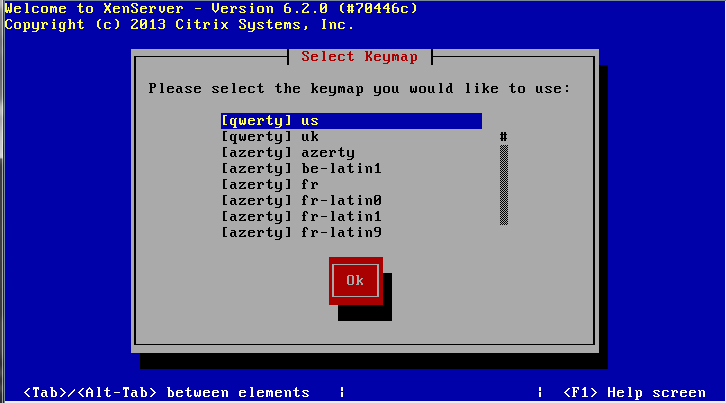
Once you press enter, you should see the following:
As most of you who have installed many OS’ would be familiar with, we begin by choosing the keymap.
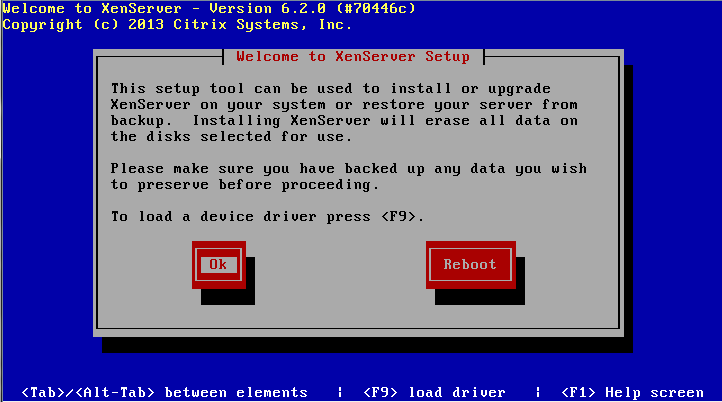
Now we have a standard disclaimer about data loss. Assuming you have backed up your data or are doing an install to a fresh disk (or just don’t care about what’s on there), we hit OK:
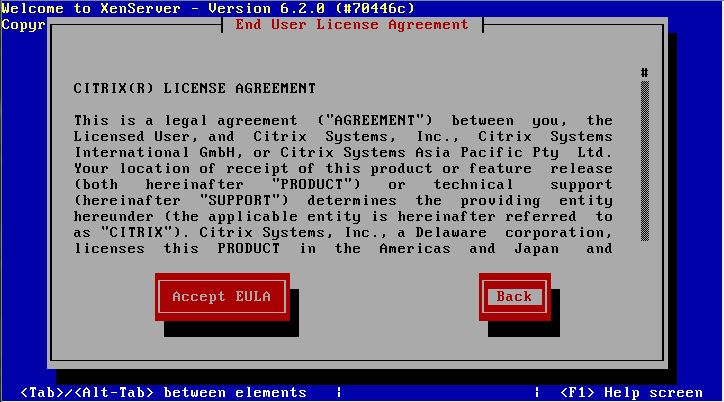
Once you have read the EULA, hit Accept EULA:
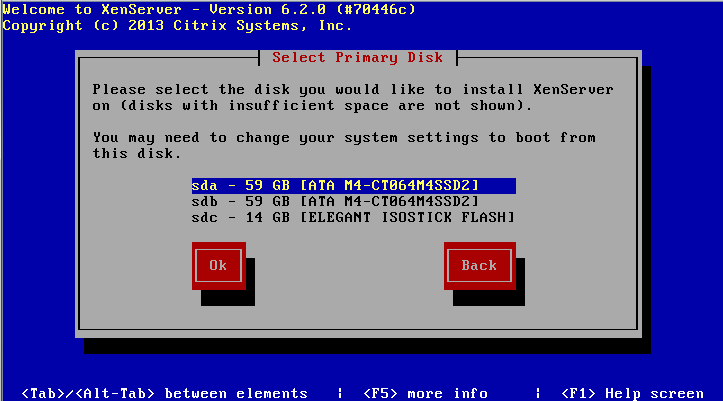
Here we choose which disk to install to. In a similar way to ESXi, we don’t have the option of software RAID, so here we choose a single disk or available hardware RAID volume. Press space to select a drive:
Now we can key down to OK.
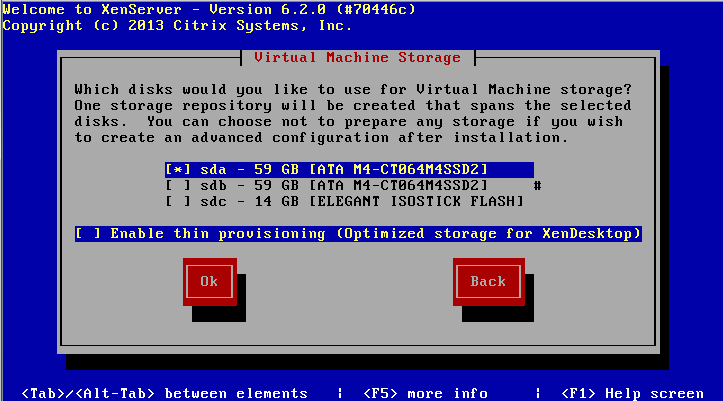
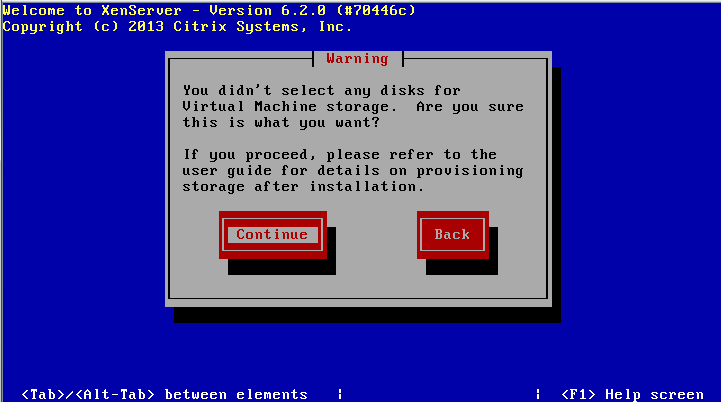
Since we are using a NFS datastore on the network to store virtual machines, this is OK. Moving on:
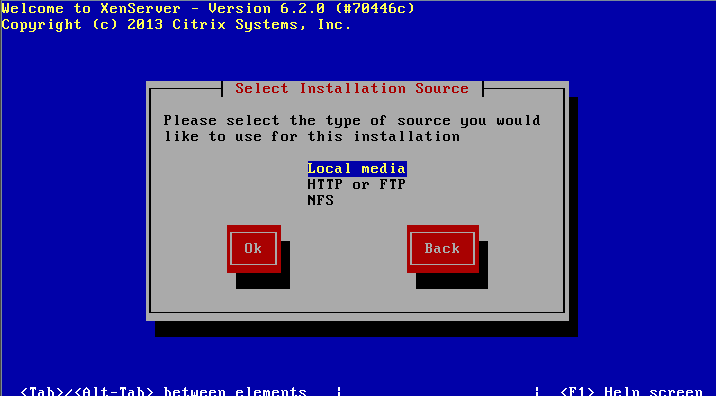
We have the install media here so we will use the Local Media option.
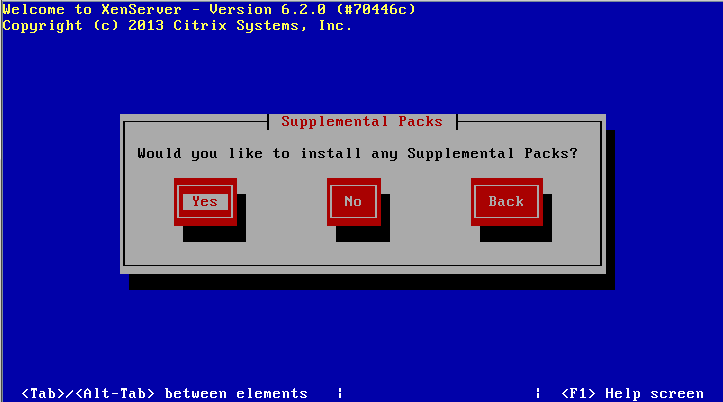
If you have to ask what a Supplemental Pack is, you don’t have one. Select No. If you select Yes and don’t have one don’t worry, it won’t harm anything.
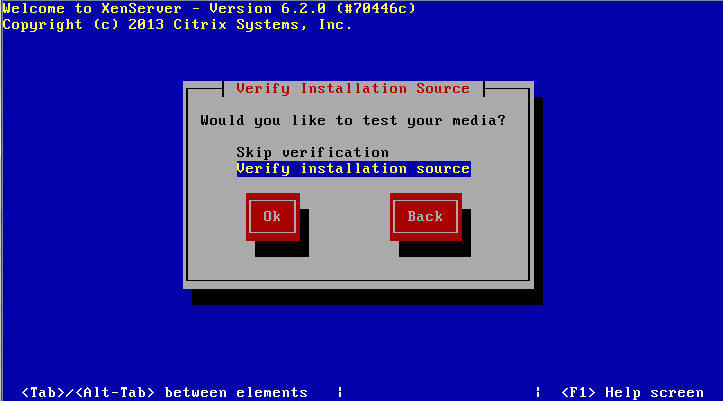
You can verify your installation media here if you like.
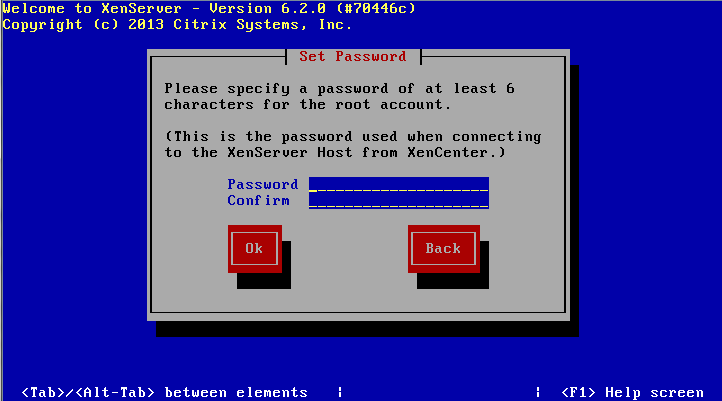
Pick a root password – you will need this for logging in via the console or via the XenServer client on Windows.
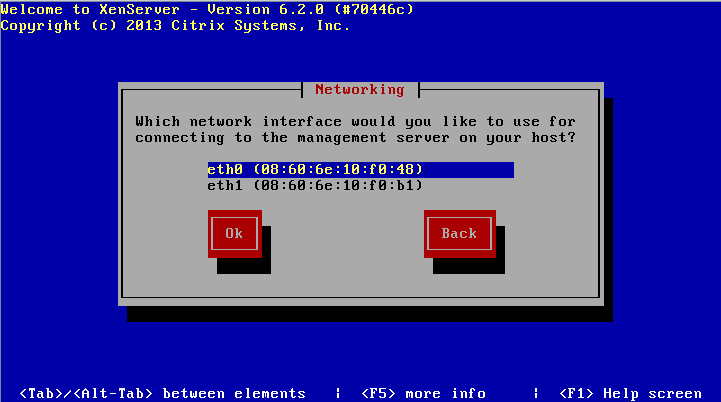
The motherboard we are installing to has two Ethernet ports, both of which are supported by XenServer 6.2. Choose the one you wish to use for the management network – you can change this later.
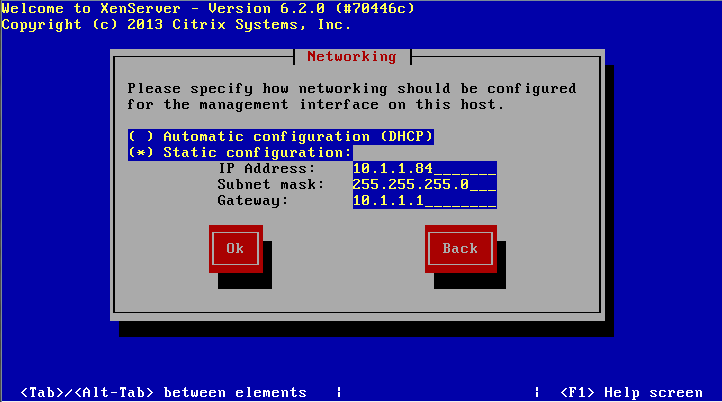
Here we get to choose the networkg settings for our mangaement network. This is the IP address used for logging in to manage the XenServer – it’s advisable not to use DHCP, as you’ll waste time trying to find XenServer on the network if your DHCP server changes the IP address. As you can see above we have selected an IP address for a 10.1.1.0 network – you may have another IP range, such as 192.168.1.* or another.
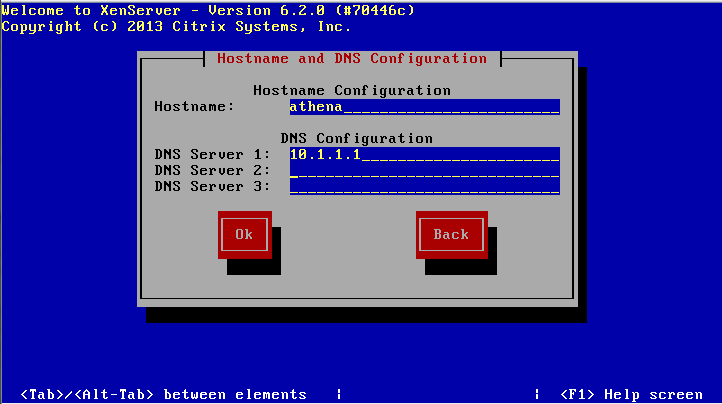
Next we choose the hostname and the DNS server settings – if you’re at home you likely use your gateway IP address.
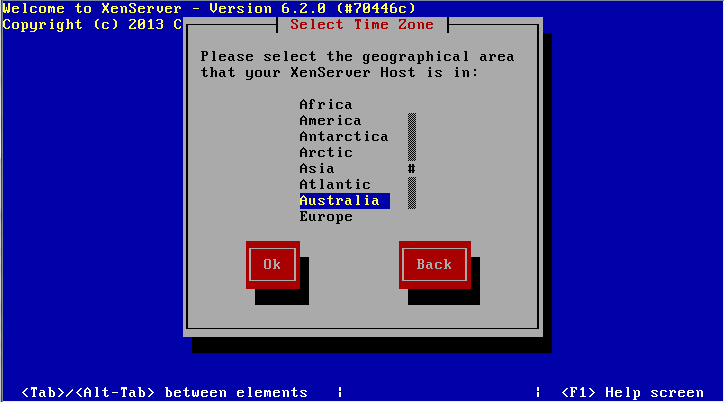
This one should be easy – pick your country!
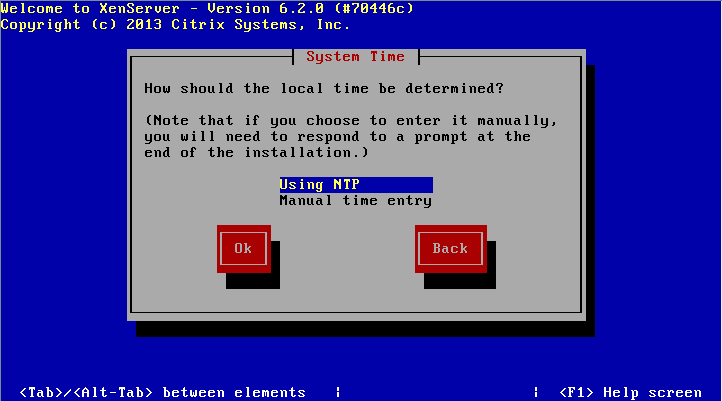
Now choose whether to set your time based on an NTP server or on your manual input.
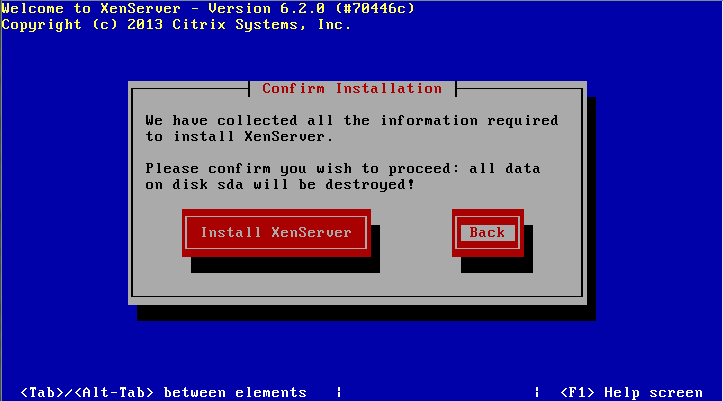
Last chance before install!
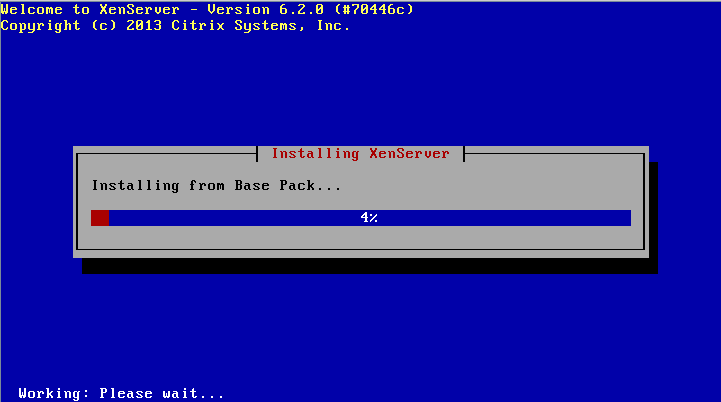
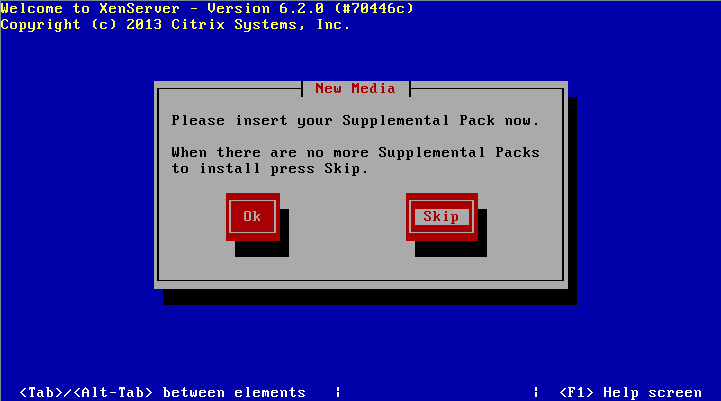
You’ll get a progress bar so you can see where the install is up to. Once it has done, if you said you did have supplemental packs you should see:
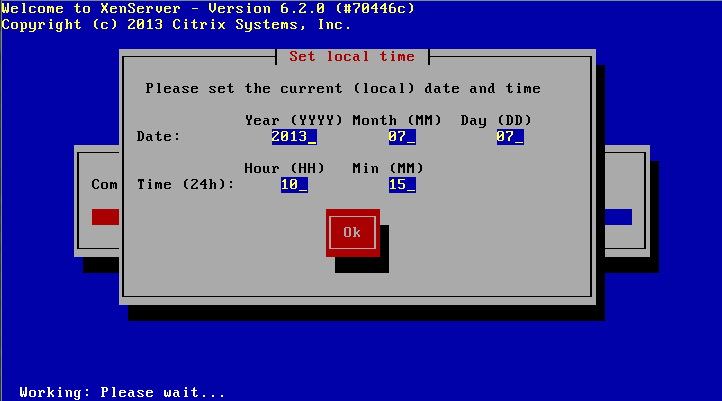
If not, and you chose manual time entry:
Now you should be able to boot into the new install!
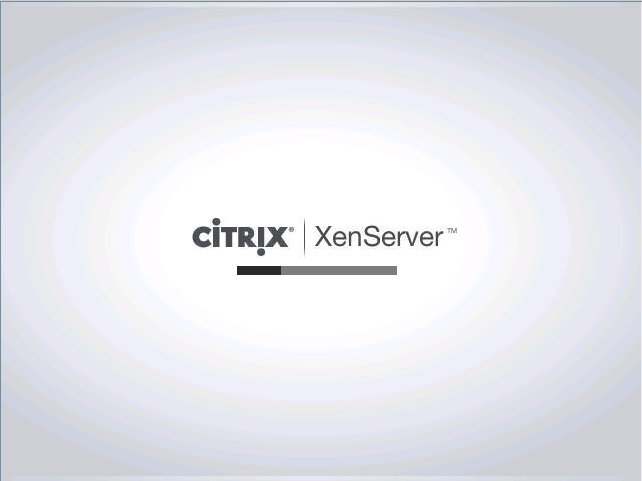
The above is the loading screen for your new XenServer 6.2 install.
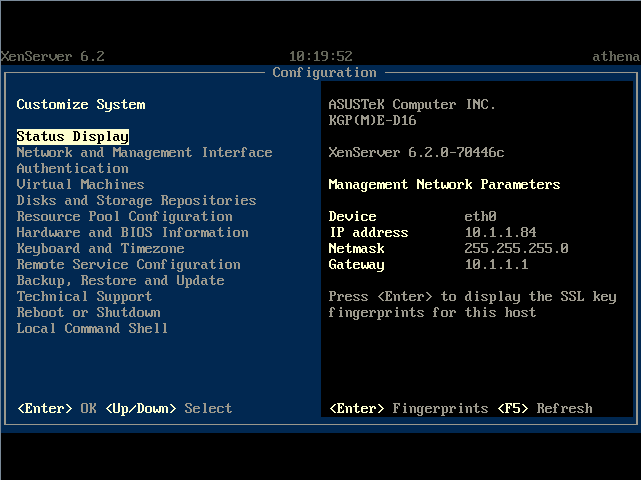
This is the console screen for XenServer 6.2. You can do quite a bit from here, as you can see from the list on the left! If you want to change anything significant you need to log in using the root/password combination you set earlier.
With that, you’re done! It’s an extremely painless process using supported hardware.
