As promised, here’s part two of our review! We’re building one of our standard test systems using this chassis and the following components:
Asus P8Z77-V Deluxe motherboard
Intel i7-3770K CPU @ 4.5GHz
8GB G-skill Ares 2133MHz RAM (2x4GB)
Corsair H100 self-contained liquid cooling
Crucial M4 SSDs
Seasonic X-560 PSU
AMD HD6450
Click through to see how the build went!
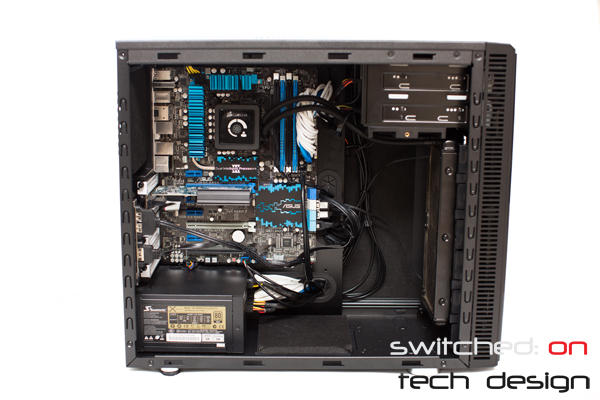
For the purposes of this build we removed the front 3.5″/2.5″ bays – as there were no spinning disks in the setup it made more sense to improve the airflow and reduce the noise levels by removing any obstructions. The board is a full ATX and fits neatly up against the cable grommets; one issue here is getting the SATA cables neatly through the grommets. Using a 90-degree SATA end didn’t work as the cable ended up pressing into the edge of the cable hole, which put a great deal of pressure on the SATA port itself. Straight connectors worked fine, except that it wasn’t possible to curve the cables through the rubber-lined hole – we had to loop them around the edge of the tray just past it, which doesn’t make a great deal of difference in terms of aesthetics but is slightly frustrating as it’s a near fit…!
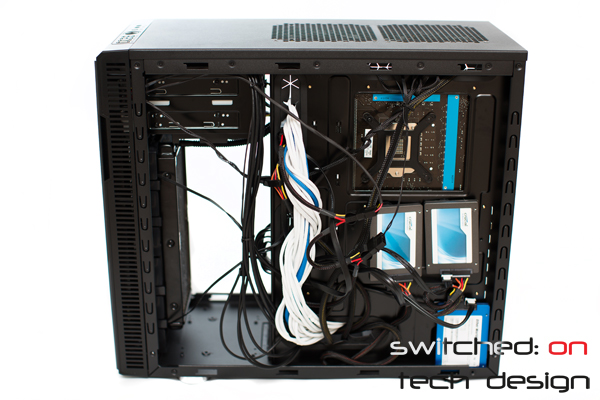
The ATX PSU fitted without issue and the cable holes for the PSU cables are plenty long, even for a much longer power supply. As far as the back goes, the increased space behind the motherboard makes careful cable arrangement not necessary to get everything closed neatly:
The above is a good example of a quick test build with little time taken to neaten the cables; despite this, the case side closes just fine and there’s even enough room for the SSDs to have right-angled SATA ends on them. The three SSDs here are held on via adhesive velcro strips rather than using the provided SSD holes; having to remove your motherboard to replace a broken SSD seems like an unnecessary complication, and the Velcro has yet to fail us!
You can also see here that the CPU cutout is well sized and allows for access to the H100’s backplate with room to spare.
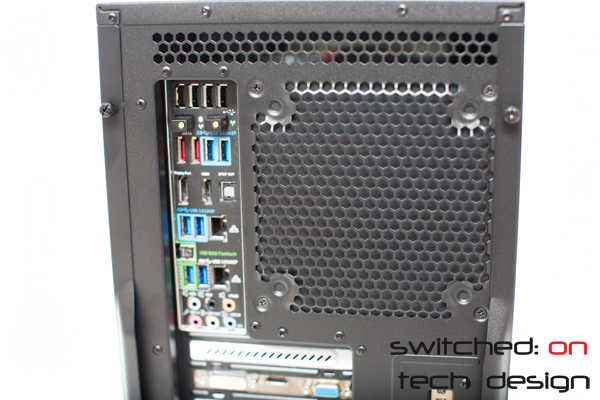
Here you can see the rear 140mm fan has been replaced by one of the baffles from the top of the case.. that’s because:
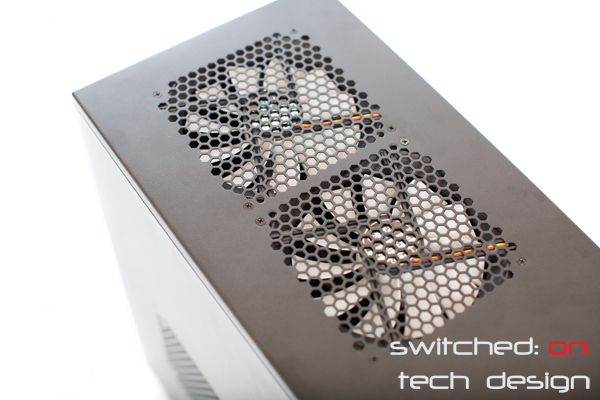
Both of the provided 140mm fans were moved to the top positions, and the baffles from the top were moved to the rear and base instead. This creates a clear air pathway from the front two intake fans, through the CPU radiator, across the motherboard and other components and out the top. With both fans running at 7v via the front fan controller the noise level is quite low, even when the case is in open air sitting on the floor next to a desk. The fans fit in quite nicely aesthetically, too, providing a nice contrast to the predominantly black case.
Overall the case was extremely easy to work with – there’s plenty of room to move and customising the layout to suit your desired application is quite easy. With some time taken and some cable ties or cable clips you could neaten the back up to look extremely clean, given the available space. After a week of using the case in this setup we felt quite impressed; whether idling or folding at 100% CPU load the system was remarkably well behaved in terms of temperatures and acoustics; it’s the first time we’ve been happy leaving the H100 on the highest fan speed setting without feeling that it’s too noisy for a quiet office. The baffles are effective at keeping noise and air from entering/leaving via the rear and base, which is good for directing airflow, and the stock fans are surprisingly good – they will be quite acceptable for most people, unless you’re chasing much more performance or a particular level of performance/noise combination.
The case is going to be easy to work with regardless of skill level and there are no sharp edges to lacerate your skin on, which is expected at this price point. We didn’t find any surprises during the build and we are happy to echo the sentiment from the end of Part One of this review – if you’re in the market for an understated, quiet but well-performing case this should definitely make your shortlist.
We’ll post back with a customer build with one of these cases and demonstrate just how neat the cables can be with some care down the track!


