In-Win’s H-frame ITX chassis caught people’s attention in early 2013 for it’s striking looks, and today we got our hands on one to review.
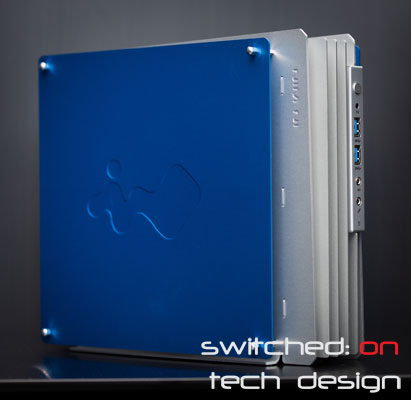
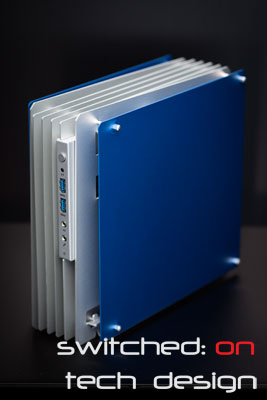
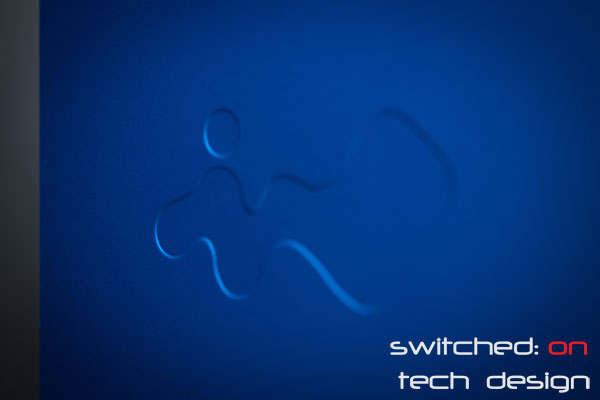
A closeup of the In-Win logo on the other panel:
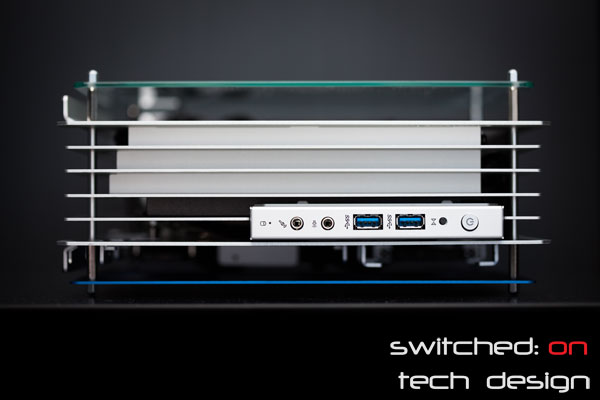
The view from the front:
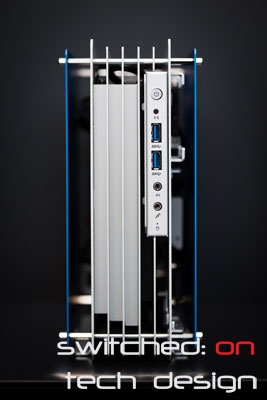
As you can see, it is an open-air design – meaning that dust may be a problem, and also that there isn’t much material to block out unwanted sound from the CPU and PSU fans! A closeup of the I/O panel on the front:
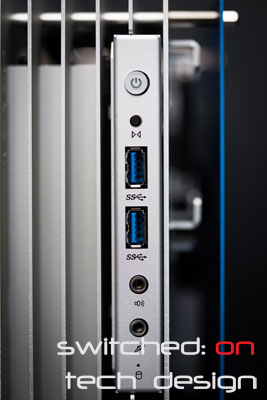
Power, reset, two USB 3.0 ports, speaker/headphone port, mic port and HDD activity LED, in order from top to bottom. The build quality here leaves something to be desired – as you can see, the power switch is off-center and doesn’t stay centered if you correct it, and the same goes for the two audio ports:
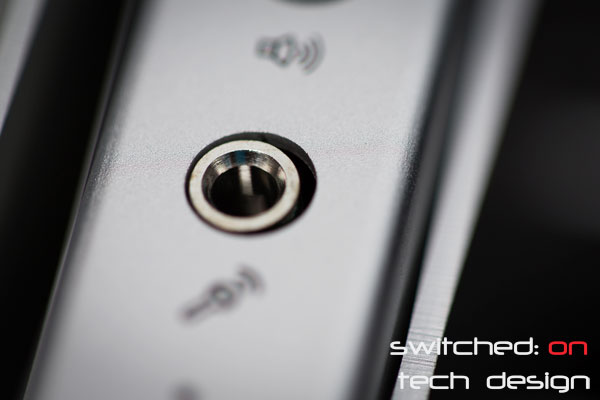
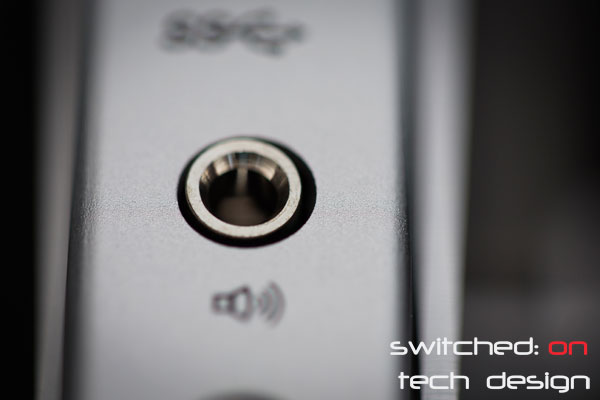
It’s a small thing but noticeable as you’re building the case, though functionality is not affected in any way. The power switch is pleasantly tactile with a very short travel and a definite “click”. The underside:
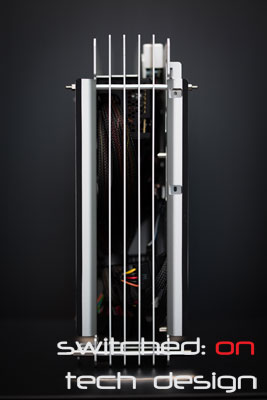
Much like the other sides, except that there are two ~1mm thin rubber strips on the bottom:
These work quite well to keep the chassis from moving on a flat surface and also prevent scratches to either the aluminium or the surface that the chassis is resting on. The rear of the unit:
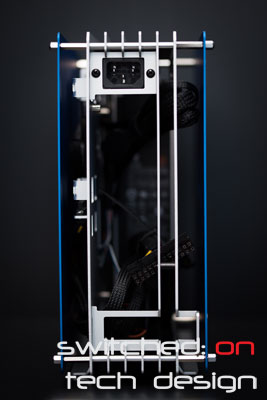
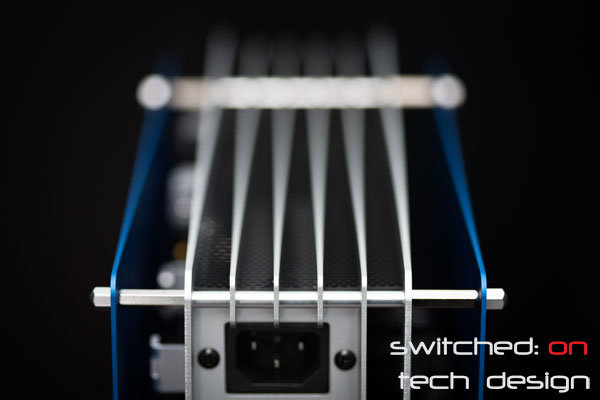
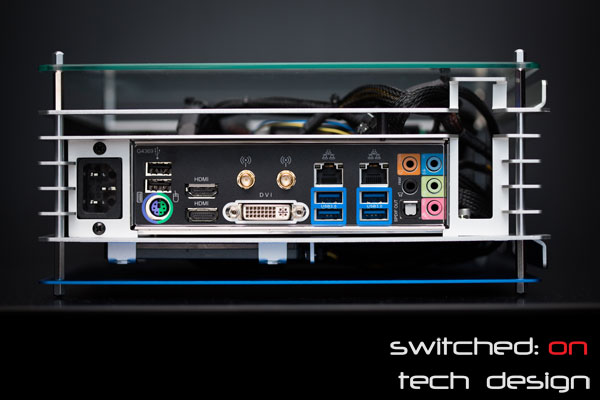
There is a standard power adapter at the top, the I/O panel and a low-profile expansion slot beneath that – no PCI slot cover. To take the sides off, you unscrew the four nuts (one in each corner):
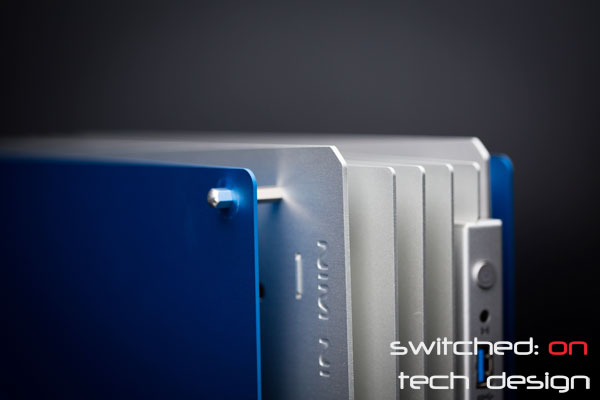
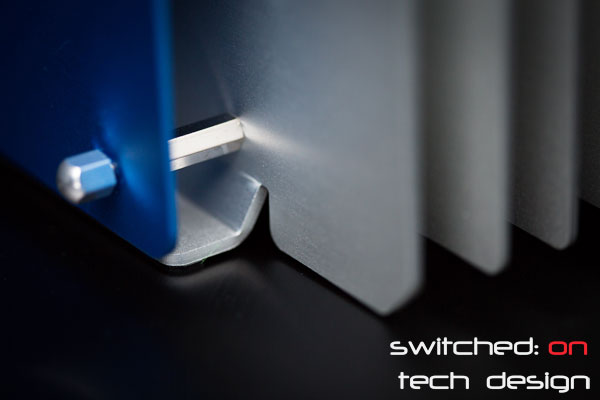
These are attached to stand-offs:
In-Win provide a plastic tool for removing them without leaving marks; just be careful not to press into the aluminium panels too hard with this tool as you are using it as it does leave light circular marks. While the marks it leaves rub off, were you to catch a piece of grit under the tool you may leave marks in the aluminium! The tool:
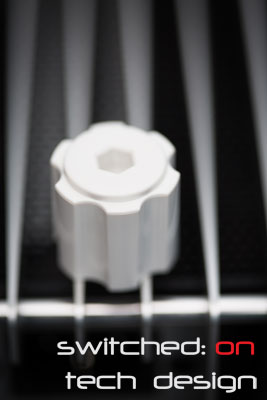
The hole goes over the nut and it easily unscrews. Once you have taken the side off:
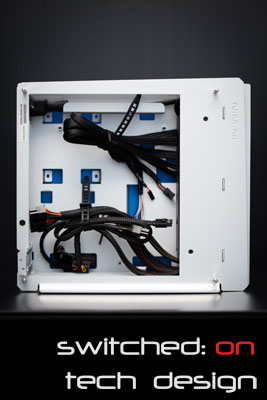
Quite the nest of cables there on the inside. How about the other side?
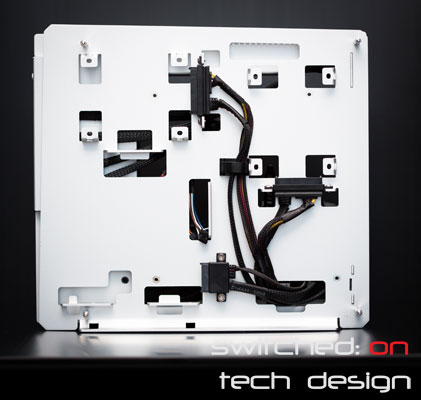
Two 2.5″ HDD bays at the top and one slim DVD bay at the bottom left. There are pre-fitted connectors and the fit is quite firm with a 7mm z-height SSD – 9.5mm drives need not apply. The firm fit is quite good for a SSD, however, as it means that you can get away without using screws if you feel the need (change drives often perhaps?). The SATA/power connectors are a very firm fit, too, and should be more than enough to prevent a non-screwed-in SSD from slipping out even if the case is knocked. A closer look at one of the bays:
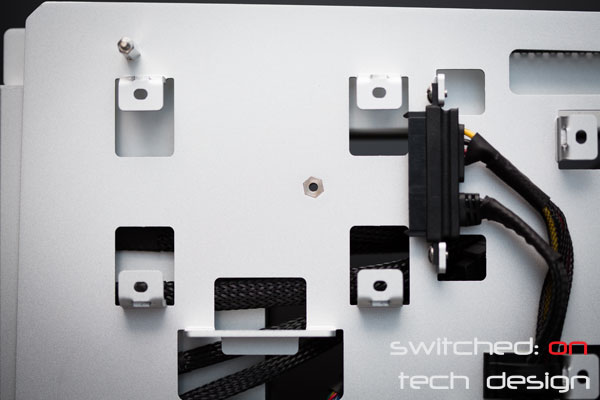
Here you can see that the SATA/power connectors are wired into the plastic shroud at the end, meaning they’re not really user-replaceable with other cables unless you want to remove the cabling altogether and use your own. SSDs install like so:
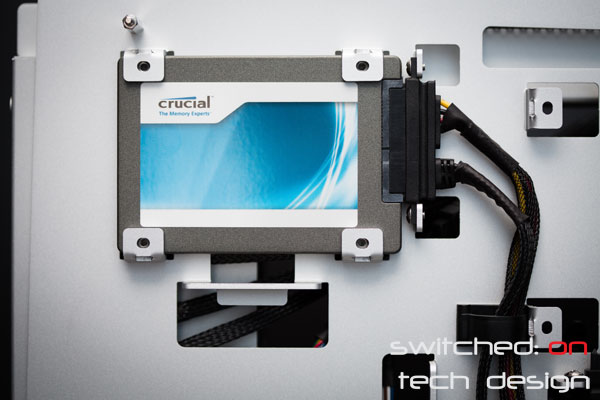
A closer shot of the DVD bay:
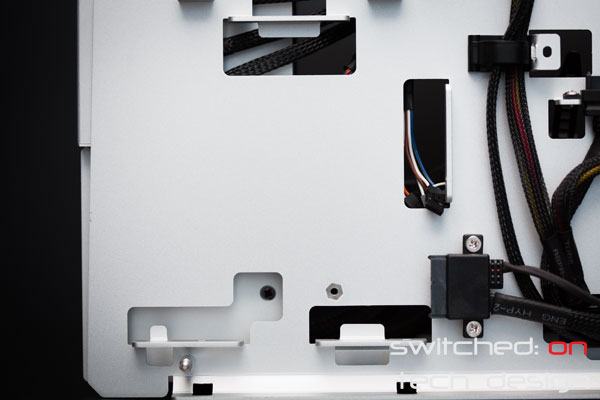
The connector is for a slim DVD drive, as expected:
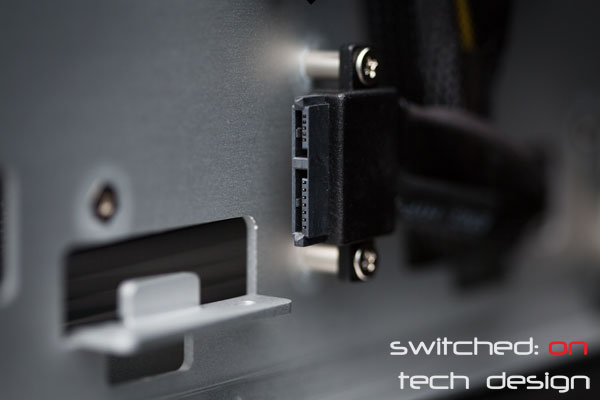
And so, with a drive installed thusly:
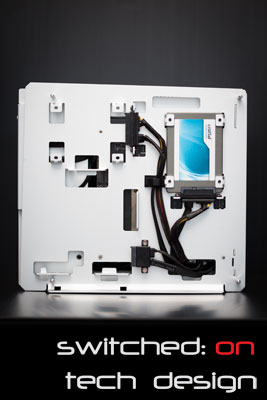
…we move back around to the interior. One thing we haven’t touched on so far is the included 180W power supply:
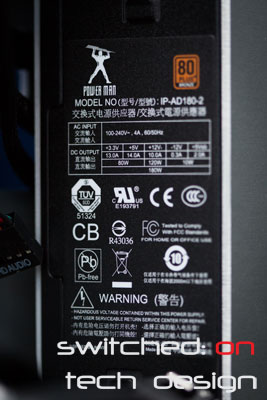
“Power Man” IP-AD180-2, 80+ Bronze. Other PSUs by Power Man have been rebranded FSP units but we haven’t found any conclusive info on this one yet. It appears to be a 2010 design based on what we can see. Specs from In-Win’s site:

Average efficiency 86.68% according to In-Win, and you can find the 80+ test sheet here. It has a 40mm fan, 100,000hrs MTBF @ 25C and an operating temperature range of between 10 and 50C.
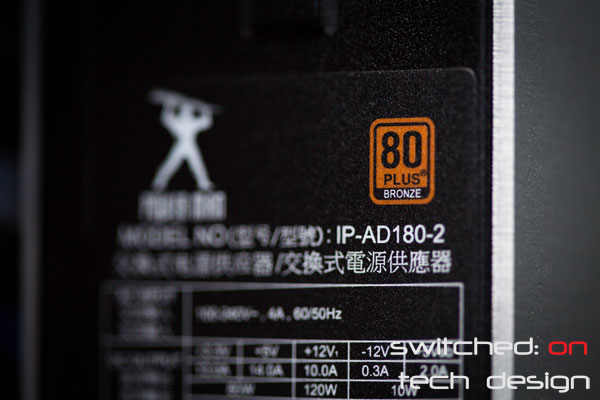
The PSU in this unit is surprisingly quiet for a unit with a 40mm fan, even under load. The PSU measures 54mm(W) × 185mm(L) × 48mm(H) in case you want to replace it with another. A PicoPSU might be a good choice for this case if you’re after something silent and probably more efficient. The PSU is located at the front of the case (if it’s vertical on it’s feet) and has an extension cable to reach the rear, which has an aluminium channel:
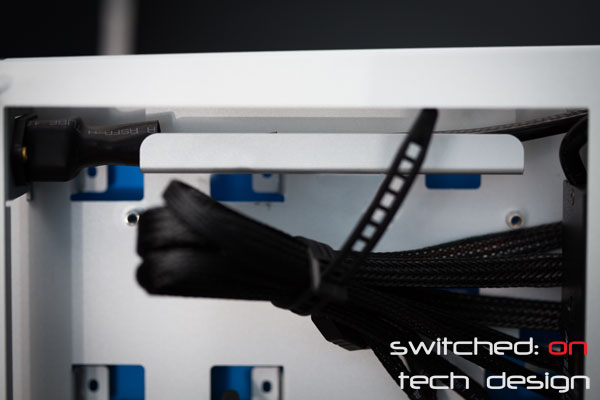
The rear of the case is to the left in this picture. Now, on to the motherboard installation! The board in question is the very popular Gigabyte H87 ITX motherboard GA-H87N-Wifi – with built-in Wifi and a healthy complement of ports an extremely reasonable price point, it’s quite a common board to see in new Haswell ITX builds.
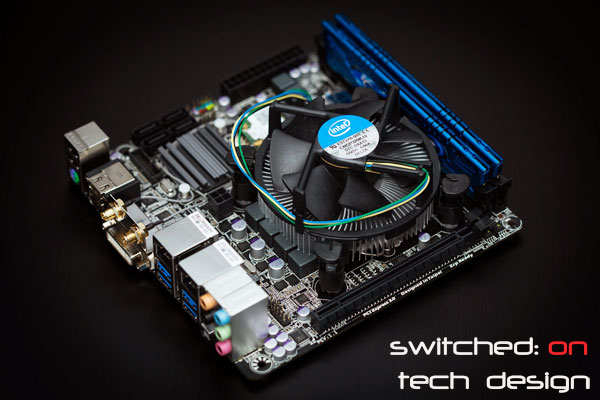
First sticking point: the rear I/O shield. Now, I at first suspected that the I/O shield was faulty as it was millimeters off in terms of fitment:
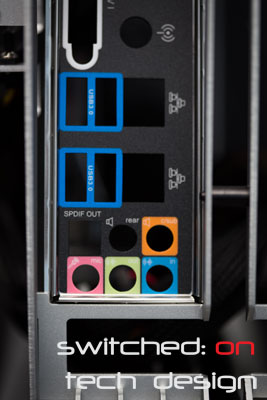
Closer:
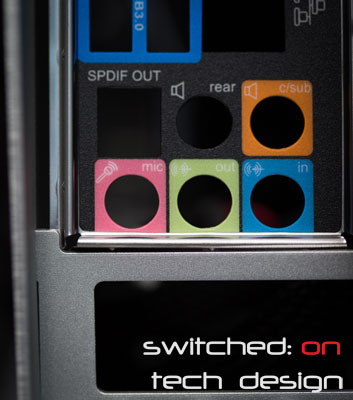
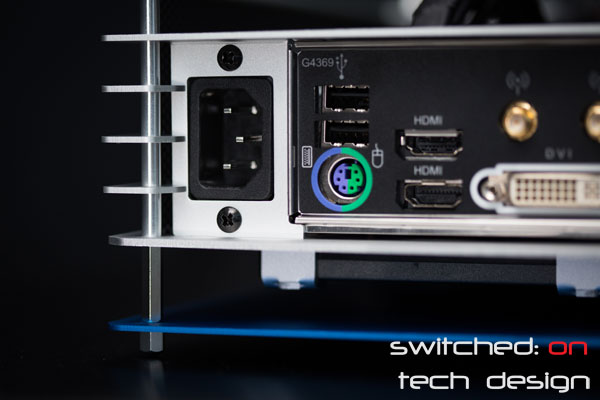
…except we then tried it in another case and found that it was, in fact, as it should be. The I/O shield just sits loose in the slot. This has to be the first case in years where this has happened to us. Upon motherboard installation, however, the I/O shield sits in approximately the right place and doesn’t fall out – while you can move it around the connectors a little it isn’t going to go anywhere, so in practical terms it doesn’t seem to be an issue beyond annoyance at it falling out as you’re trying to install the board.
The motherboard standoffs are already in place, which is nice – barring the I/O shield shenanigans, installation is as easy as it should be – moving the cables out of the way, placing the motherboard on the standoffs and screwing them in. Cabling, however, is not as easy. Photo of the motherboard in situ:
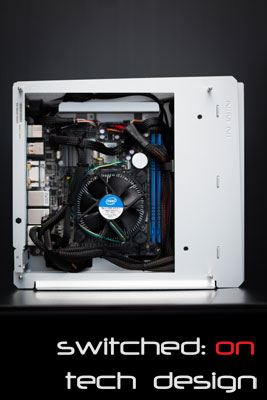
Let’s start at the bottom left.
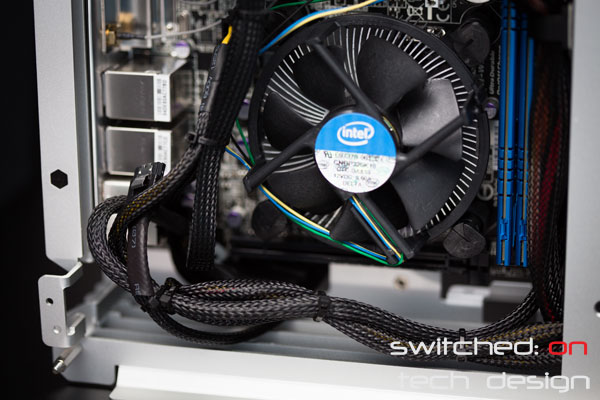
That’s strange – why is there a SATA cable sitting in the middle of nowhere to the left? Because it is at full extension – that is as far as it goes. While this will be far enough for some boards (Z87I Pro, Z77i Deluxe) there are quite a few where it isn’t long enough – and the Gigabyte board in question is one of those. It’s not like the Gigabyte board is alone in it’s SATA port placement, either – some Asrock boards have the SATA ports at the top, as does Intel’s S1200KP/KPR ITX board. Looks like you’ll have to get a SATA extension cable if you want the top-left 2.5″ drive bay to work if you use any of those boards here. This could be remedied by being able to change the SATA cable for a longer one, but since it’s formed into the connector on the other end that isn’t an option.
On the topic of cabling, the ATX power cable could do with being a touch longer:
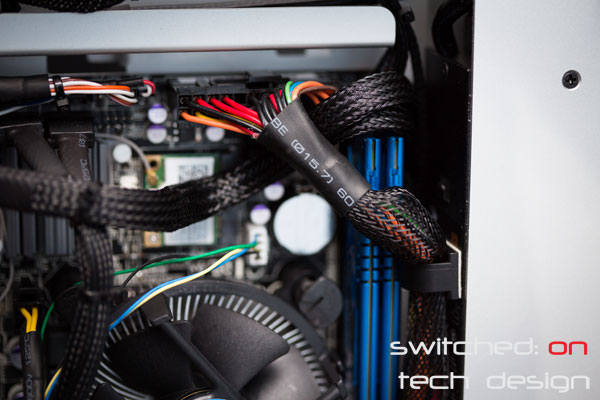
We used one of the two included adhesive cable guides to keep it from fouling the CPU fan blades but the cable as pictured above is at full extension. Given an extra inch it could have gone around the RAM and been tucked neatly out of sight, not blocking the RAM modules – it’s a shame that things like this have been missed in a case with a glass top, as it can be the little things which make all the difference in terms of visual impact. While on the topic of looks, the sleeving is average if a little loose like on the ATX cable above, but looks OK on other cables:
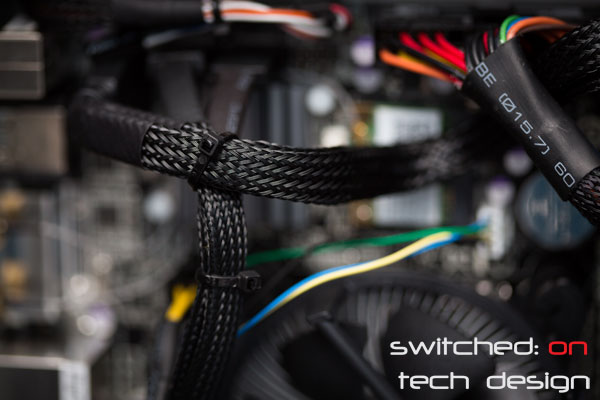
As the cables weren’t generally long enough to snake past components or around the edges of the board we had to cable tie them to prevent them from hitting the fan, same as the ATX power cable. There were several more missed opportunities here, too – the lovely aluminium cable guide at the top could have been used for the front USB/audio/etc cables as well, except that those cables weren’t long enough to reach the motherboard connectors if you put them in the channel! The power/reset/etc. cables were long enough (just), which helped a little with clearing the cable clutter on the top of the board.
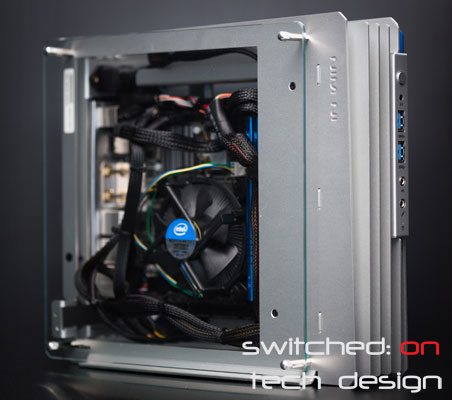
The finished unit with glass top in place. The case looks very nice to our eyes, and is quite striking compared to many ITX cases out there – it’s a shame that the stock cabling lets it down in terms of appearance when you put the glass top on, but with some effort – custom sleeving and altering the lengths of some of the cables – you could have a really amazing looking little showcase system. If you aren’t using the glass top, however, you’re not likely to care about the appearance of the insides so with the exception of the SATA cable length issue you’re unlikely to care about any of the above couple of paragraphs!
Now that the motherboard is installed, the I/O panel sits OK as we mentioned above:
It really is a beautiful case aesthetically:
Glass-topped:
PROS:
- Striking aesthetic
- Included PSU
- Slim DVD drive + 2.5″ HDDs have neat connectors
- Did we say striking aesthetic?
CONS:
- Cabling – only if you’re using the glass top and care about the look of your cables
- One SATA cable too short for some motherboards
- 40mm fan in the PSU isn’t ideal, PicoPSU may be an option for those who care about silence
- Dust – no protection, no chance of filters anywhere!
- Noise – nothing to dampen the CPU fan
- Cooling – Only the CPU fan to cool all of the board’s components, with the exception of room airflow/convection
- I/O shield area doesn’t match up well with I/O shields
Overall the main drawcard we can see to this case is it’s killer looks – the blue/silver combination looks great to our eyes and it definitely looks unlike your run-of-the-mill case. It may not be the most practical case in the world with it’s open-air design in terms of dust or noise but it certainly does draw a lot of attention from passers-by – we have gotten many positive responses from people who have seen the case in person. Given that most modern CPU coolers are quite quiet except when under load it’s quite an easy case to live next to for day-to-day work and if you don’t mind dusting it out once in a while it may not be a big deal for you. We’d love to see someone go to town with custom sleeving on one of these – it’s a shame that Asus have moved away from their blue colouring with their Haswell ITX boards, as the old P8Z77-I Deluxe would have matched up perfectly. There are a couple of minor build quality niggles – the I/O shield area and the audio ports not being in the middle, namely – but otherwise the case seems quite solid.
If you love the look it’s well worth considering if you’re after something different as a daily driver or a project box!