One of the most asked-about combinations we’ve done recently has been putting a H100 into a storage chassis; so long as your motherboard isn’t too large (e.g. SSI EEB or equivalent) it’s quite easy to do.
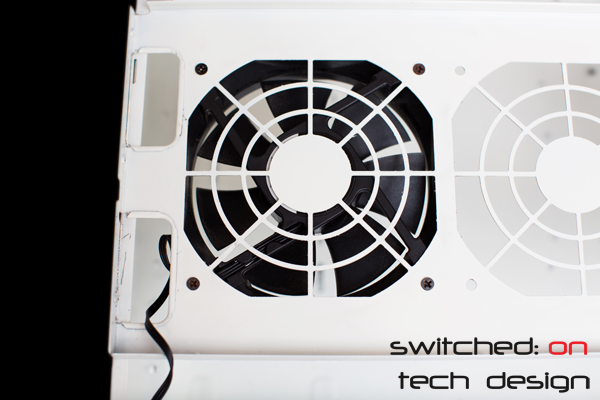
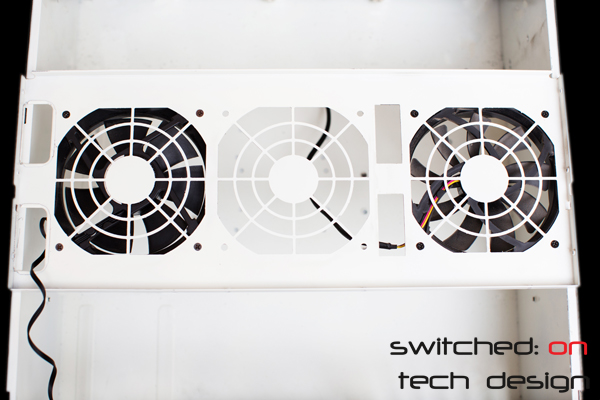
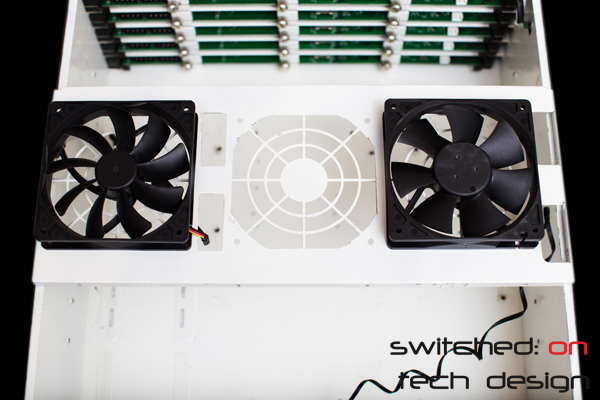
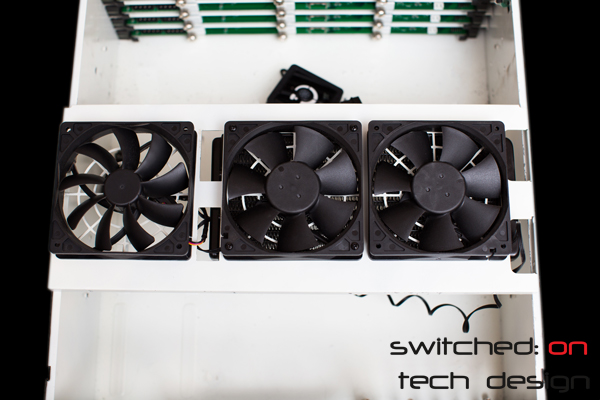
To start with, you’ll need to attach the two edge fans to the 120mm fan wall as you normally would – in this example we’ve used a Scythe fan for the third fan on the other side of the cable holes.
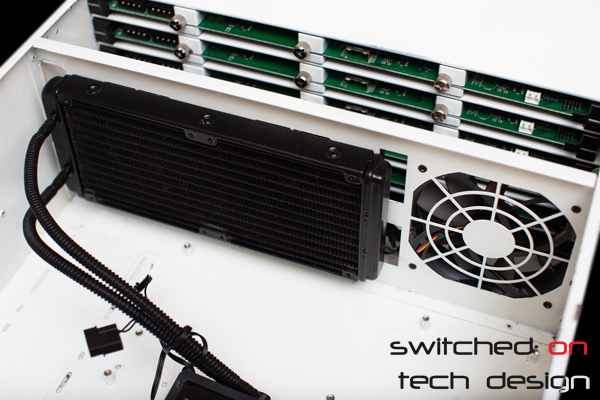
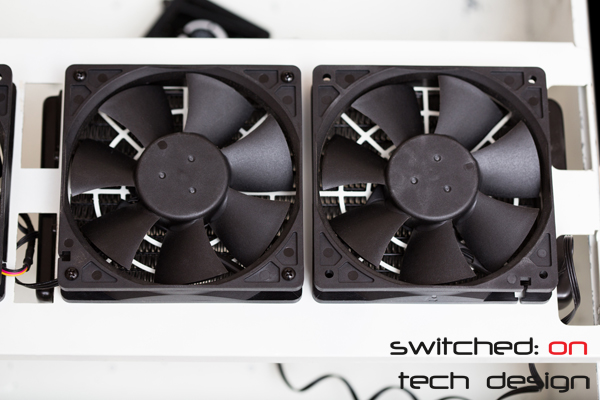
Then, using the normal long screws that come with the H100 kit, put the fan wall over the H100 radiator and screw in the second Corsair fan, resulting in the following:
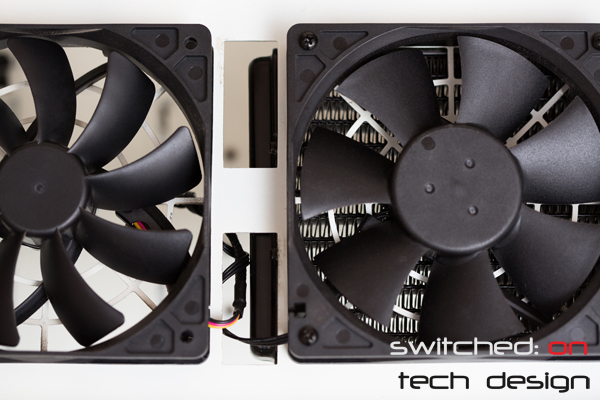
The liquid tubing is at the edge of the fan wall. A closer shot:
There’s still enough room to fit a SAS cable through, which should be about the largest cable you have to fit through individually. You can’t use the long fan screws for both fans as the mounting holes don’t line up – you could easily drill some which did if you were that way inclined but this way you avoid making any permanent changes.
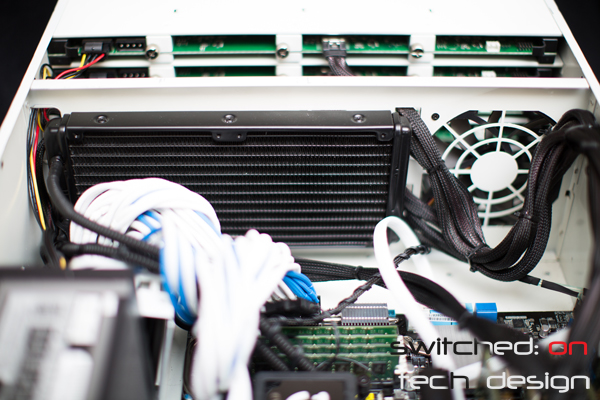
Finally, a shot of it in a working system:
And there you have it. The radiator is held in place by the four fan screws with the middle fan – so long as you have a normal amount of tension on those screws we haven’t had any vibration problems due to it only being mounted at four points instead of eight.
So how does it perform? For a S2011 server setup it keeps the CPU at the same temperature as the air that blows past the hard drives – in our servers, mid-30 degrees Celsius. On the lowest speed setting it keeps 24 WD Green HDDs in the mid-30s with an extremely low noise level – low enough that it wouldn’t be unpleasant working in the same room. Ambient is usually in the low 20s. We tried running the same setup with an E5-2687W and found that even on the slowest speed we had plenty of temperature headroom with this cooling setup, so as long as you’re not overclocking your server’s CPU (or you’re using a 4224 as your workstation/gaming rig…) and you have reasonable ambient temperatures it should be able to handle whatever CPU you throw at it.
