After mounting your shares using Command+K in Finder, go to:
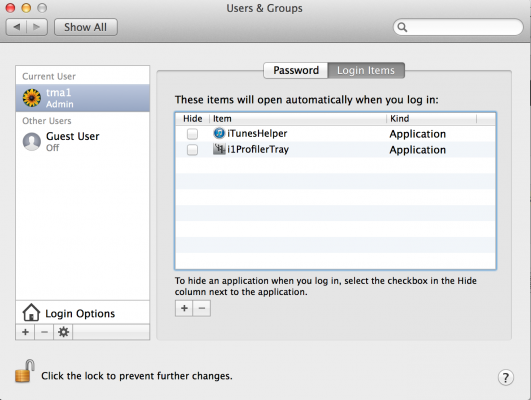
Settings -> Users and Groups -> Click on the lock to allow changes
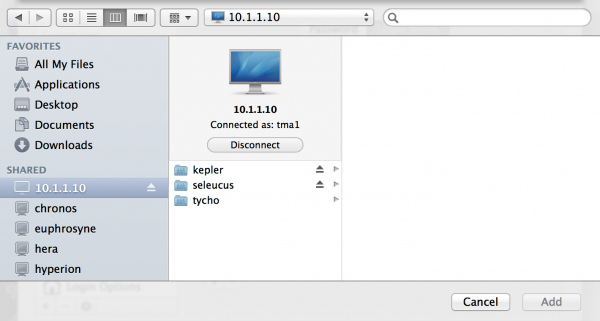
Select “Login items” at the top, click on the plus symbol, then find your server on the left pane:
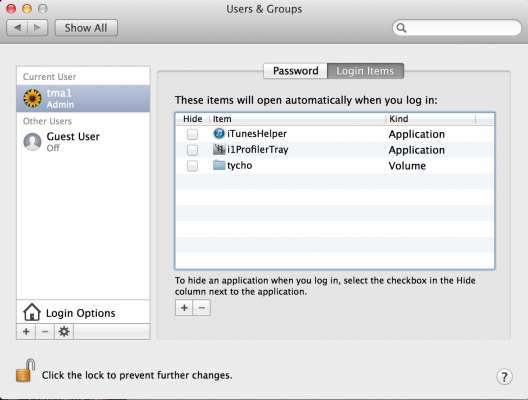
Click on the samba/CIFS share you wish to automount, then select “Add”; you should now see it in the list:
In theory, to hide the Finder window which opens when it is mounted you select the “Hide” tickbox on the left side of the share name. This doesn’t seem to work, however! Click on the lock to prevent further changes, restart and you should see your shares automount on boot.


