Author: sotech

  • How to stop Google going to the country-specific site (google.com.au instead of google.com)


    Sometimes you may wish to search Google without being redirected to your local country’s version, as you are likely to get different search results based on your location.


    Try the following URL:


    http://www.google.com/ncr


    NCR here is no-country-redirect, and Google will leave you at simply google.com rather than google.com.au for Australians.

  • Seagate HDD Date Codes


    seagate-date-codes


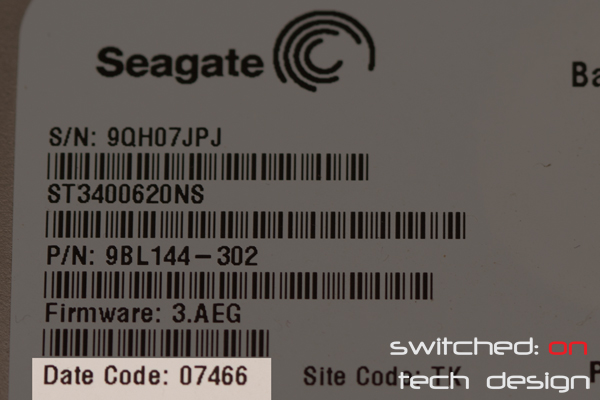
    On Seagate drives you may see a Date Code – e.g. 07466. What does it mean?


    Simply put, it’s in the format of YY:W:D, or YY:WW:D, where Y is year, W is week and D is day of week.


    The year is fairly self-explanatory; the weeks aren’t measured from January, though, they are from the start of the financial year – e.g. July 1st, and they begin on the first Saturday after that date. The days figure is how many days from the beginning of the week the drive was manufacturered; the weeks are considered to start on Saturdays and run through to Fridays!


    One wonders why they don’t simply put the date! In the case of the example above the drive was manufacturered on the 21st May 2007.

  • What CPU socket does Apple’s Mac Pro use?


    This is a question we have been asked a few times; to date Apple have used two different Intel sockets for their Mac Pro line. For the Mac Pro 1,1, 2,1 and 3,1 models (Mid-2006 to eatly-2008) it was Intel’s Socket 771, and for the 4,1 and 5,1 models (Early 2009, Mid 2010 an Mid 2012) it is Intel’s Socket 1366.


    It is interesting to note that to date the platform has not been updated to the replacement of Socket 1366 – namely, Socket 2011. Given that Socket 2011 was released in 2011, it’s been quite a while since the Mac Pro has had a significant refresh.


    And for those wondering, if you are bold, foolish or both you can replace and upgrade the CPUs yourself, with some caveats…

  • Ubuntu: Killing a tmux pane


    Opened one too many panes in tmux? You can kill one by selecting it and doing the following:


    [prefix] x


    By default the prefix is ctrl+b – so in this case you would enter ctrl+b then x.


    Pane killed!

  • Ubuntu: Bringing a detached tmux session back


    If you’re just starting out with tmux you may have installed it, set up a session, detached and then… what?


    To re-join your detached session, simply run:


    tmux attach


    and you’re back in business.


  • Ubuntu: How to change tmux’s ctrl+b binding to ctrl+a


    If you’re used to screen you’ll be in the habit of using ctrl+a, for example detaching a session with ctrl+a then d – if you make the move to tmux it’s ctrl+b then d, which can take some getting used to. Often it’s easier to make tmux get used to you! To change tmux from ctrl+b to ctrl+a, make sure tmux isn’t running and create the following file:


    vi ~/.tmux.conf


    Here we have used the text editor vi to create the file. Now add the following:


    unbind C-b

    set -g prefix C-a


    Save the file. Now the next time you start tmux it should have changed to what you’re used to!

  • HP Procurve 1410-16G (J9560A) Teardown


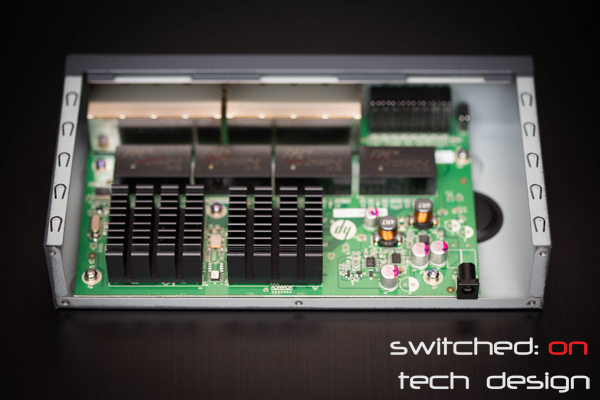
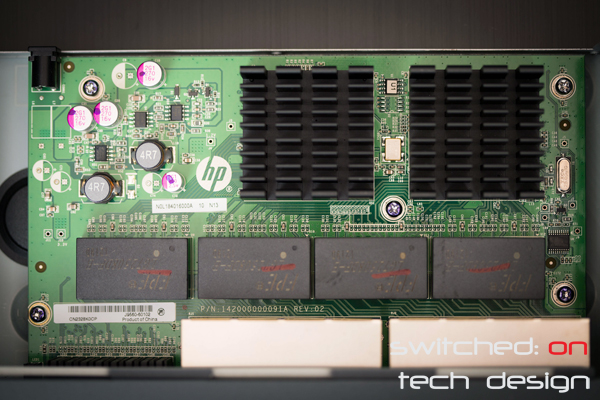
    Well, admittedly there isn’t much tear in this teardown as it’s only a handful of screws to take the casing off. However! If you were curious as to what went into your ProCurve (or were just curious about what is inside switches in general) here you go!


    hp-1410-16g-021


    Screws coming out of the rear…


    hp-1410-16g-022


    The other side…


    hp-1410-16g-023


    Also some screws in the middle.


    hp-1410-16g-013


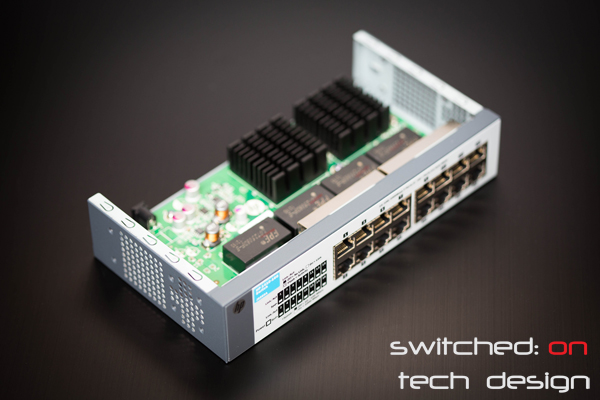
    Voila! Hello switch internals.


    hp-1410-16g-024


    There’s really some room to spare in there.


    hp-1410-16g-016


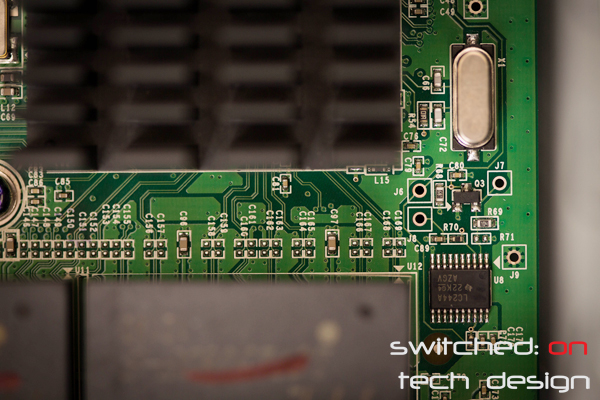
    A closer look at the circuit board…


    hp-1410-16g-017


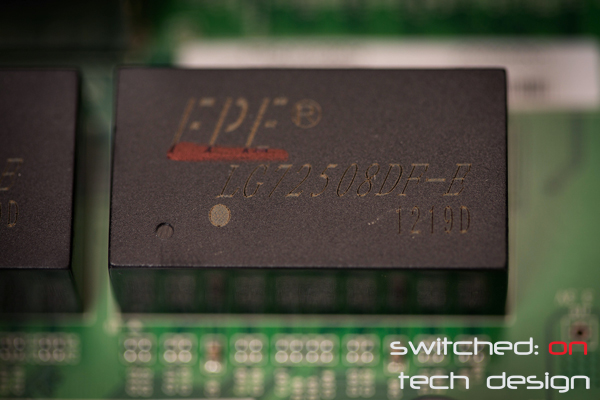
    A detail shot of one of the four quad transformer modules (it’s an FPE chip LG72508DF-E) – you can find the specifications of that chip at:


    http://www.fpe.com.cn/pdf/PDF/100-1000-8.pdf


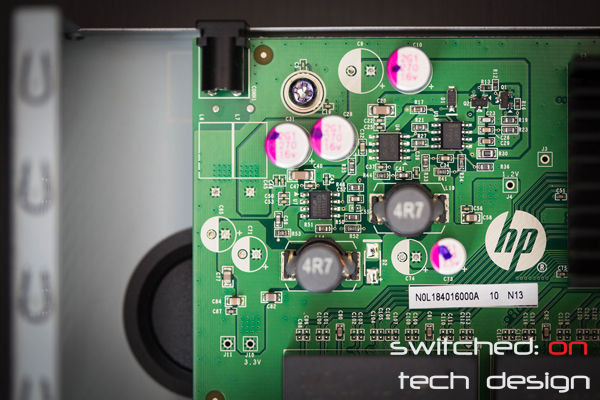
    More component detail:


    hp-1410-16g-015


    hp-1410-16g-014


    There’s not a great deal more to look at – we couldn’t pull the heatsinks off this particular board, sadly, so we didn’t get any shots of what was underneath.


    hp-1410-16g-01


    Hope you enjoyed this very brief look at the internals of a modern switch!

  • HP ProCurve 1410-16G (J9560A) review


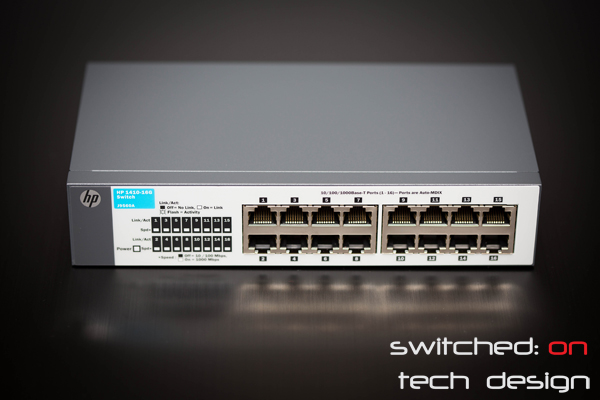
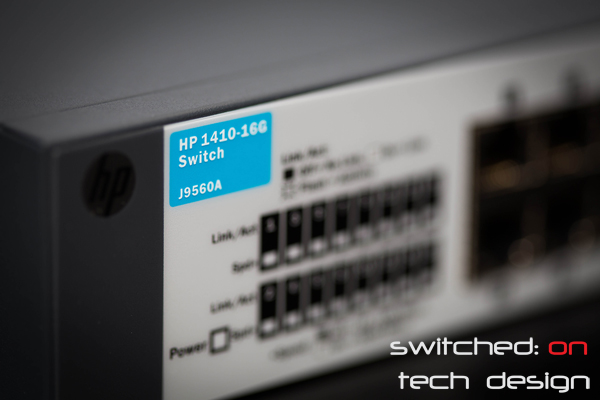
    If you’re in the market for a gigabit switch the HP Procurve line has probably come up in your searches. The 1410-16G is a 16-port gigabit switch, unmanaged, that is also fanless and comes with rack-mounting equipment. Oh, and it’s under $100 AU. With a lifetime warranty. That’s a lot of boxes ticked right there.
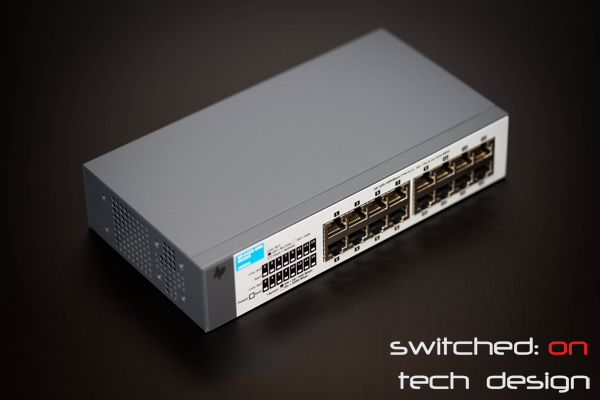
     

    hp-1410-16g-02


    If you’re used to HP’s 24/48-port rackmount switches the 1410-16G will probably seem quite compact. Meausuring approx. 21 x 11.2 x 4.5cm and weighing ~650gm, it’s certainly not hard to stash away out of sight if needed. The metal chassis helps both with durability and also heat dissipation – and it doesn’t hurt the feeling of quality, either. Jumping straight into the important parts – a closeup of the ports on the front:
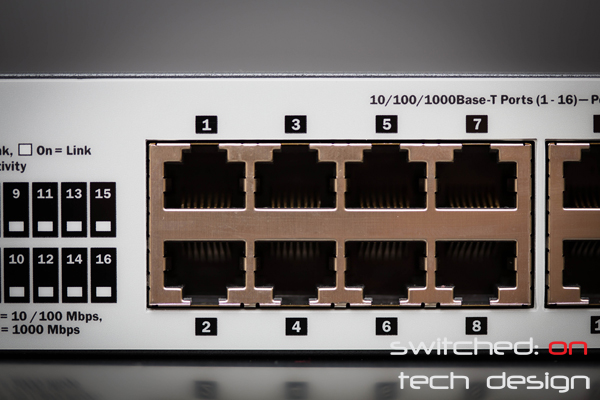
     

    hp-1410-16g-05


    Nothing out of the ordinary here – two sets of 8 ports, cable clips facing outward as they should be. To the left there’s the indicator lights:
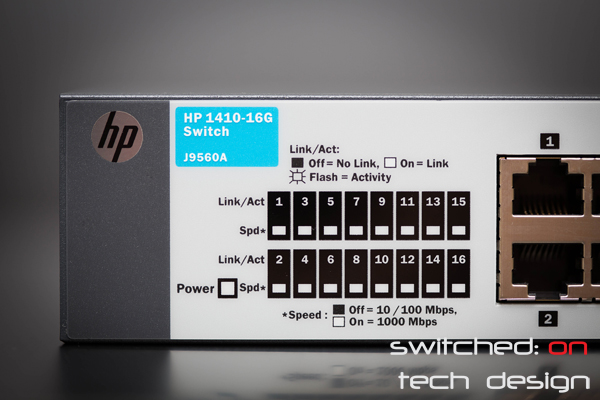
     

    hp-1410-16g-010


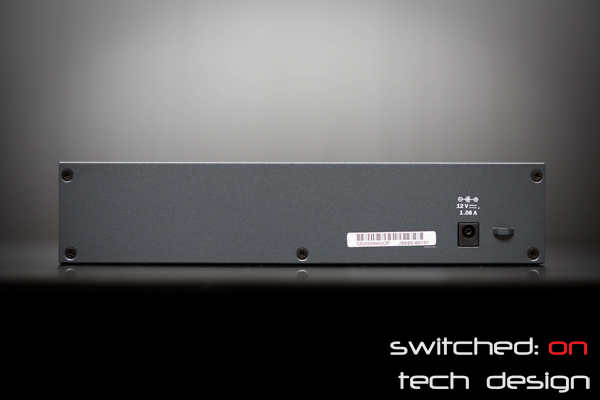
    Pretty self-explanatory there – and the LEDs are quite appropriately bright, easy to see but not lighting up the entire room. Flipping the unit around to look at the back:
     

    hp-1410-16g-026


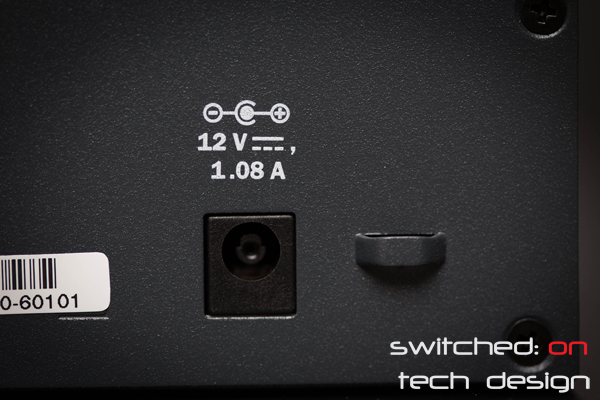
    Pretty bare back there. A closeup of the main point of interest:
    hp-1410-16g-018


    hp-1410-16g-027


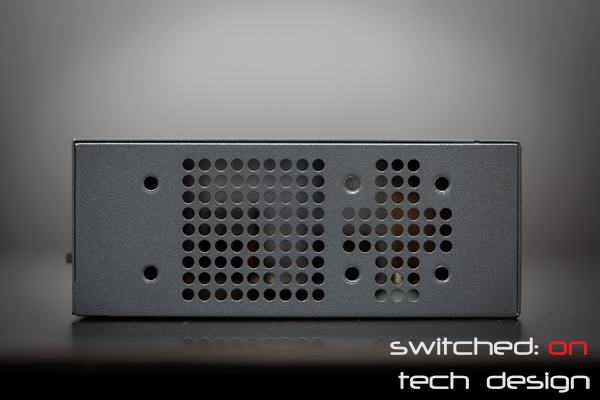
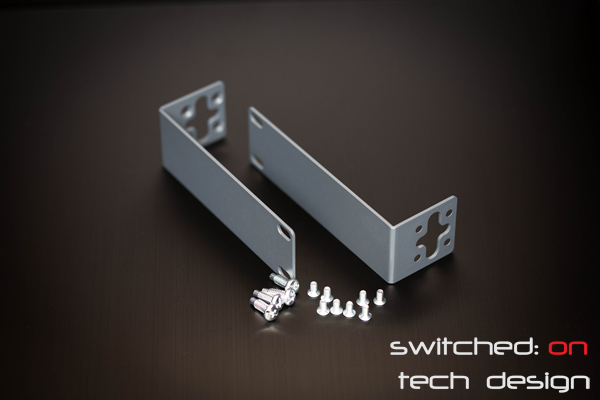
    Flipping the unit around to look at the (identical) sides, there’s once again not a great deal to see. Ventilation holes and mounting points for the rack ears. Speaking of rack ears:
     

    hp-1410-16g-012

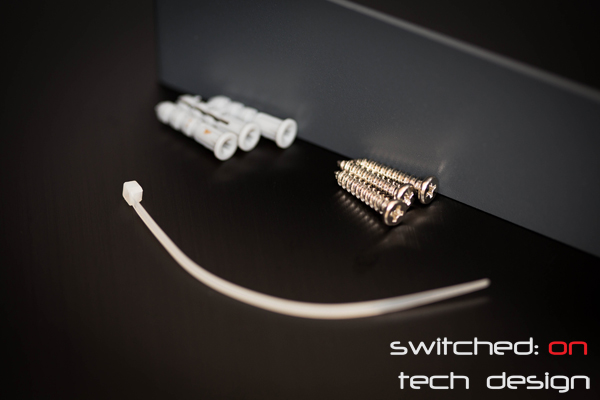
    They come with all necessary screws and mounting gear. A nice touch – for a lot of home enthusiasts who have a rack 16 gigabit ports may suffice, and this will save a shelf/custom mounting brackets. There’s also wall-mounting hardware supplied:
     

    hp-1410-16g-011


    …and some nice self-adhesive rubbised feet:
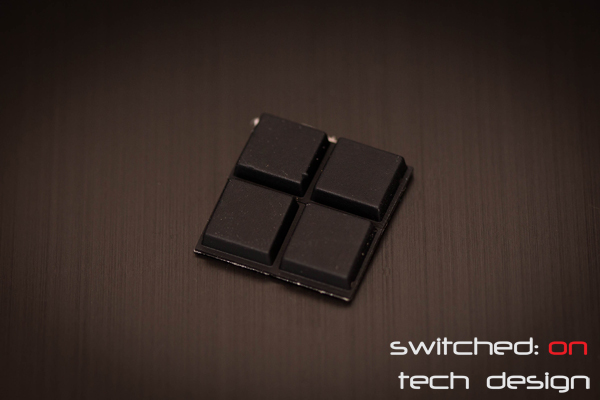
     

    hp-1410-16g-06


    The external power brick is reasonably small with a standard 2-pin figure-eight cable going into it:
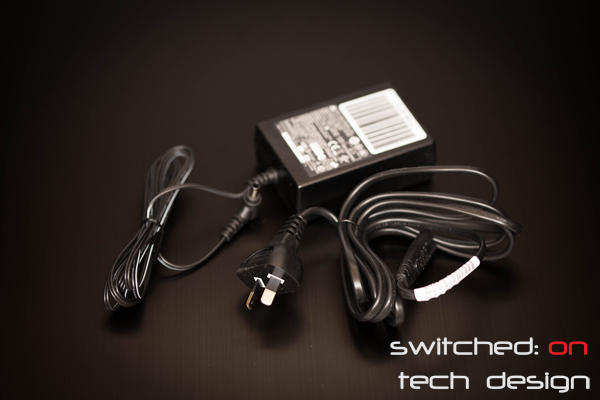
     

    hp-1410-16g-07


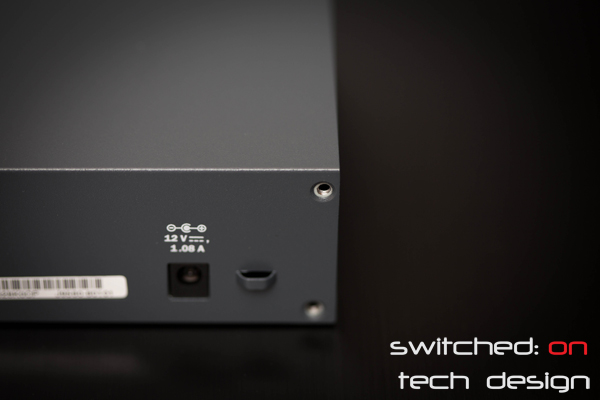
    A closeup of the printed info for anyone who cares:
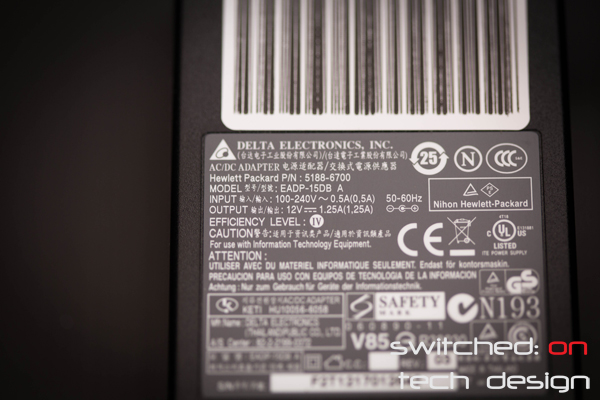
     

    hp-1410-16g-08


    The unit is silent as you would expect from a fanless unit, and we couldn’t hear any audible hissing/other noises coming from the power brick. In use it’s extremely power efficient, pulling an average of 8W from the wall in use with 14W peak during power-on. It also doesn’t get appreciably hot during use.


    As far as performance goes, putting this switch between an iperf client and server showed a steady 945Mbit/s throughput – an excellent result. We weren’t able to test it in a situation where we pumped 16 or 32 gigabits/second through it, which should be where this switch really shines. If our experience with other Procurve switches is anything to go by, this one should be able to deal with very long periods of uptime without issue. We tested this one for three weeks with constant use and it remained trouble-free.
     

    hp-1410-16g-04


    Given the price point – at or below $100 delivered – the features of this switch make for a compelling product for anyone looking for an unmanaged gigabit switch with 16 ports. Well worth considering.
  • 5.25″ bay IDE drive caddy review


    Looking for an easier way of testing IDE drives than hooking them up inside your case every time? Leaving the side of your case open and having them on your desk may work but isn’t the prettiest solution. The easiest answer if you have a spare 5.25″ bay? One of these.


    ide-drive-caddy-010


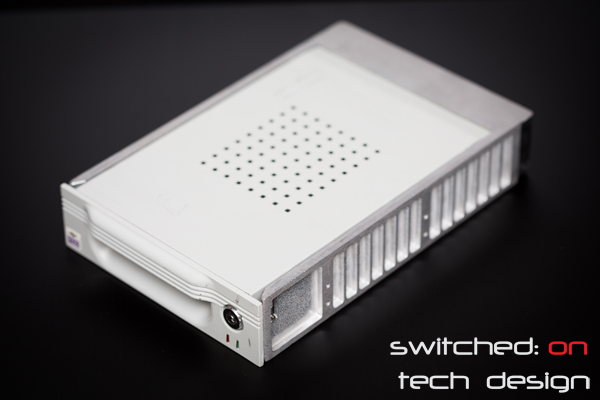
    These come up on eBay for around $20 shipped quite regularly and fit into a standard 5.25″ bay. Let’s take a closer look:


    ide-drive-caddy-012


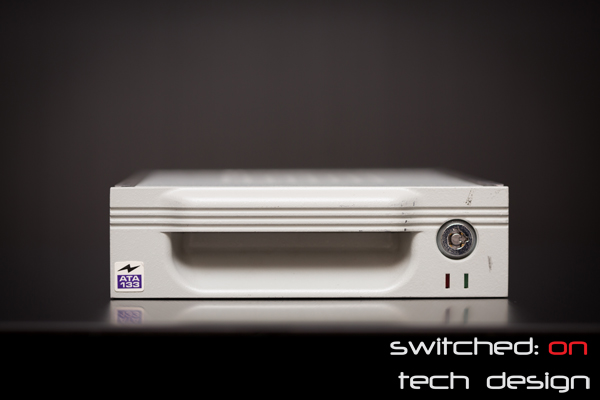
    Handle, keylock, two LED indicators… and a sticker advertising the blazing speed of ATA133. How about the rear?


    ide-drive-caddy-011


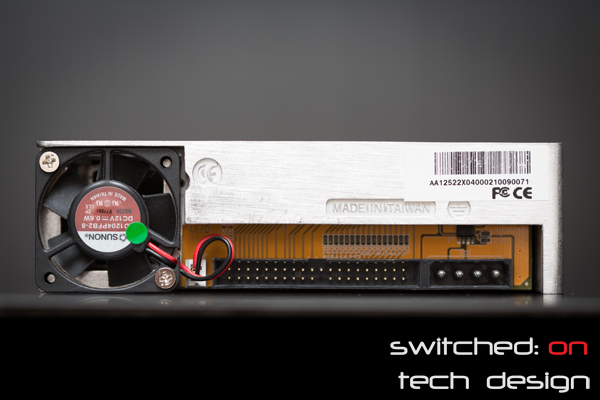
    Tiny, noisy Sunon fan, a standard IDE port and a Molex 4-pin power connector. Grabbing the handle and pulling towards you brings the tray out and leaves:


    ide-drive-caddy-07


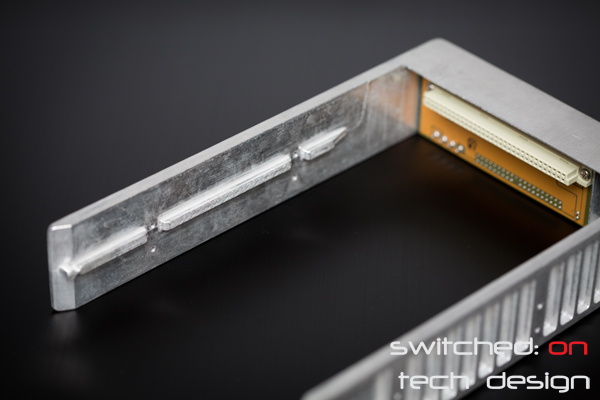
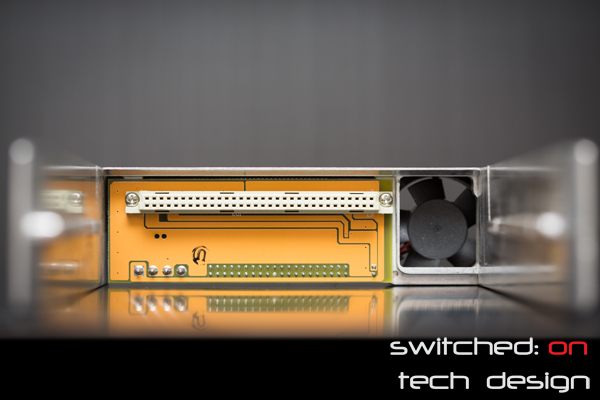
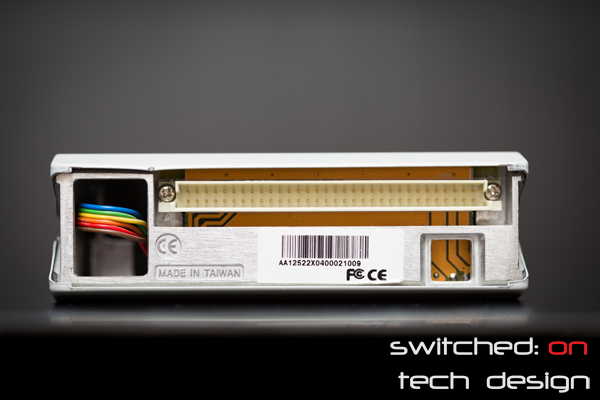
    Aluminium. The whole unit doesn’t weigh much less than a kilo – it’s solid stuff. You can see the guide rails that keep the drive caddy from bending pins. Taking a closer look at the PCB at the rear:


    ide-drive-caddy-08


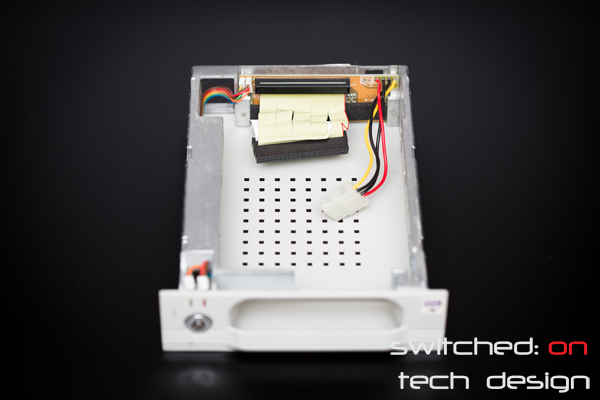
    Not much more to say about that. So how about the caddy? Let’s slide the top off and take a look:


    ide-drive-caddy-04


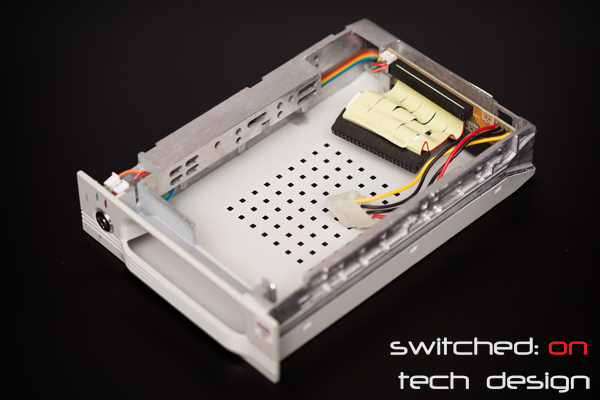
    Screw-holes along the sides, an IDE cable, a Molex power cable and removable top and bottom parts (this view is actually from the bottom up).


    ide-drive-caddy-05


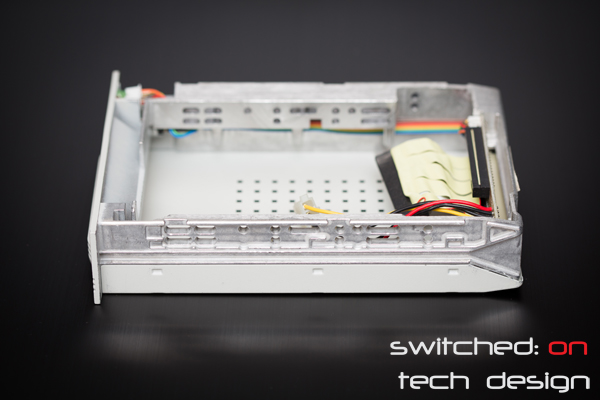
    Not much changes when viewed from the front…


    ide-drive-caddy-03


    On the side you can see the matching guide rail and the slide-on section left in-place (the matching one has been removed so we can look in). The rear of the caddy:


    ide-drive-caddy-06


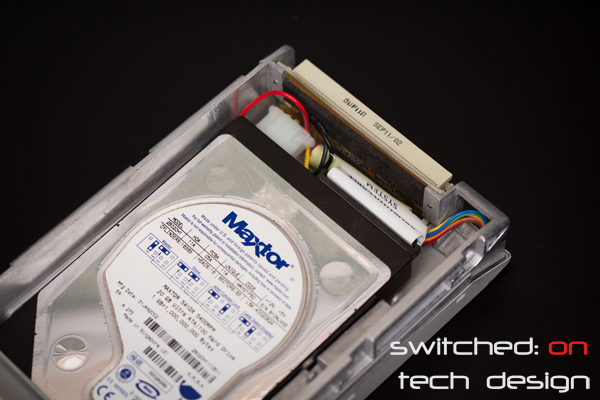
    That’s some lovely colourful wire there, and some pins to match the receiving end on the rest of the chassis. Time to add a drive:


    ide-drive-caddy-01


    Eagle-eyed readers will notice the build date of November 2002. A wider view, drive in-situ:


    ide-drive-caddy-02


    Put the top casing back, slide into the chassis, boot up your computer and you’re good to go. Assuming you’ve screwed the rest of the chassis into your case and hooked up power and data cabling, of course.


    We use a similar one for testing, recovering data from and benchmarking IDE drives – for the cost it’s well worth the time savings if you have to deal with them regularly. It’s much quicker and neater than opening up a case each time – unless you use an open case, of course. These items are probably becoming less and less relevant a time passes (and more IDE drives die/are thrown out!) but for those of us who are asked to deal with them, it may well be worth a look.

  • How to erase a tape in Ubuntu


    This is another nice and easy one, though it may take a while depending on the size/speed of the tape:


    sudo mt -f [/path/to/tape] erase


    e.g.:


    sudo mt -f /dev/st0 erase


    That’s /dev/st(zero) not /dev/st(letter o), in case it’s not clear from the font. This will likely take some time as the tape is erased from end-to-end – once it is done you will be returned to a prompt.