Enabling SSH is handy if you want to remotely access the back-end of your system; it can also be really handy for moving files around and transferring data to and from Linux systems or VMs securely and quickly. There are security risks with doing this; if anyone logs in to the root account of your server they will be able to do whatever they like, even destroying all of your VMs, powering them on or off and who knows what else. We would suggest making sure that your LAN is secure and not to open your server’s SSH ports to the internet (you may want to do this so you can log in remotely). If you are interested in doing the latter, use an RSA key for your login and disable text-based authentication (see our guide here)!
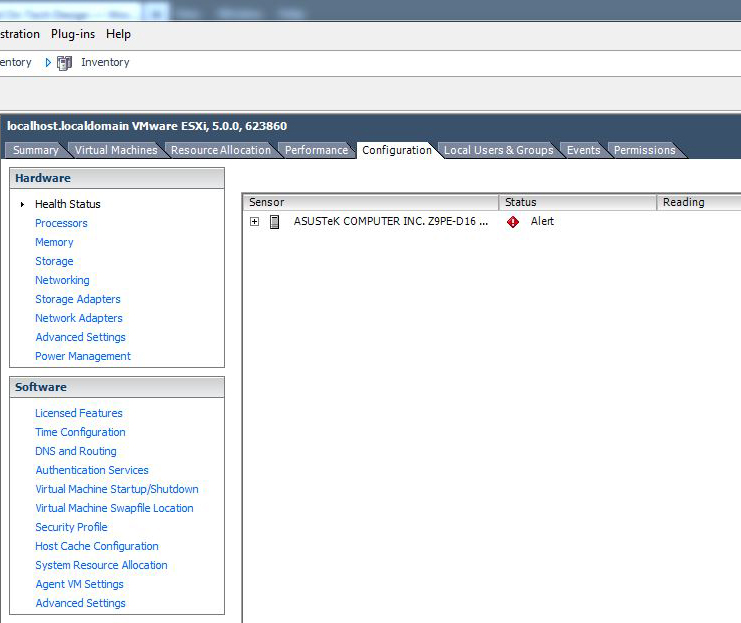
Firstly, open up vSphere Client, log in and select the server you wish to enable SSH access on. Go to the Configuration tab like so:
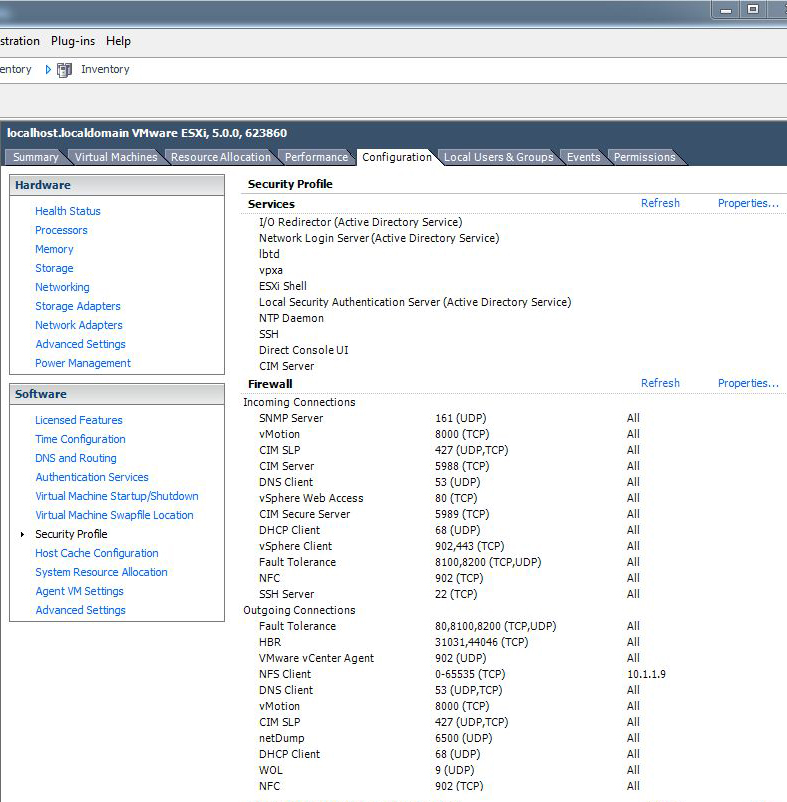
In the “Software” pane on the left, select Security Profile:
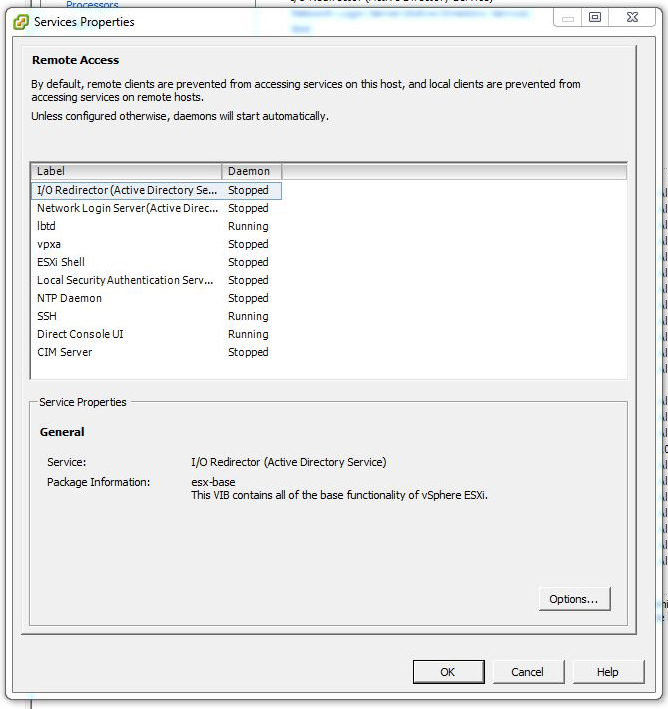
On the right-hand side of the Services heading, click Properties:
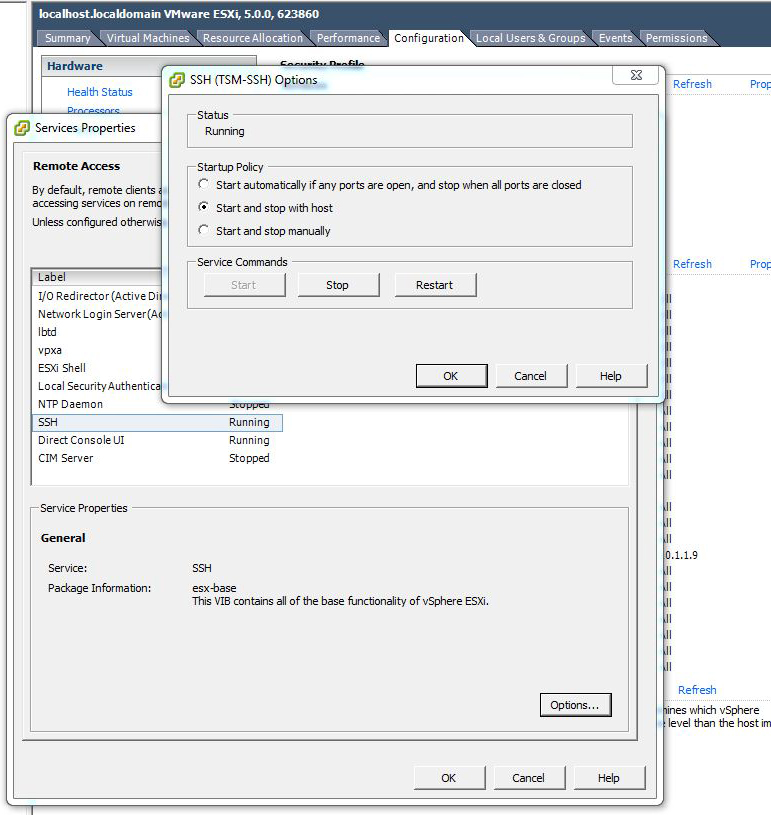
Here you can see ours is already running (look for SSH -> Running) – if yours is off it will say Stopped. Click on SSH and then click Options…:
Note that if you click “Start” then select “Start and stop with host” it’ll stop the service again. You can get around this by selecting “Start and stop with host”, closing the dialog box, reopening it and starting it manually before closing it. If you don’t want to leave SSH on for longer than you need to just start it using the Start button and come back to this dialog box after you’re done and stop the service again. If you are confident that the security risk is worth it it is convenient to have it start and stop with the server.
…and you’re done!


