With used tape drives falling in price they are now finding their ways into the hands of more home storage enthusiasts; one should be wary about purchasing a tape drive in unknown condition, though, as there’s a good chance that it may be faulty or require servicing. One way to check the status of the tape drive for HP units is their Library and Tape Tools software – currently available from here:
http://h18006.www1.hp.com/products/storageworks/ltt/
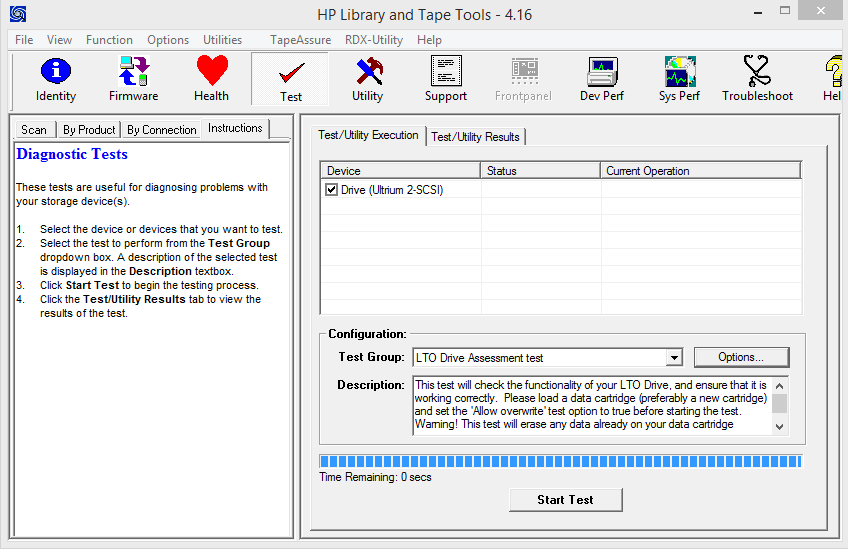
To run a test, open L&TT and click on the Test tab:
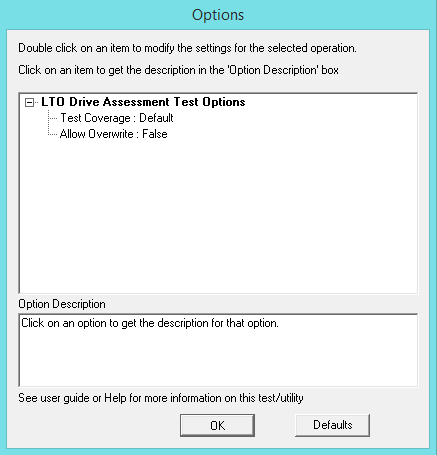
Insert a tape into the drive that is blank (or has data you don’t mind being over-written), click on Options:
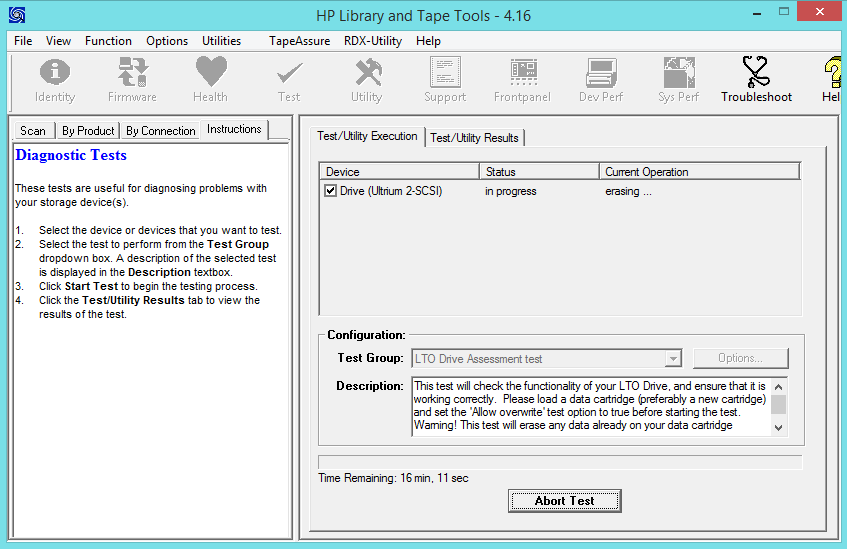
Click (or double click) on Allow Overwrite and change it to True, then click OK. You will be returned to the previous screen. Click “Start Test”.
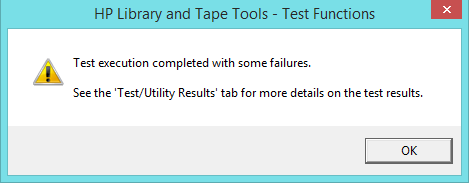
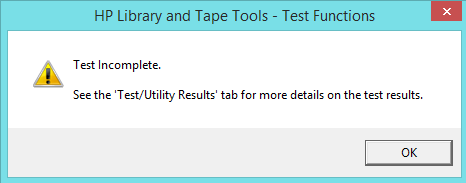
What you don’t really want to see is a pop-up a couple of minutes later like this:
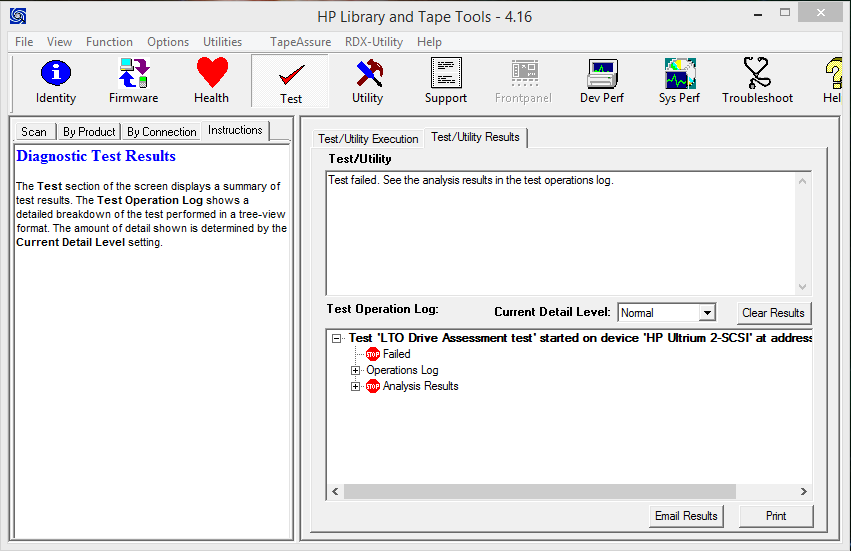
Time to look at the Test/Utility Results tab:
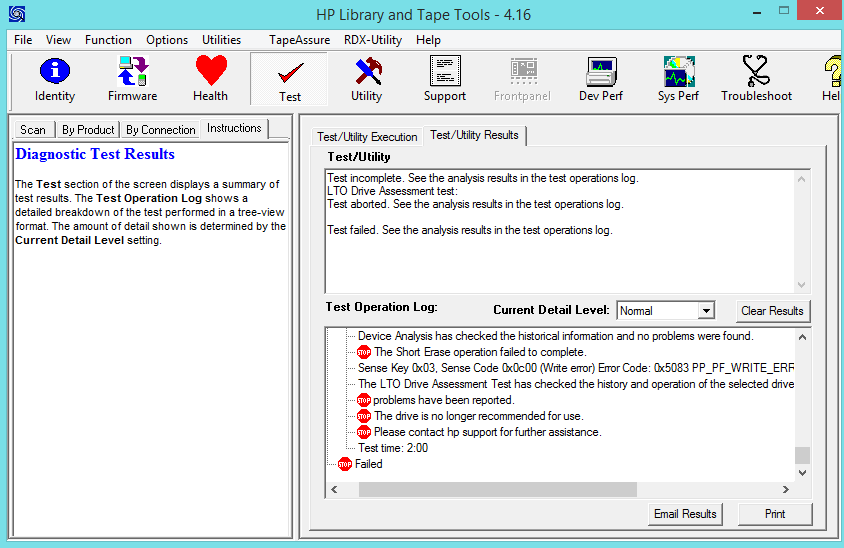
From here we can expand the Analysis Results to see what has happened:
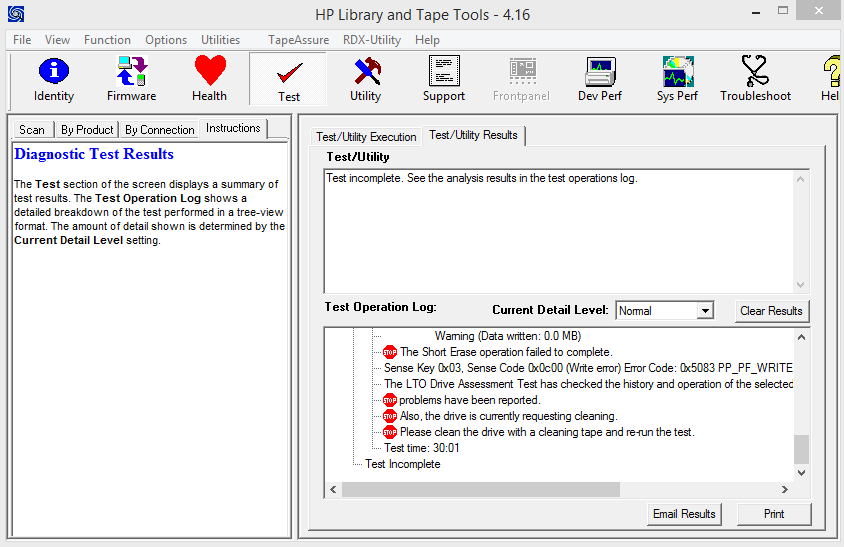
Another possible result is an incomplete test:
This can sometimes happen because the drive needs cleaning – if you open the Analysis Results you will see a request for cleaning if this is the case:
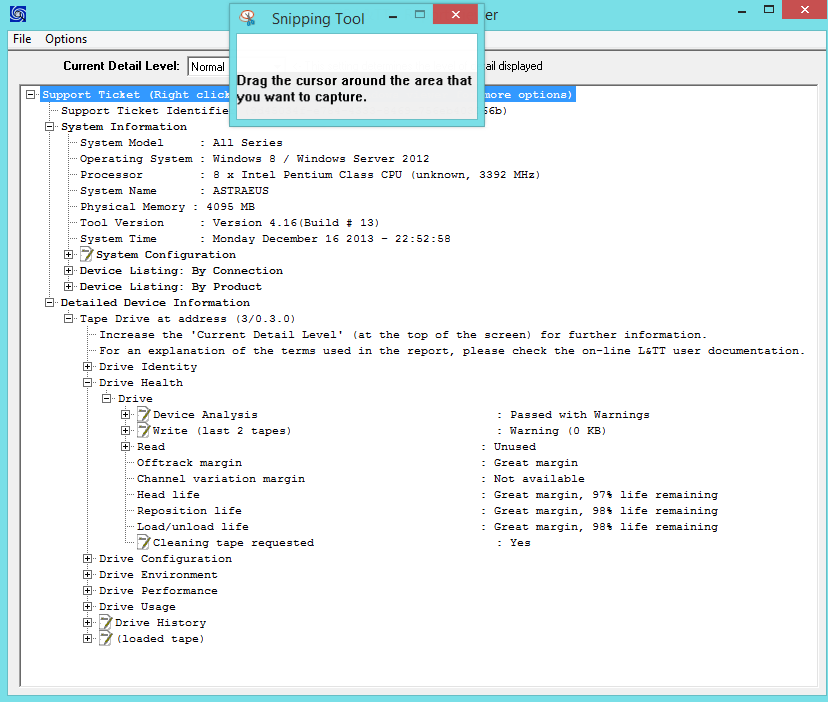
Hopefully, though, you get a passed test with no issues such as these! To get a detailed report of the drive status we can use the Report Viewer – click on the Support tab at the top, then Refresh Device Data, then View Support Ticket. You should see a report with expandable headings which provides a great deal of information, e.g.:
There is a wealth of information here, covering both the drive and the tape inside. Worth checking over for any anomalies if you have just received a new drive!
